Vault Management
The central entities in Cryptomator Hub are vaults. In Hub, every vault contains a key to encrypt and decrypt your data stored in the cloud of your choice. Hub manages access to the vaults, it does not store any encrypted user data. This section describes how to manage vaults in Cryptomator Hub.
Vault List
The vault list is the main page of Cryptomator Hub.
Here, all vaults which are shared with you, are listed.
After signing in, Hub redirects you to this list.
Alternatively, you can also access the list by clicking on the Vaults tab in the navigation bar.
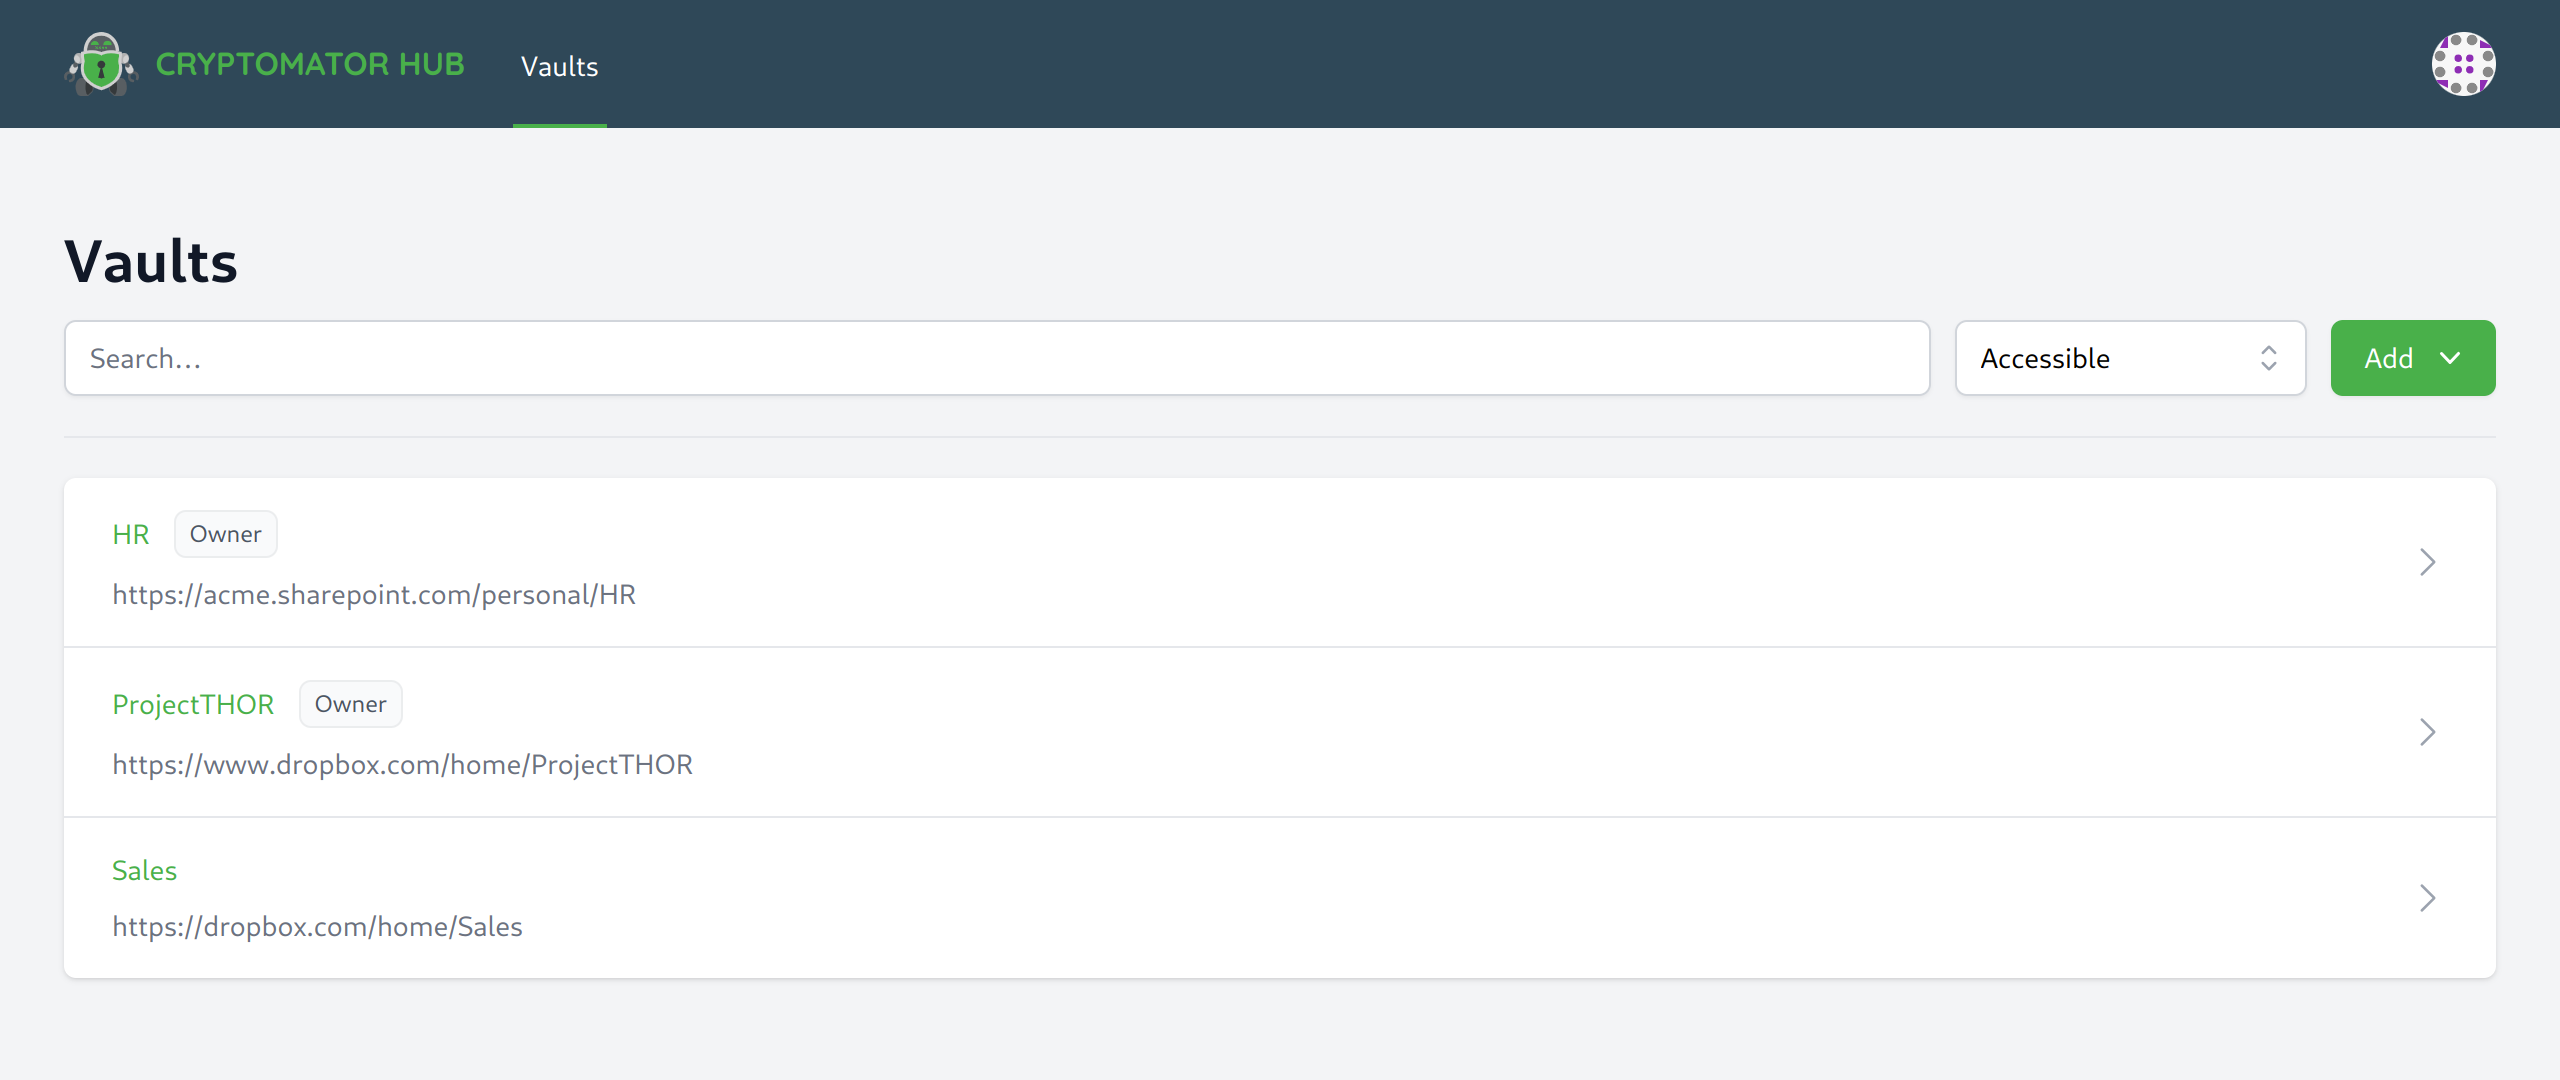
- As a user, you will only see the vaults that you have access to.
- As an admin of the Hub instance, you can see all vaults, but you can only access those that you have been granted access to.
Create a Vault
Creating vaults require the create-vault role. Here you can read more about roles.
To create a vault in Hub, navigate to the vault list and click on the Create Vault button in the top right corner.
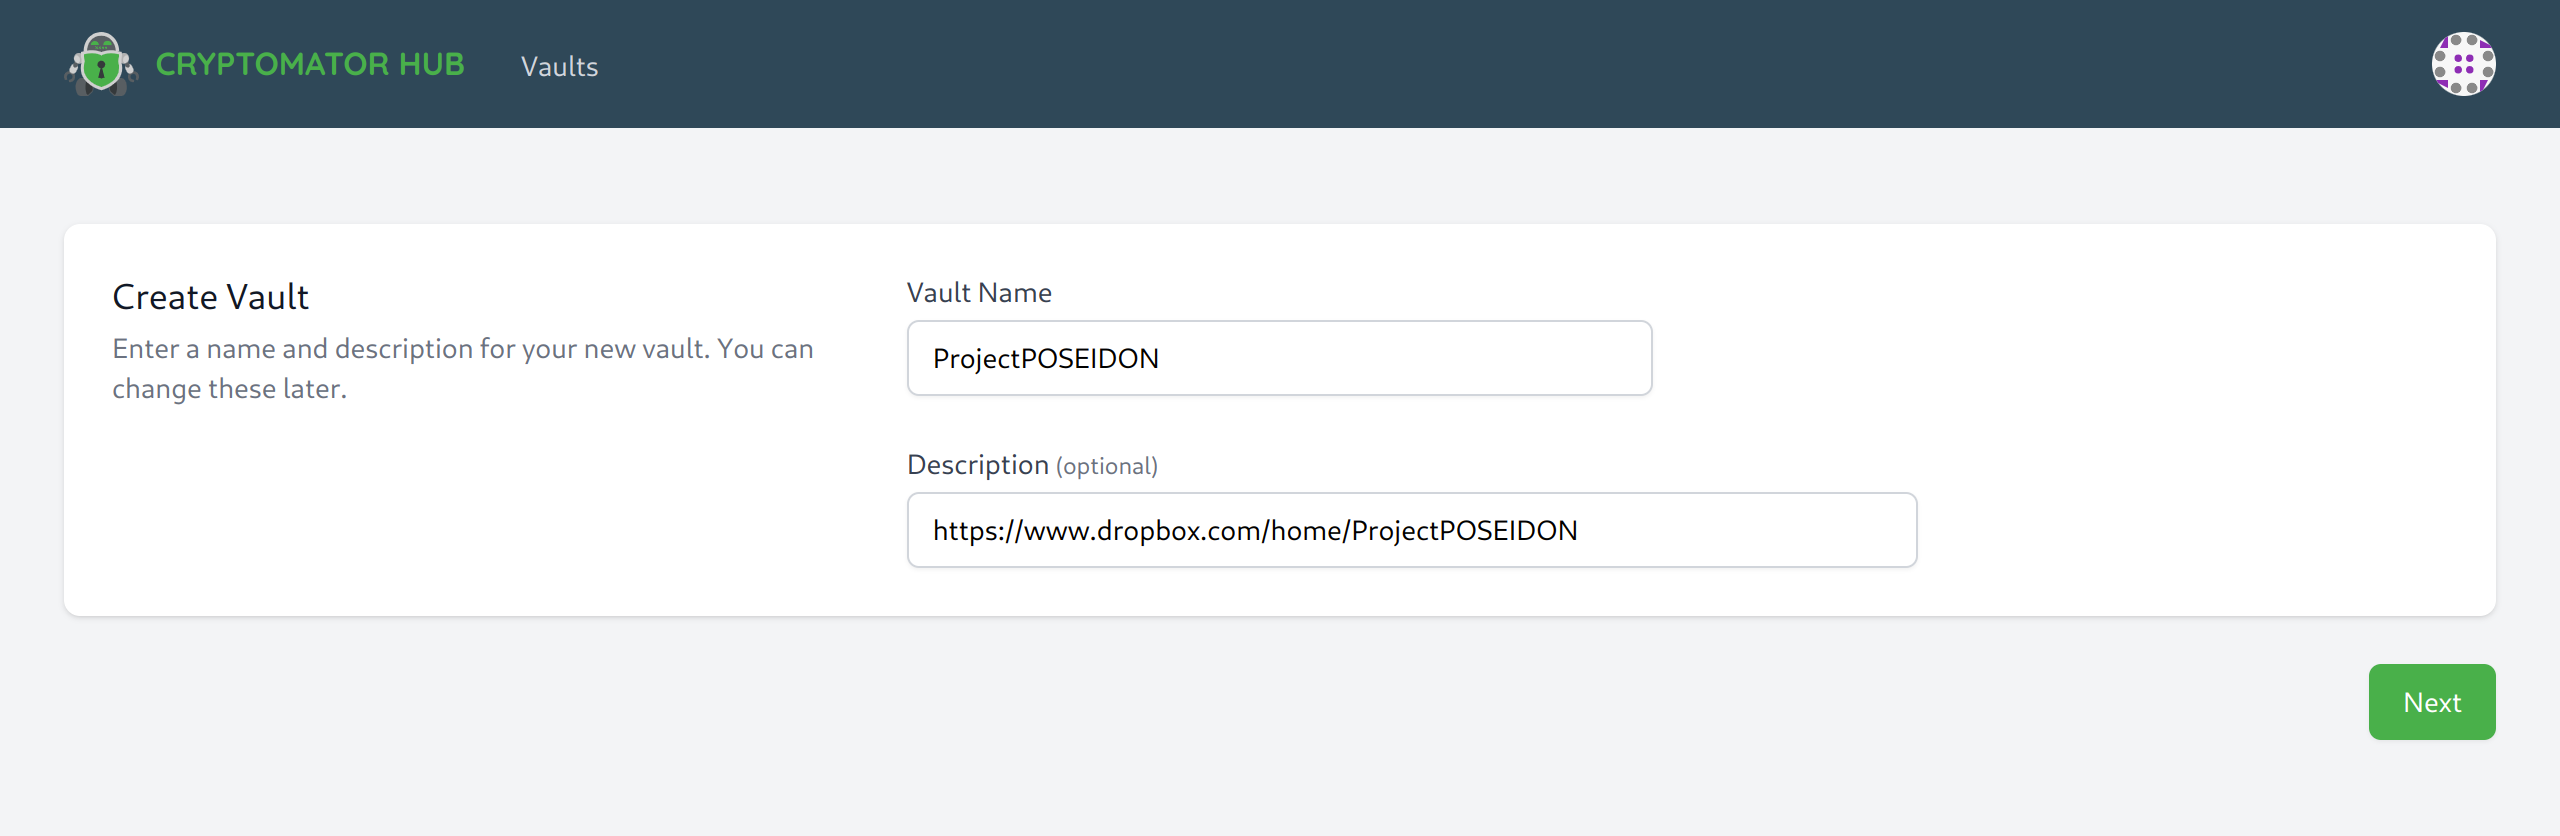
Every vault has a name and optionally a description.
Fill out the form and continue the process by clicking the Next button in the right corner.
In the next step, the vault recovery key is displayed.
It can restore access to the vault data in case of an emergency, e.g. if Cryptomator Hub is down.
Store it at a safe location, tick the checkbox and complete the setup by clicking the Create Vault button at the bottom
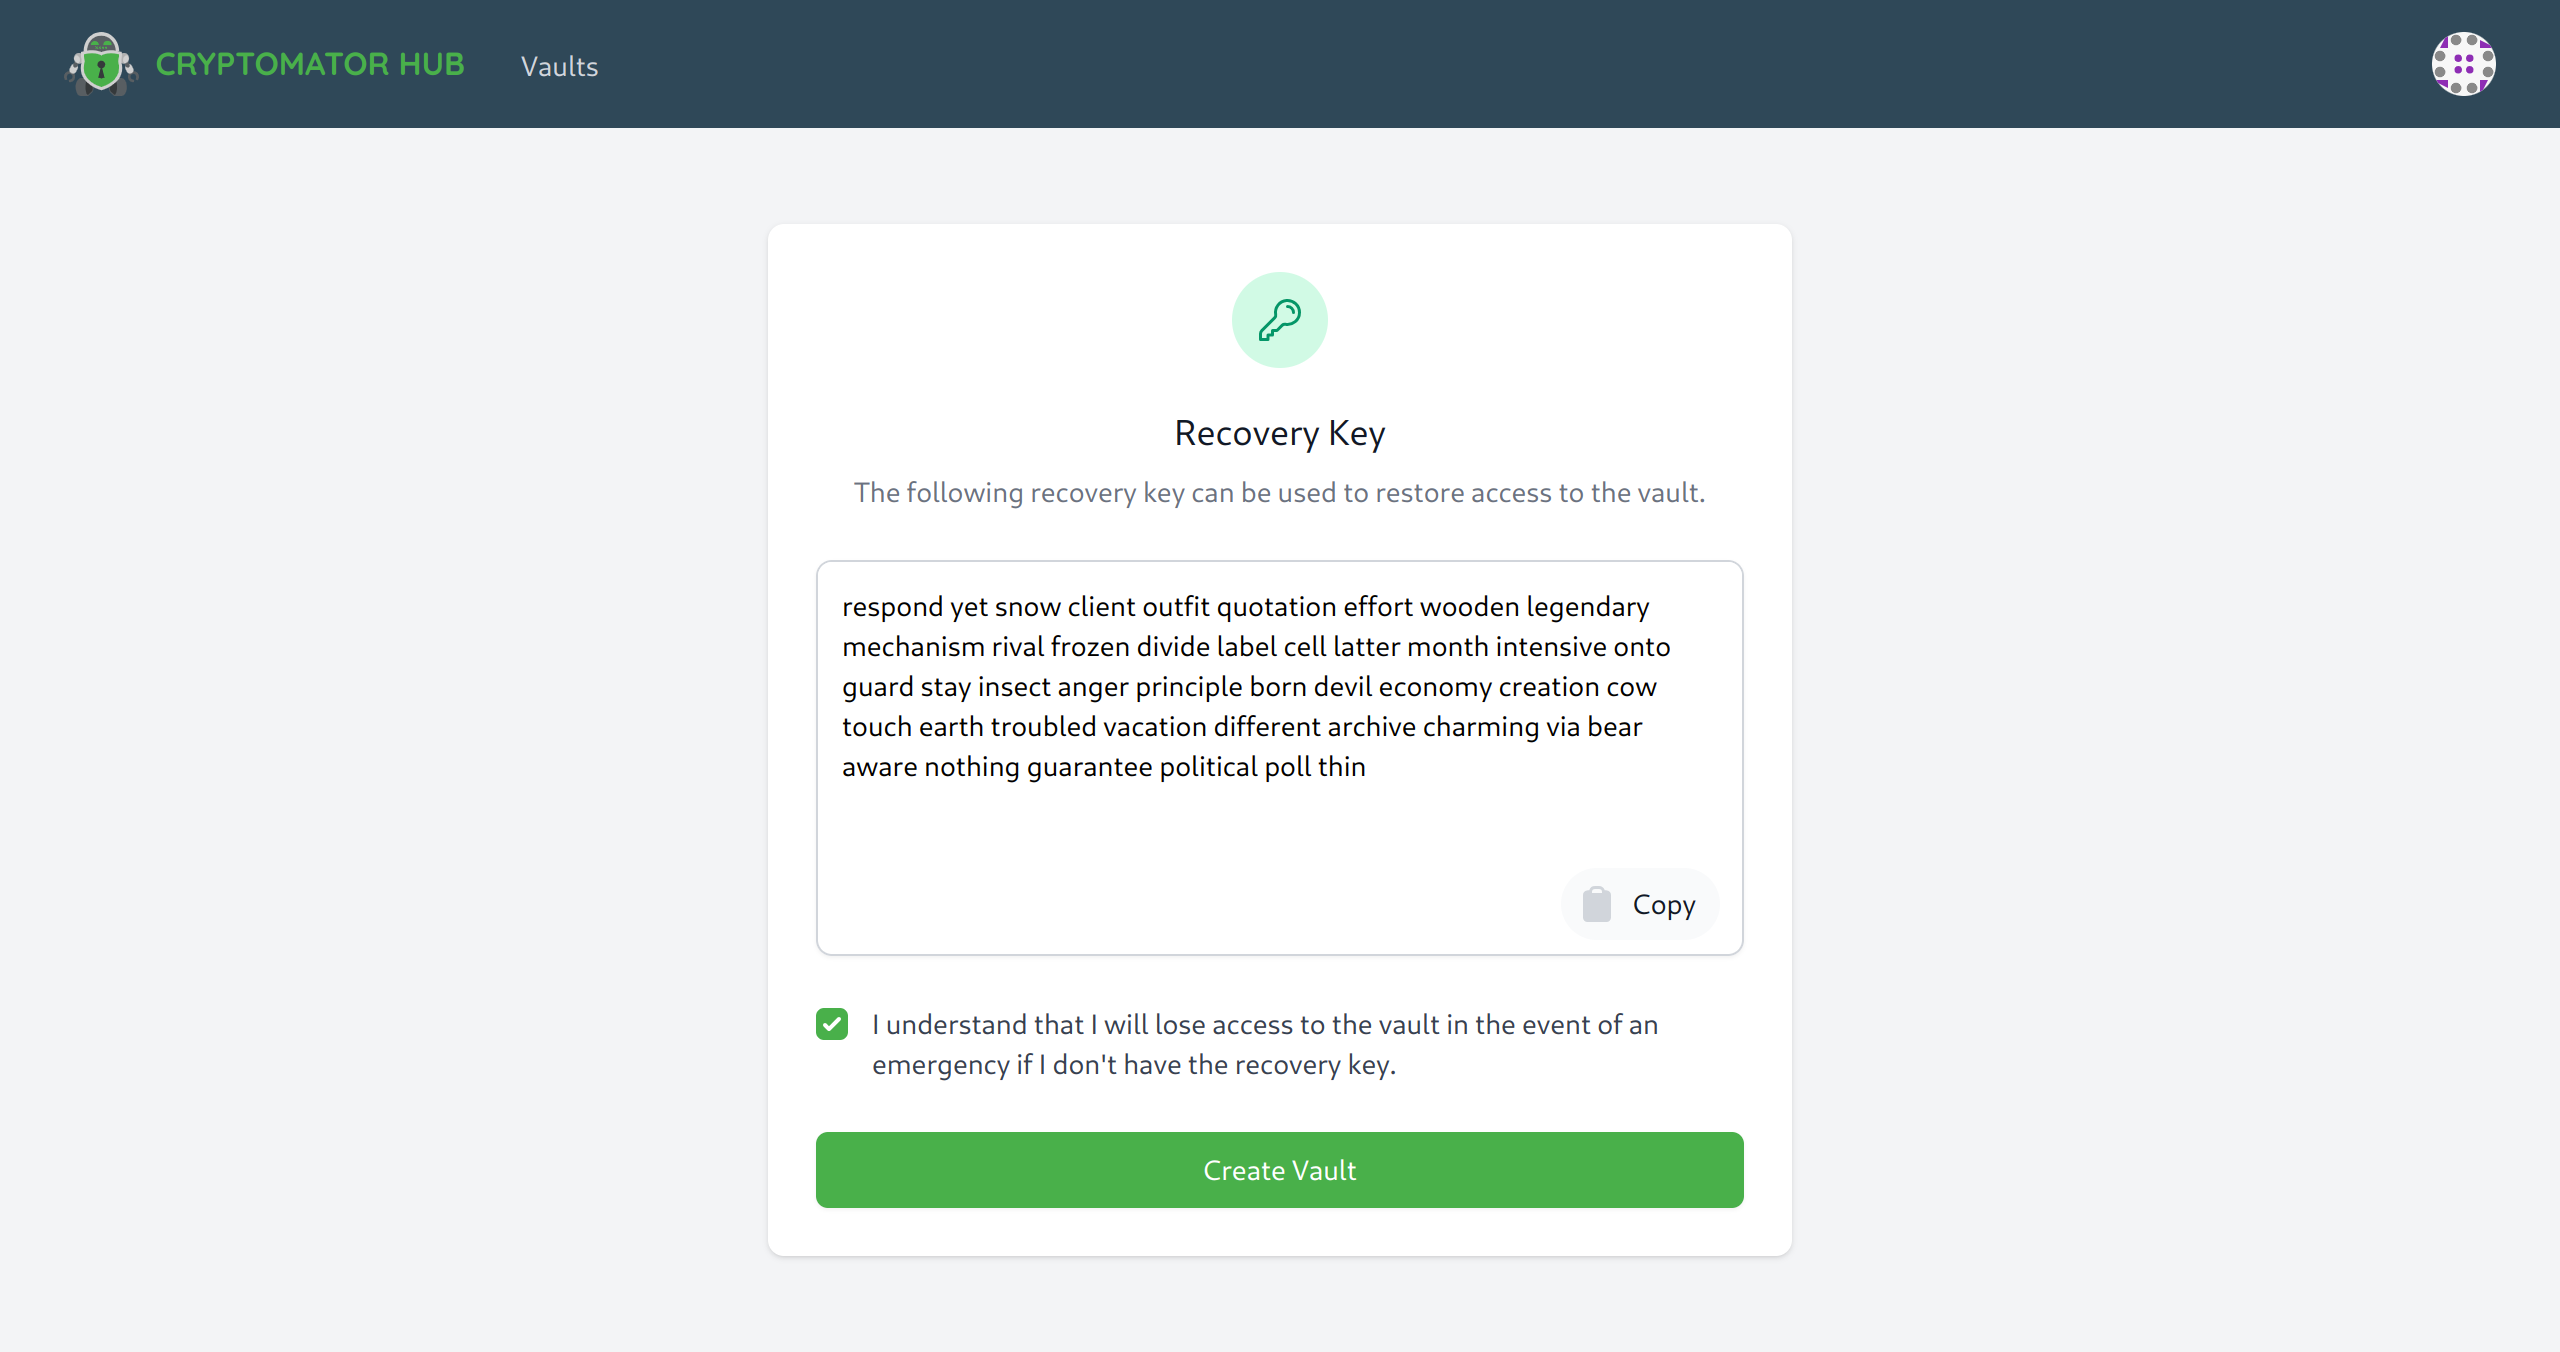
The recovery key is highly confidential. It is a human readable form of the vault masterkey, which is used to encrypt your data and independent of the key management in Cryptomator Hub.
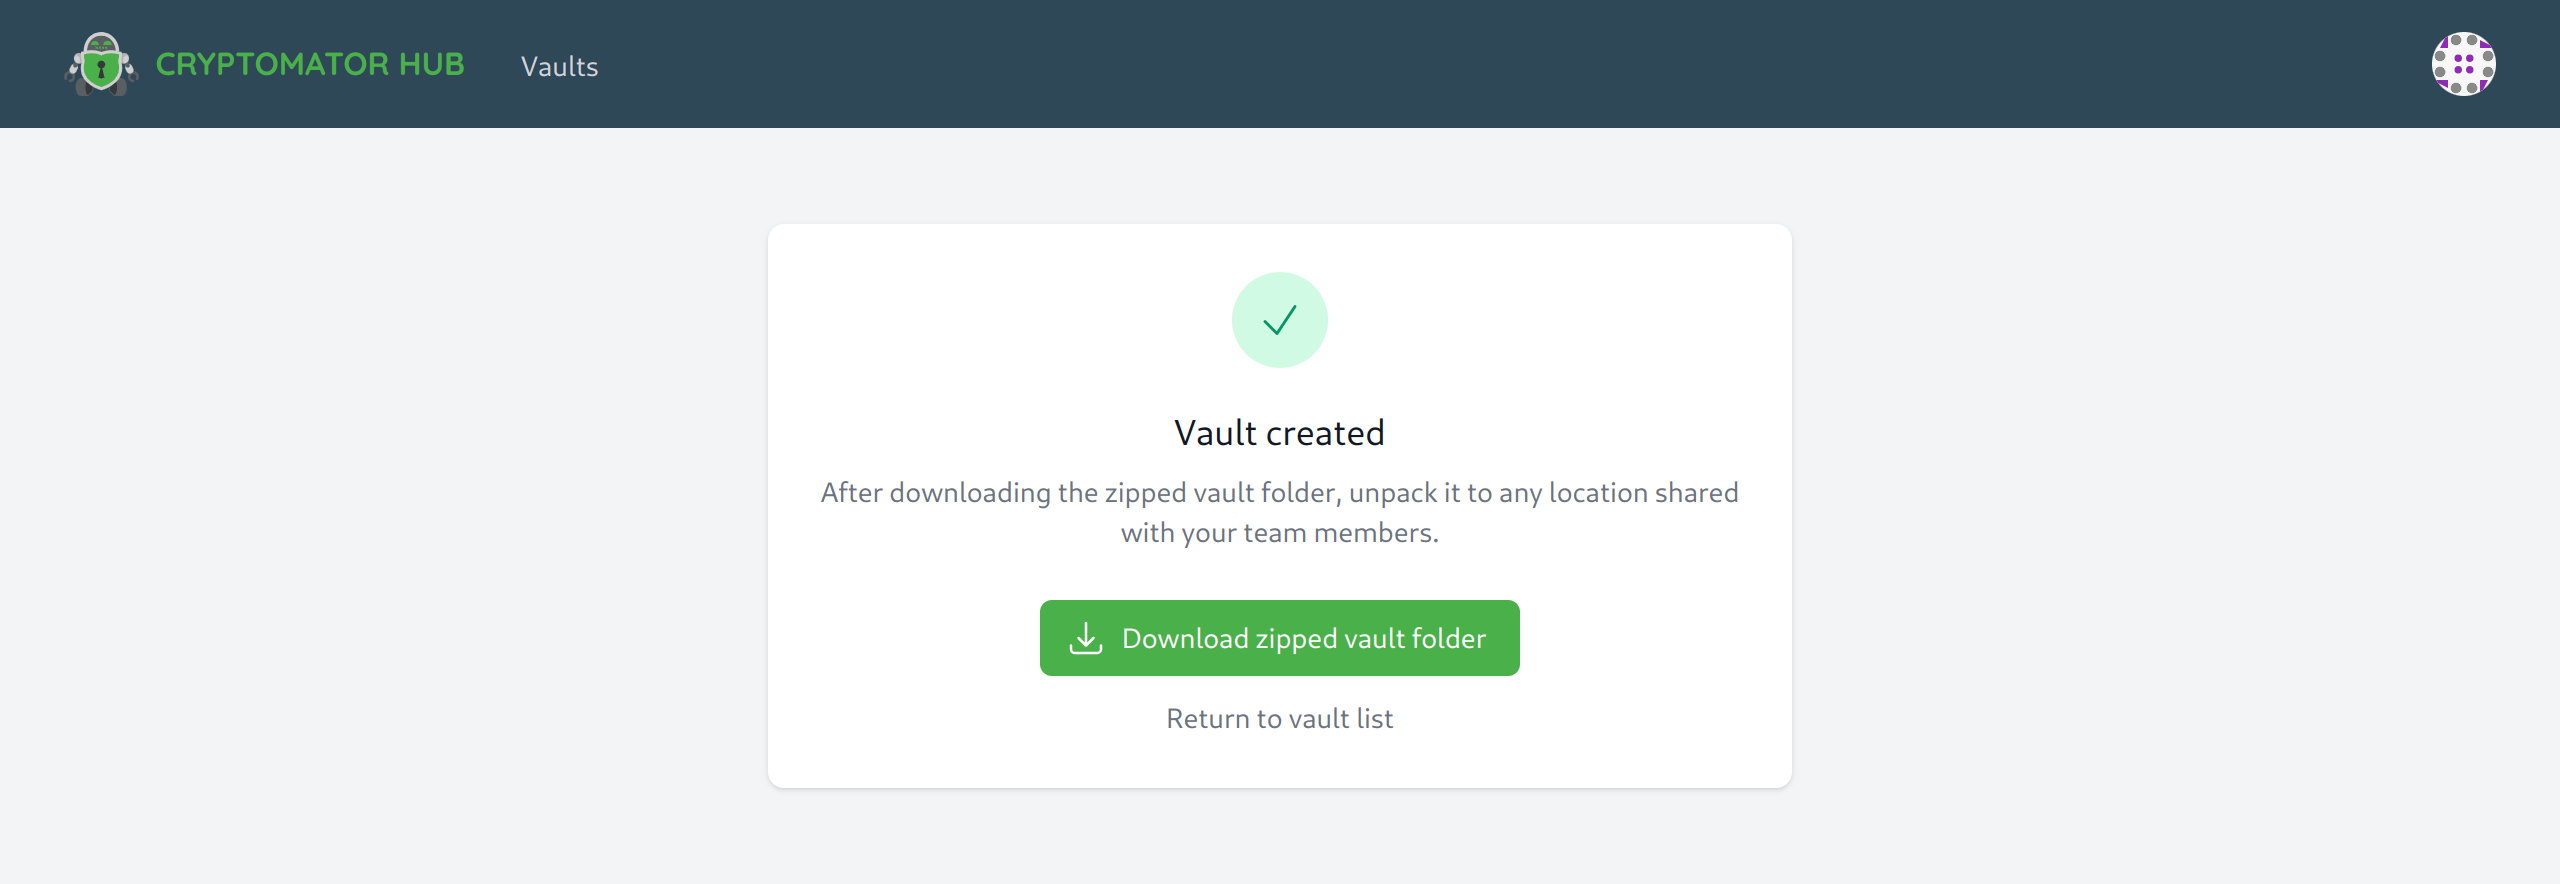
When the setup is finished, you have the opportunity to download the initial vault template and place it in your desired cloud storage location. You can unlock the vault and place data inside with Cryptomator. If you skip this step, you can download the template later.
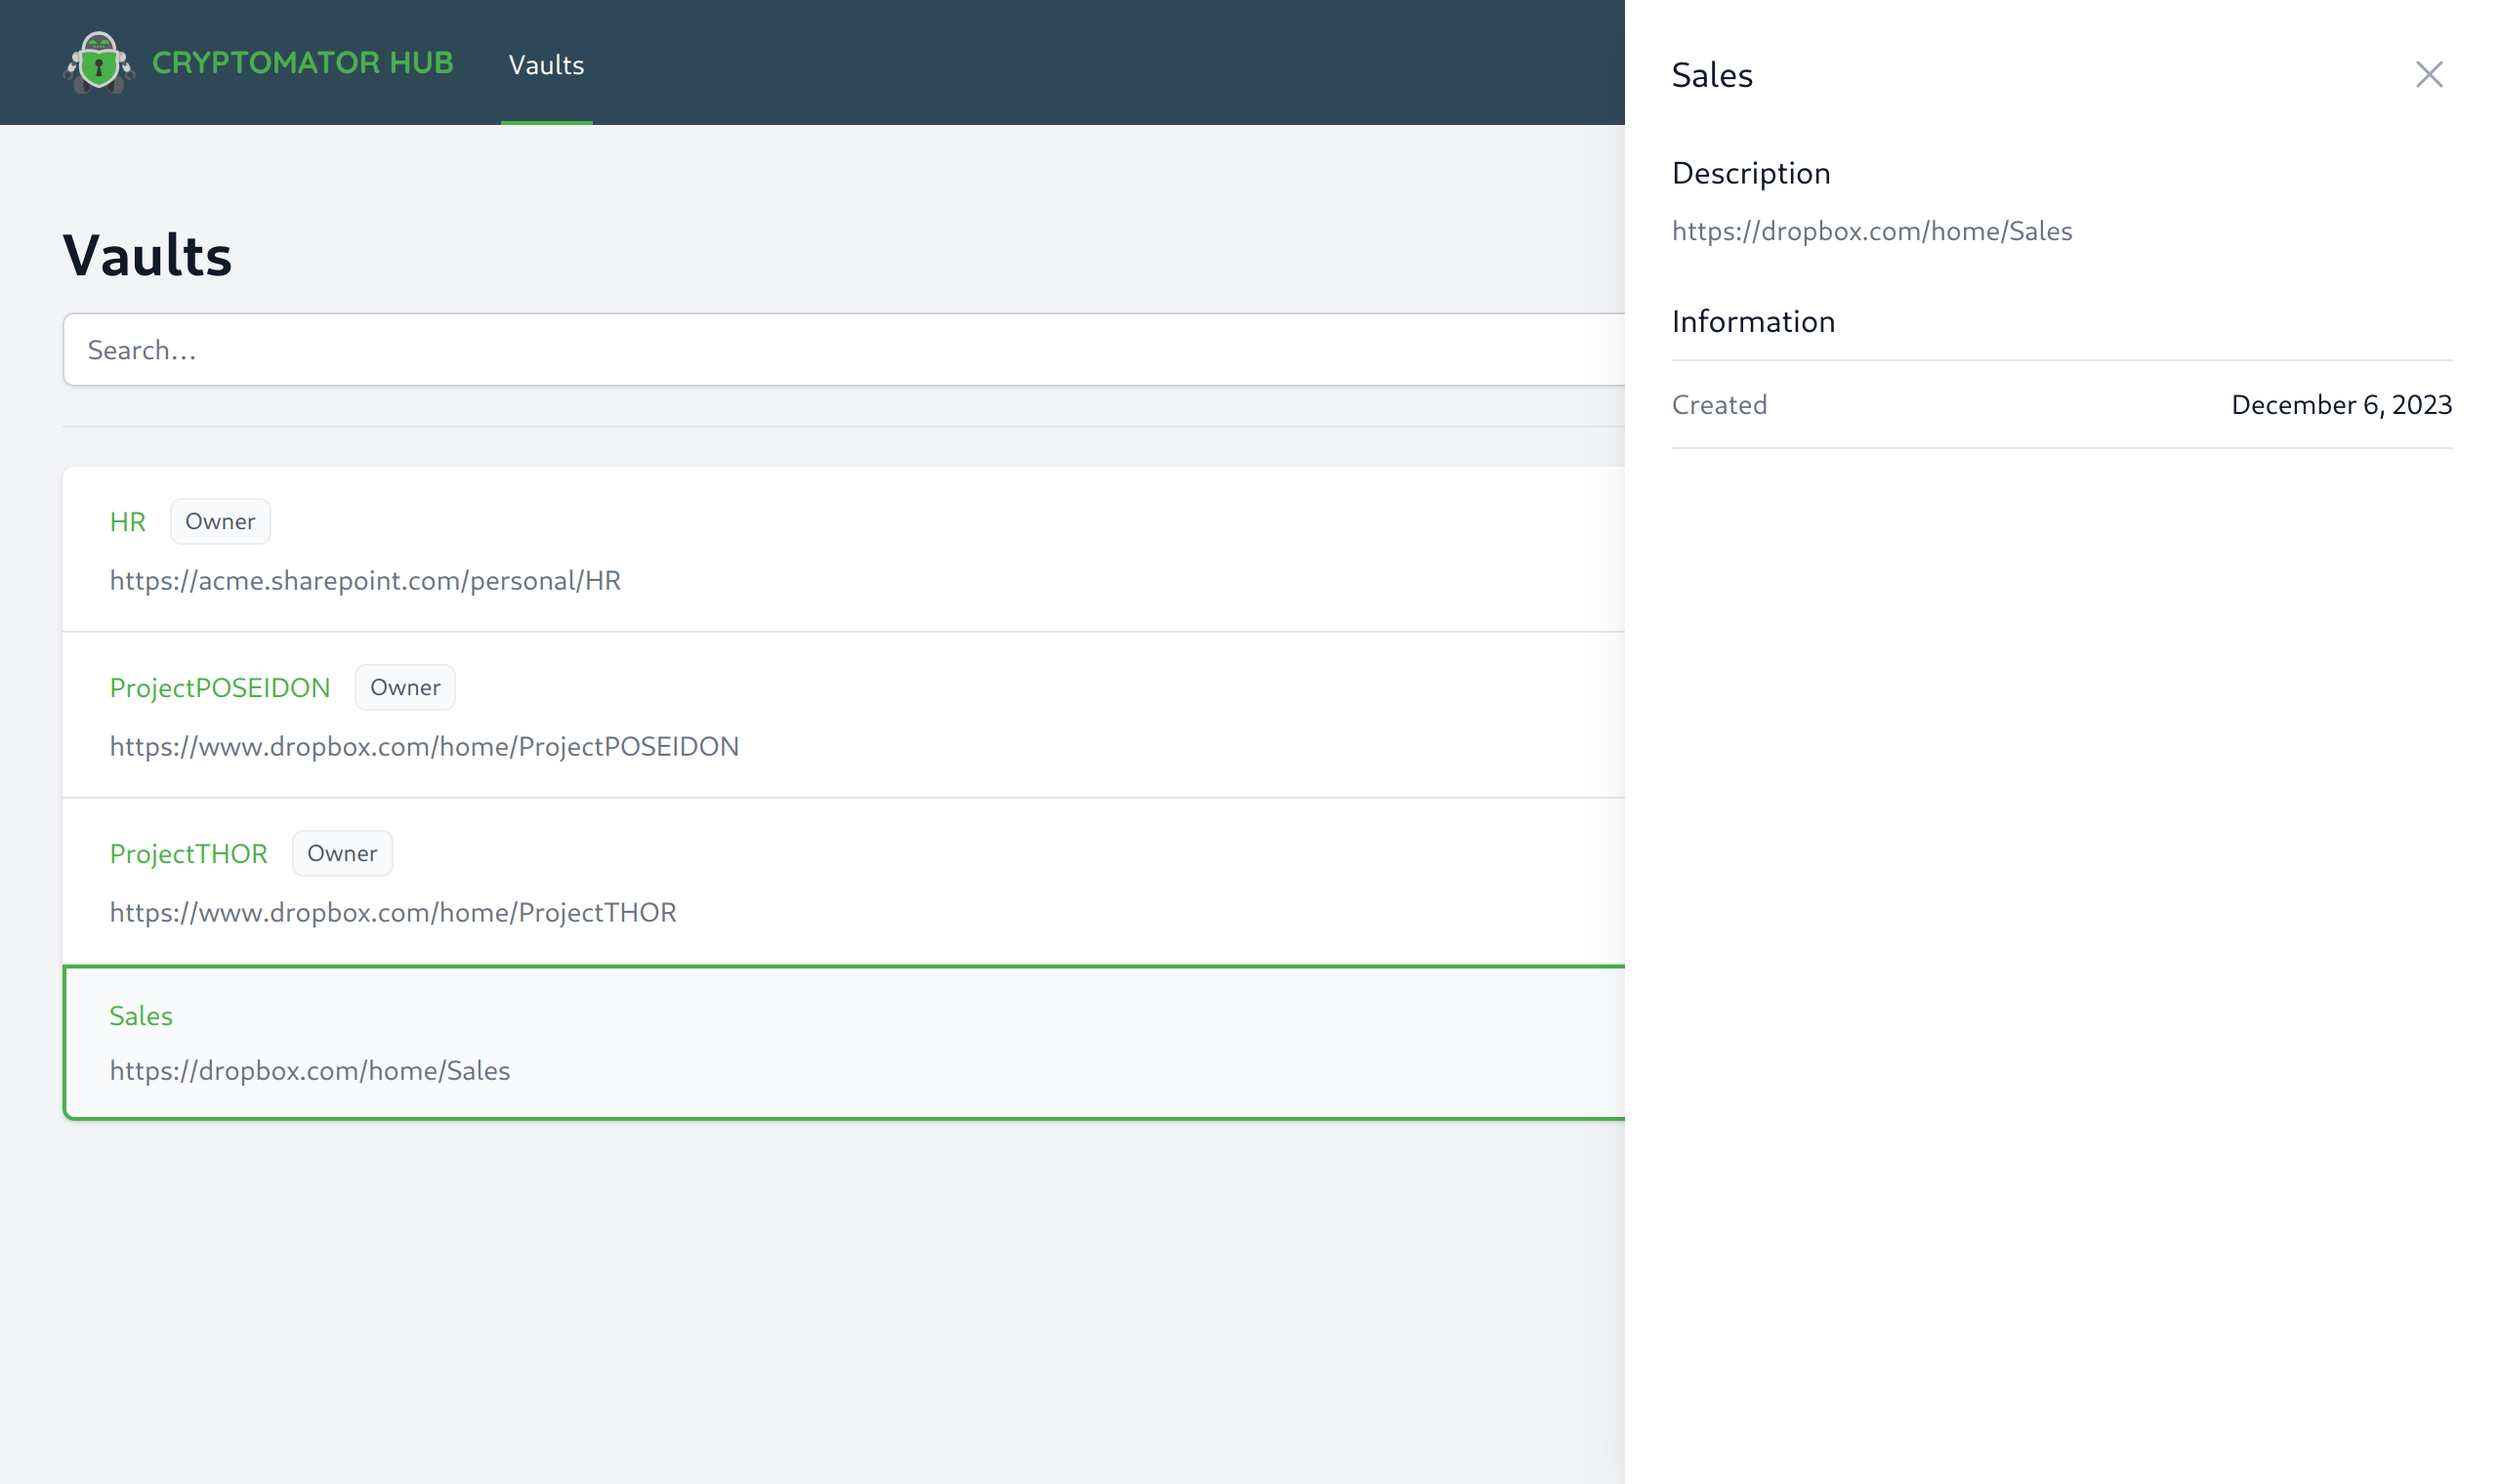
Vault Details
The vault details page shows metadata of a vault (e.g. creation date) and contains the management section of the vault (e.g. grant a user access). To open it, navigate to the vault list and click on entry in the list. The details are displayed on the right side.
With the user role, you have access to the following details:
With the owner role, you have access to the following sections:
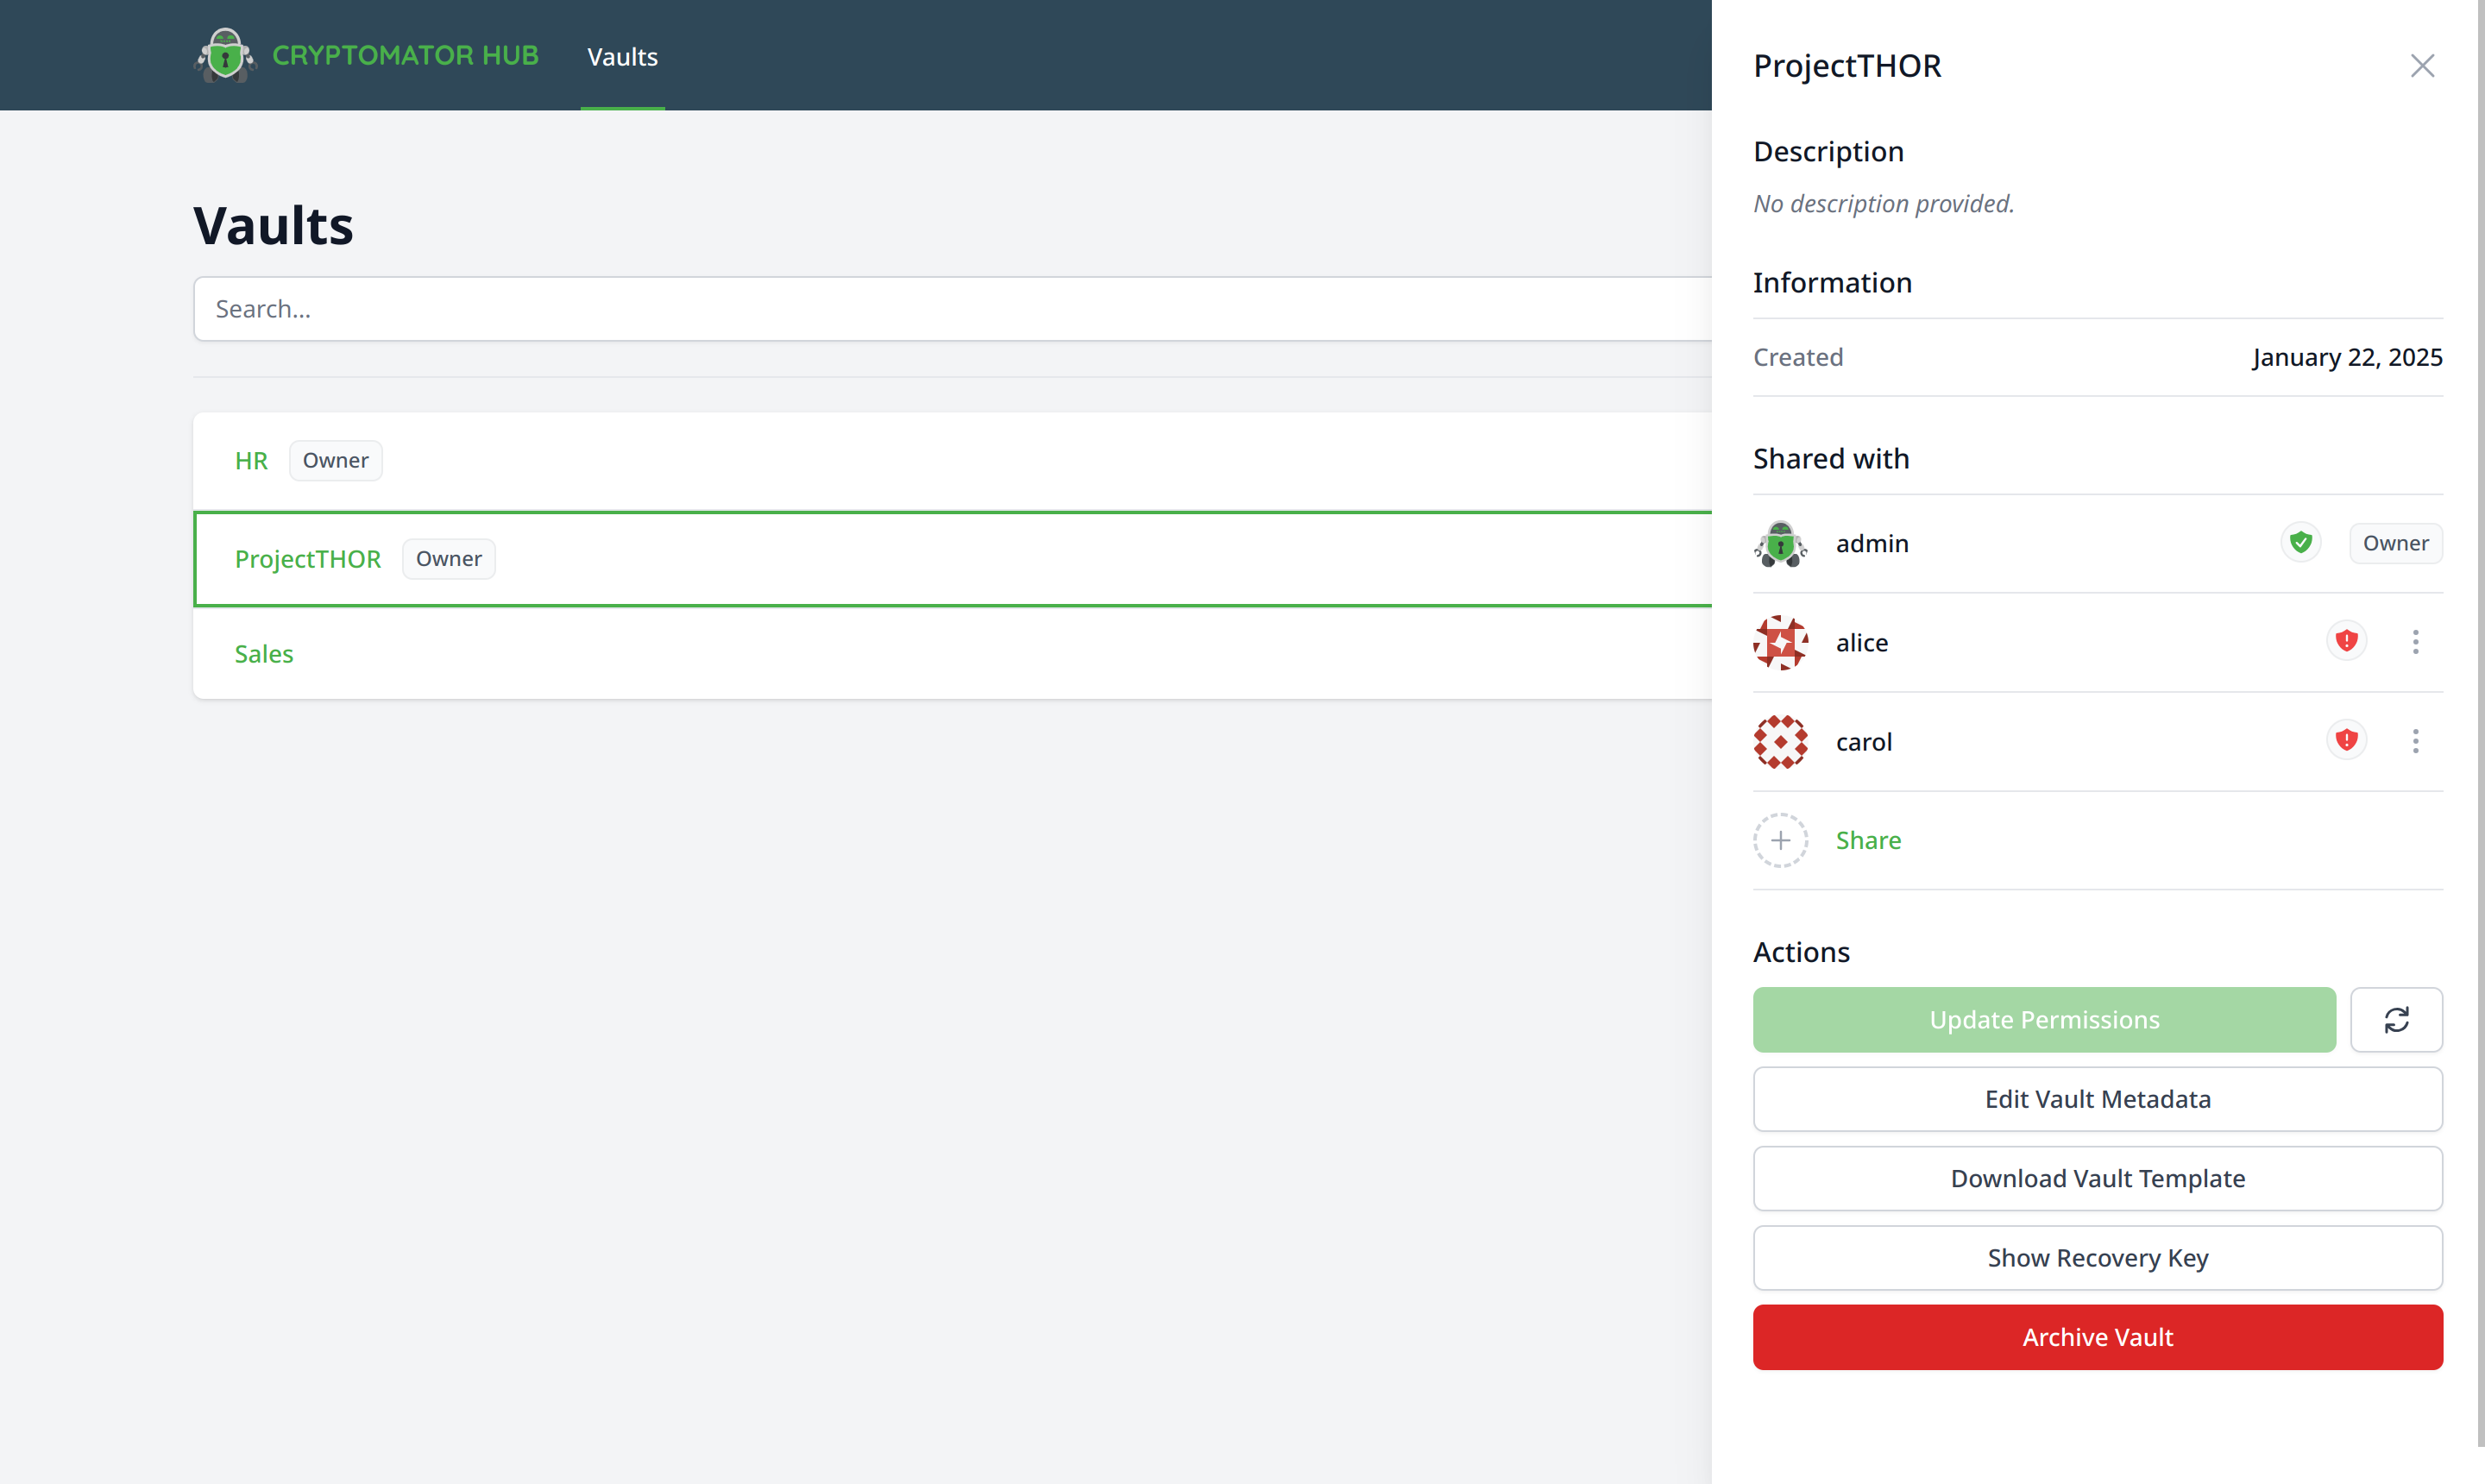
Manage Vault
To add a user, grant devices access, or view the members list, you need to have the vault owner role. Open the vault details page to manage a vault.
Shared withmembers listUpdate Permissionsbutton (only clickable if necessary)Edit Vault MetatdatabuttonDownload Vault TemplatebuttonShow Recovery KeybuttonArchive Vaultbutton
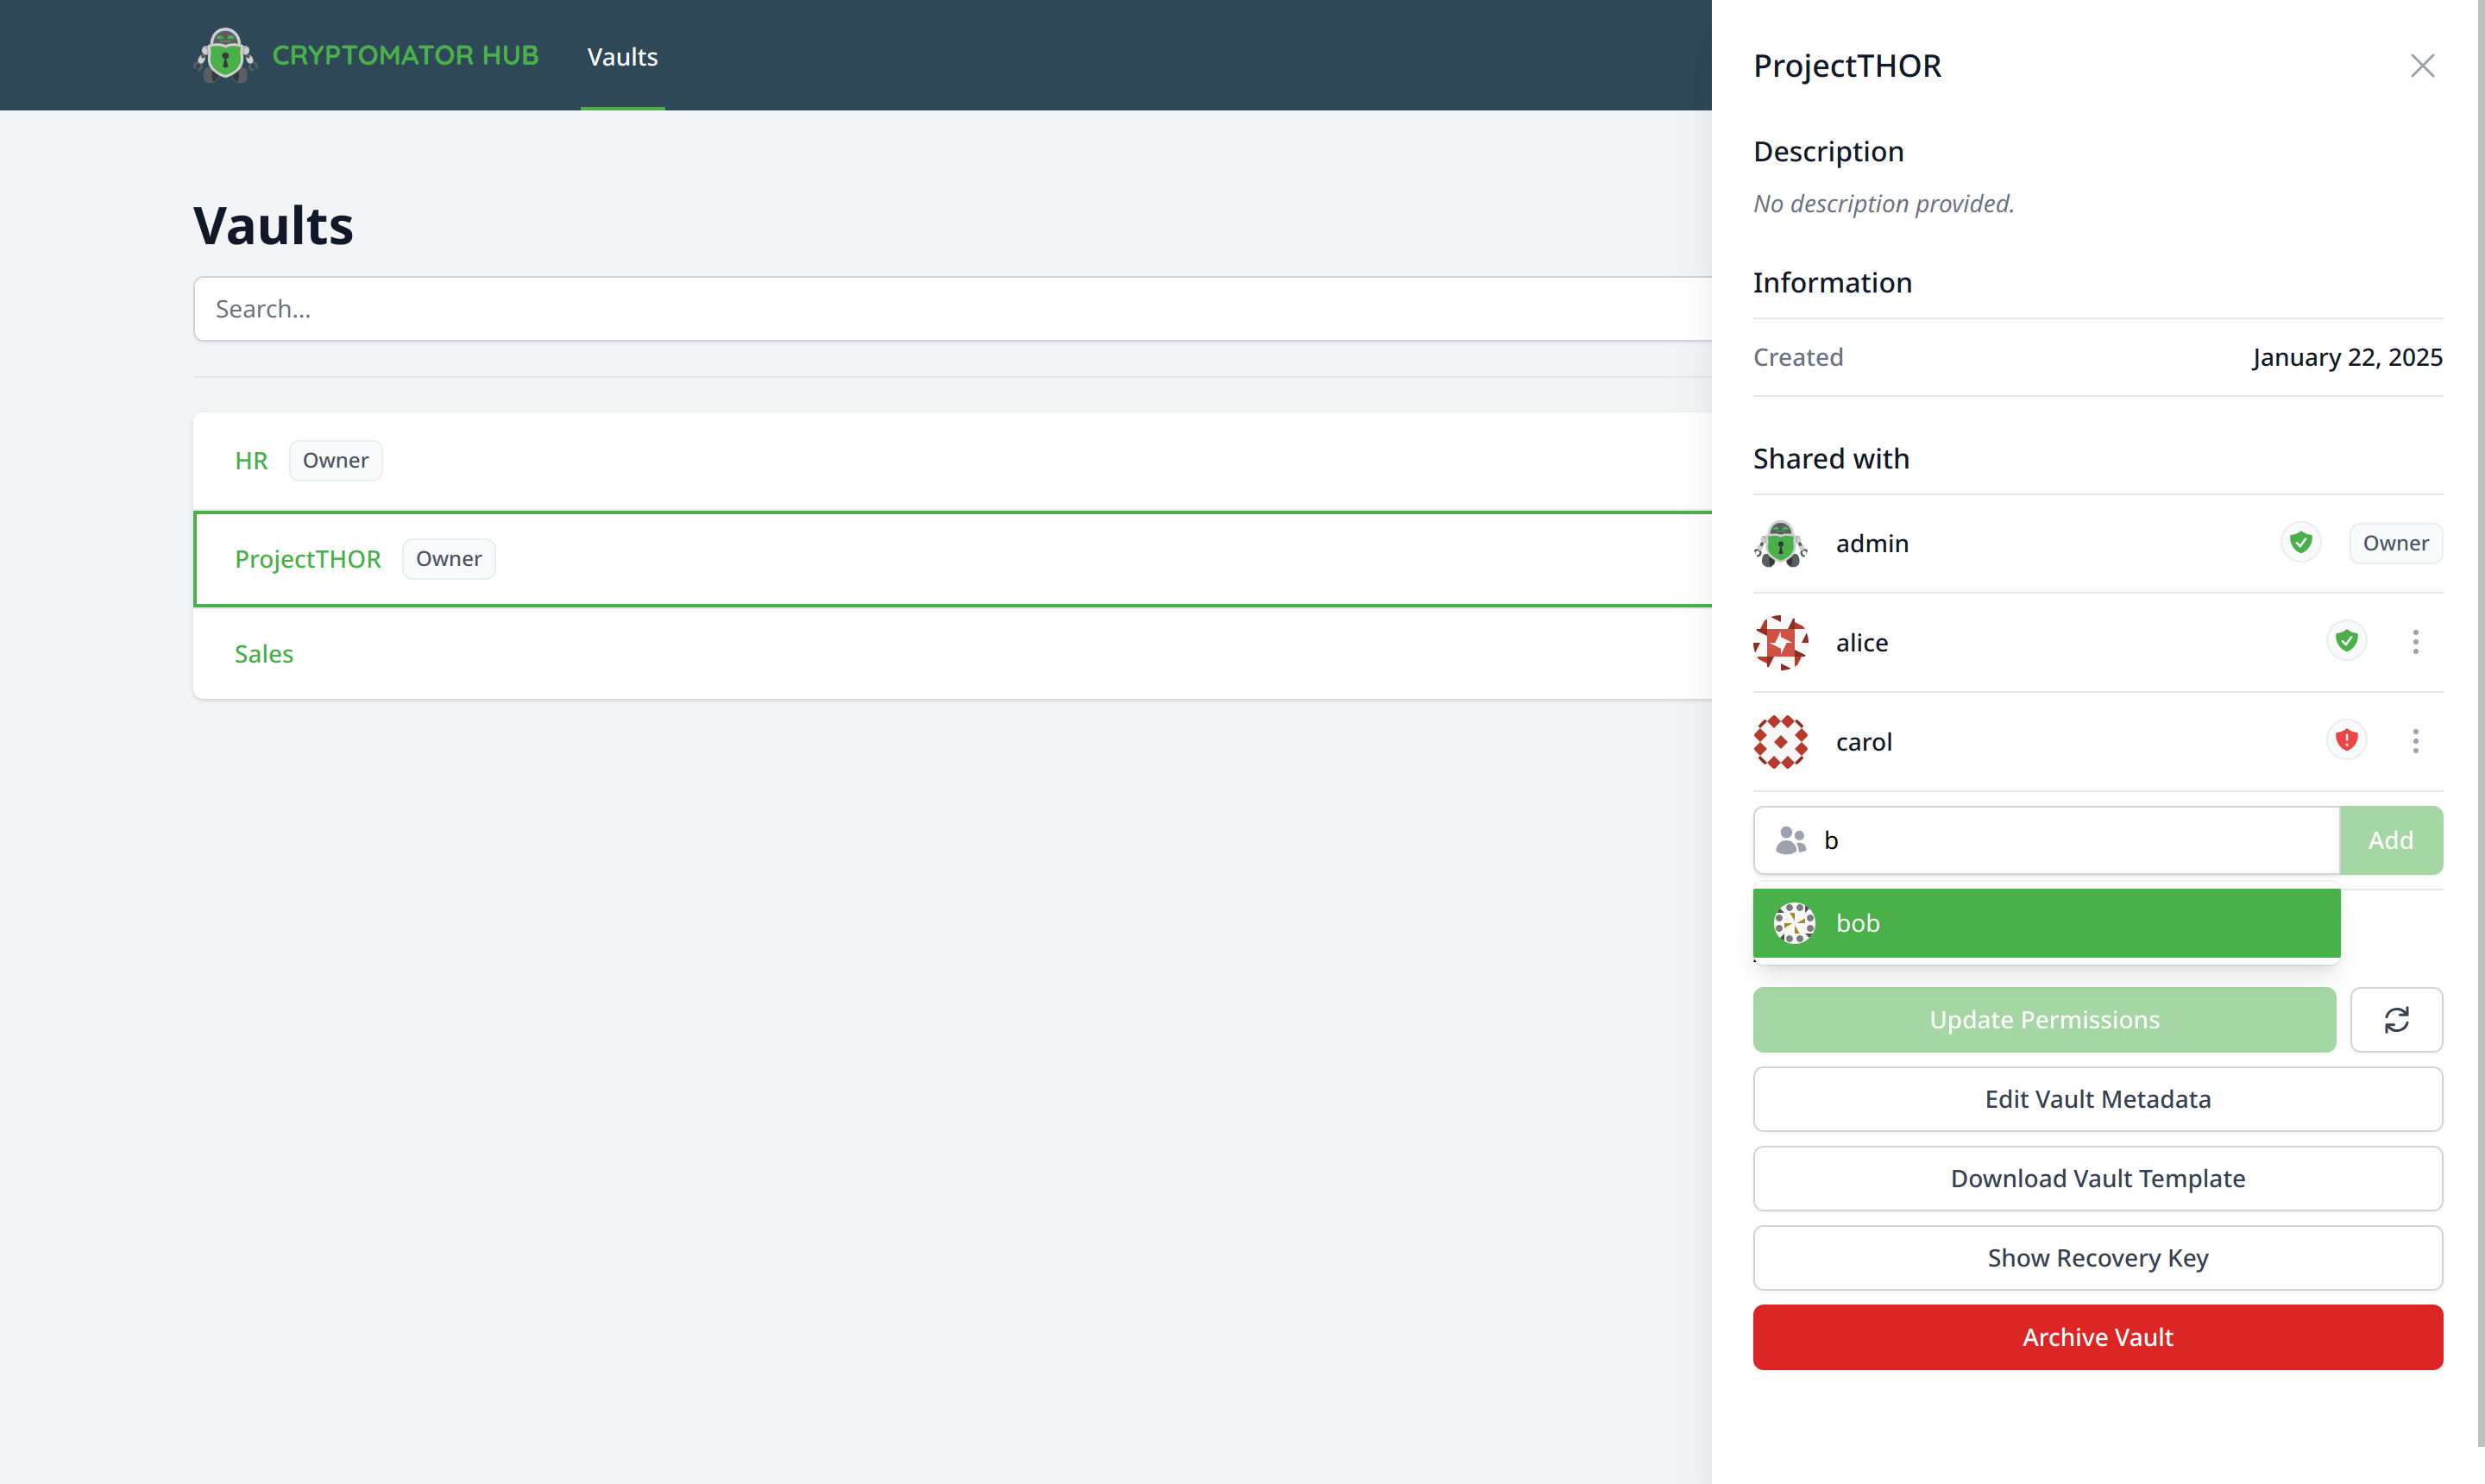
Share a Vault
If a user should have access to this vault, you need to share it with the user.
Click in the search field of the Shared with section, select it from the results list and click the Add button.
Change Ownership
To change user's ownership of a vault, click on the three dots next to the user's details in the Share a vault section of the vault details.
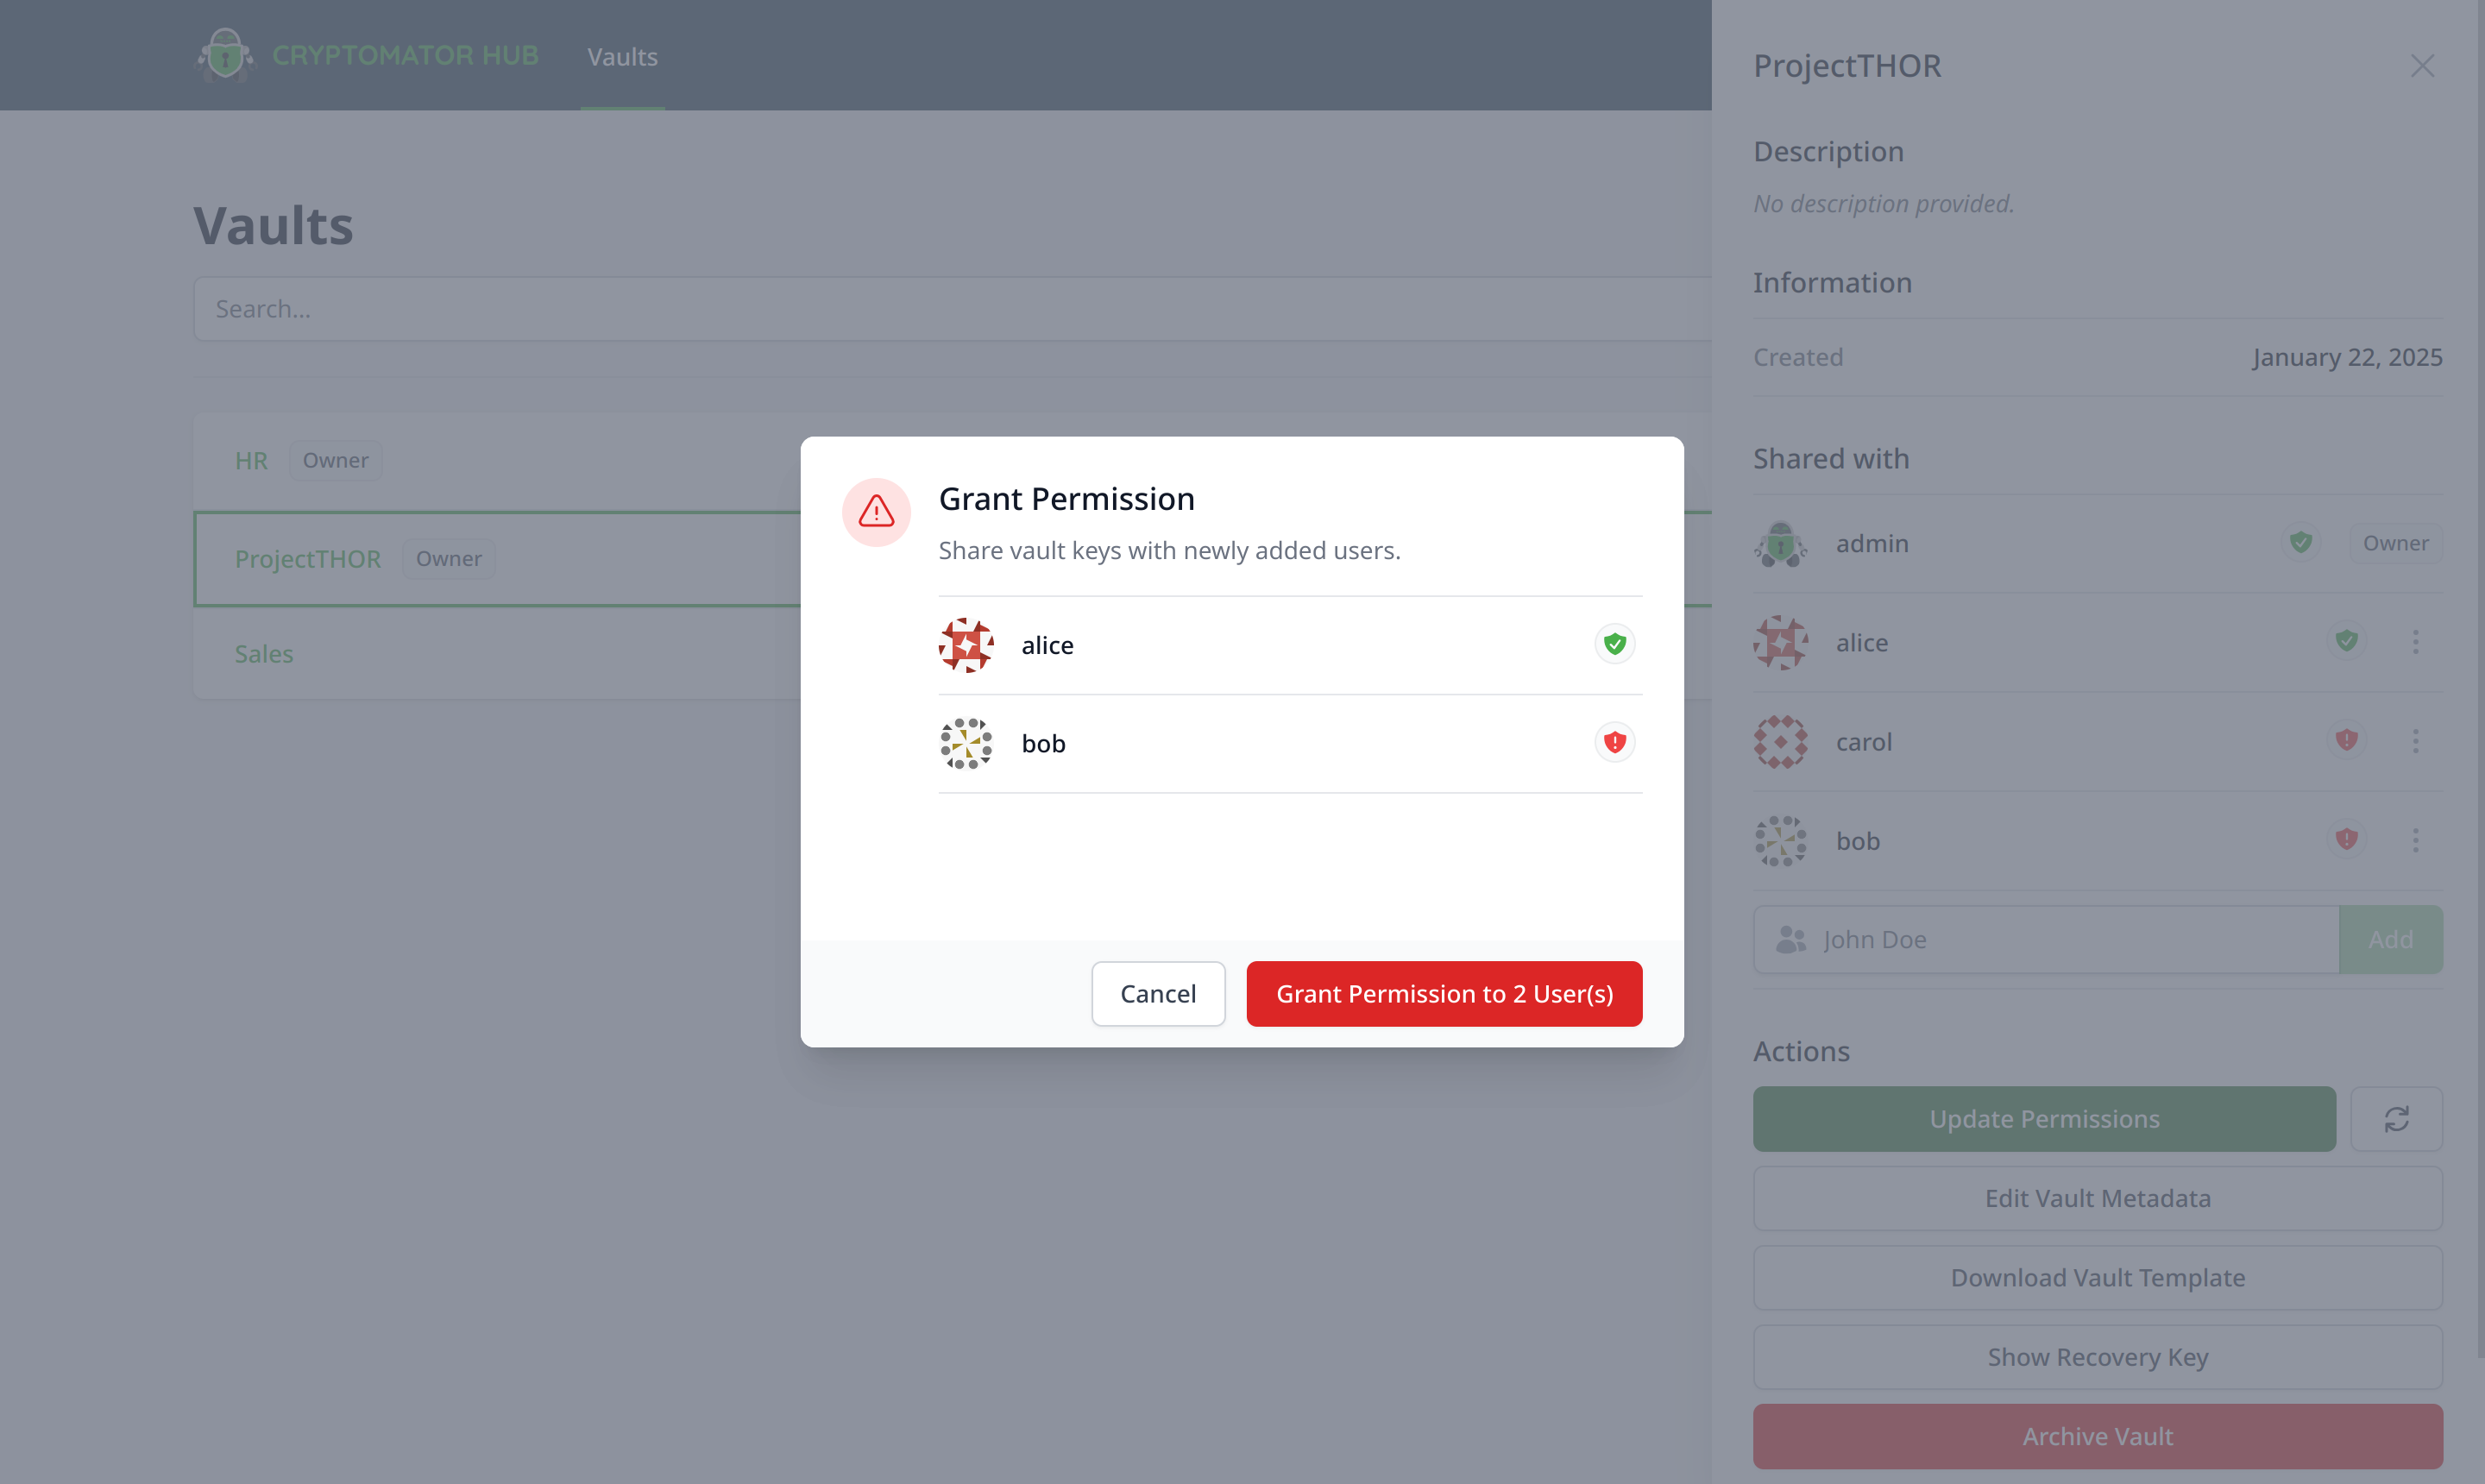
Update Permissions
If members of the vault have finished the first login or reset user accounts, a vault owner must explicitly grant access to these users. Only then, the user can unlock the vault with its device.
As a vault owner, you can see that an update is necessary when the Update Permissions button is clickable.
Edit Vault Metadata
To edit the vault metadata, click on the Edit Vault Metadata button in the vault details. It opens a form where you can change the vault name and description.
Download Vault Template
To download the vault template, click on the Download Vault Template button in the vault details. It downloads the vault template to your local device. You can place it in your desired cloud storage location and unlock it with Cryptomator. You can do that if you skipped the download vault template step during the vault creation.
Download the vault template only once! If you download it multiple times, you will have multiple vault templates in your cloud storage location. This can lead to confusion.
Show Recovery Key
To show the vault recovery key, click on the Show Recovery Key button in the vault details. It shows the same recovery key shown during vault creation. You can use it to restore access to the vault data in case of an emergency, e.g. if Cryptomator Hub is down. Store it at a safe location.
Archive Vault
To archive the vault, click on the Archive Vault button in the vault details. It archives the vault and removes it from the "accessible" vault list.
You can unarchive it by clicking on the Owned by me tab in the navigation bar, select the vault and clicking on the Reactive Vault button.
Web of Trust
Cryptomator Hub uses a Web of Trust (WoT) to verify the identity of users during vault sharing.
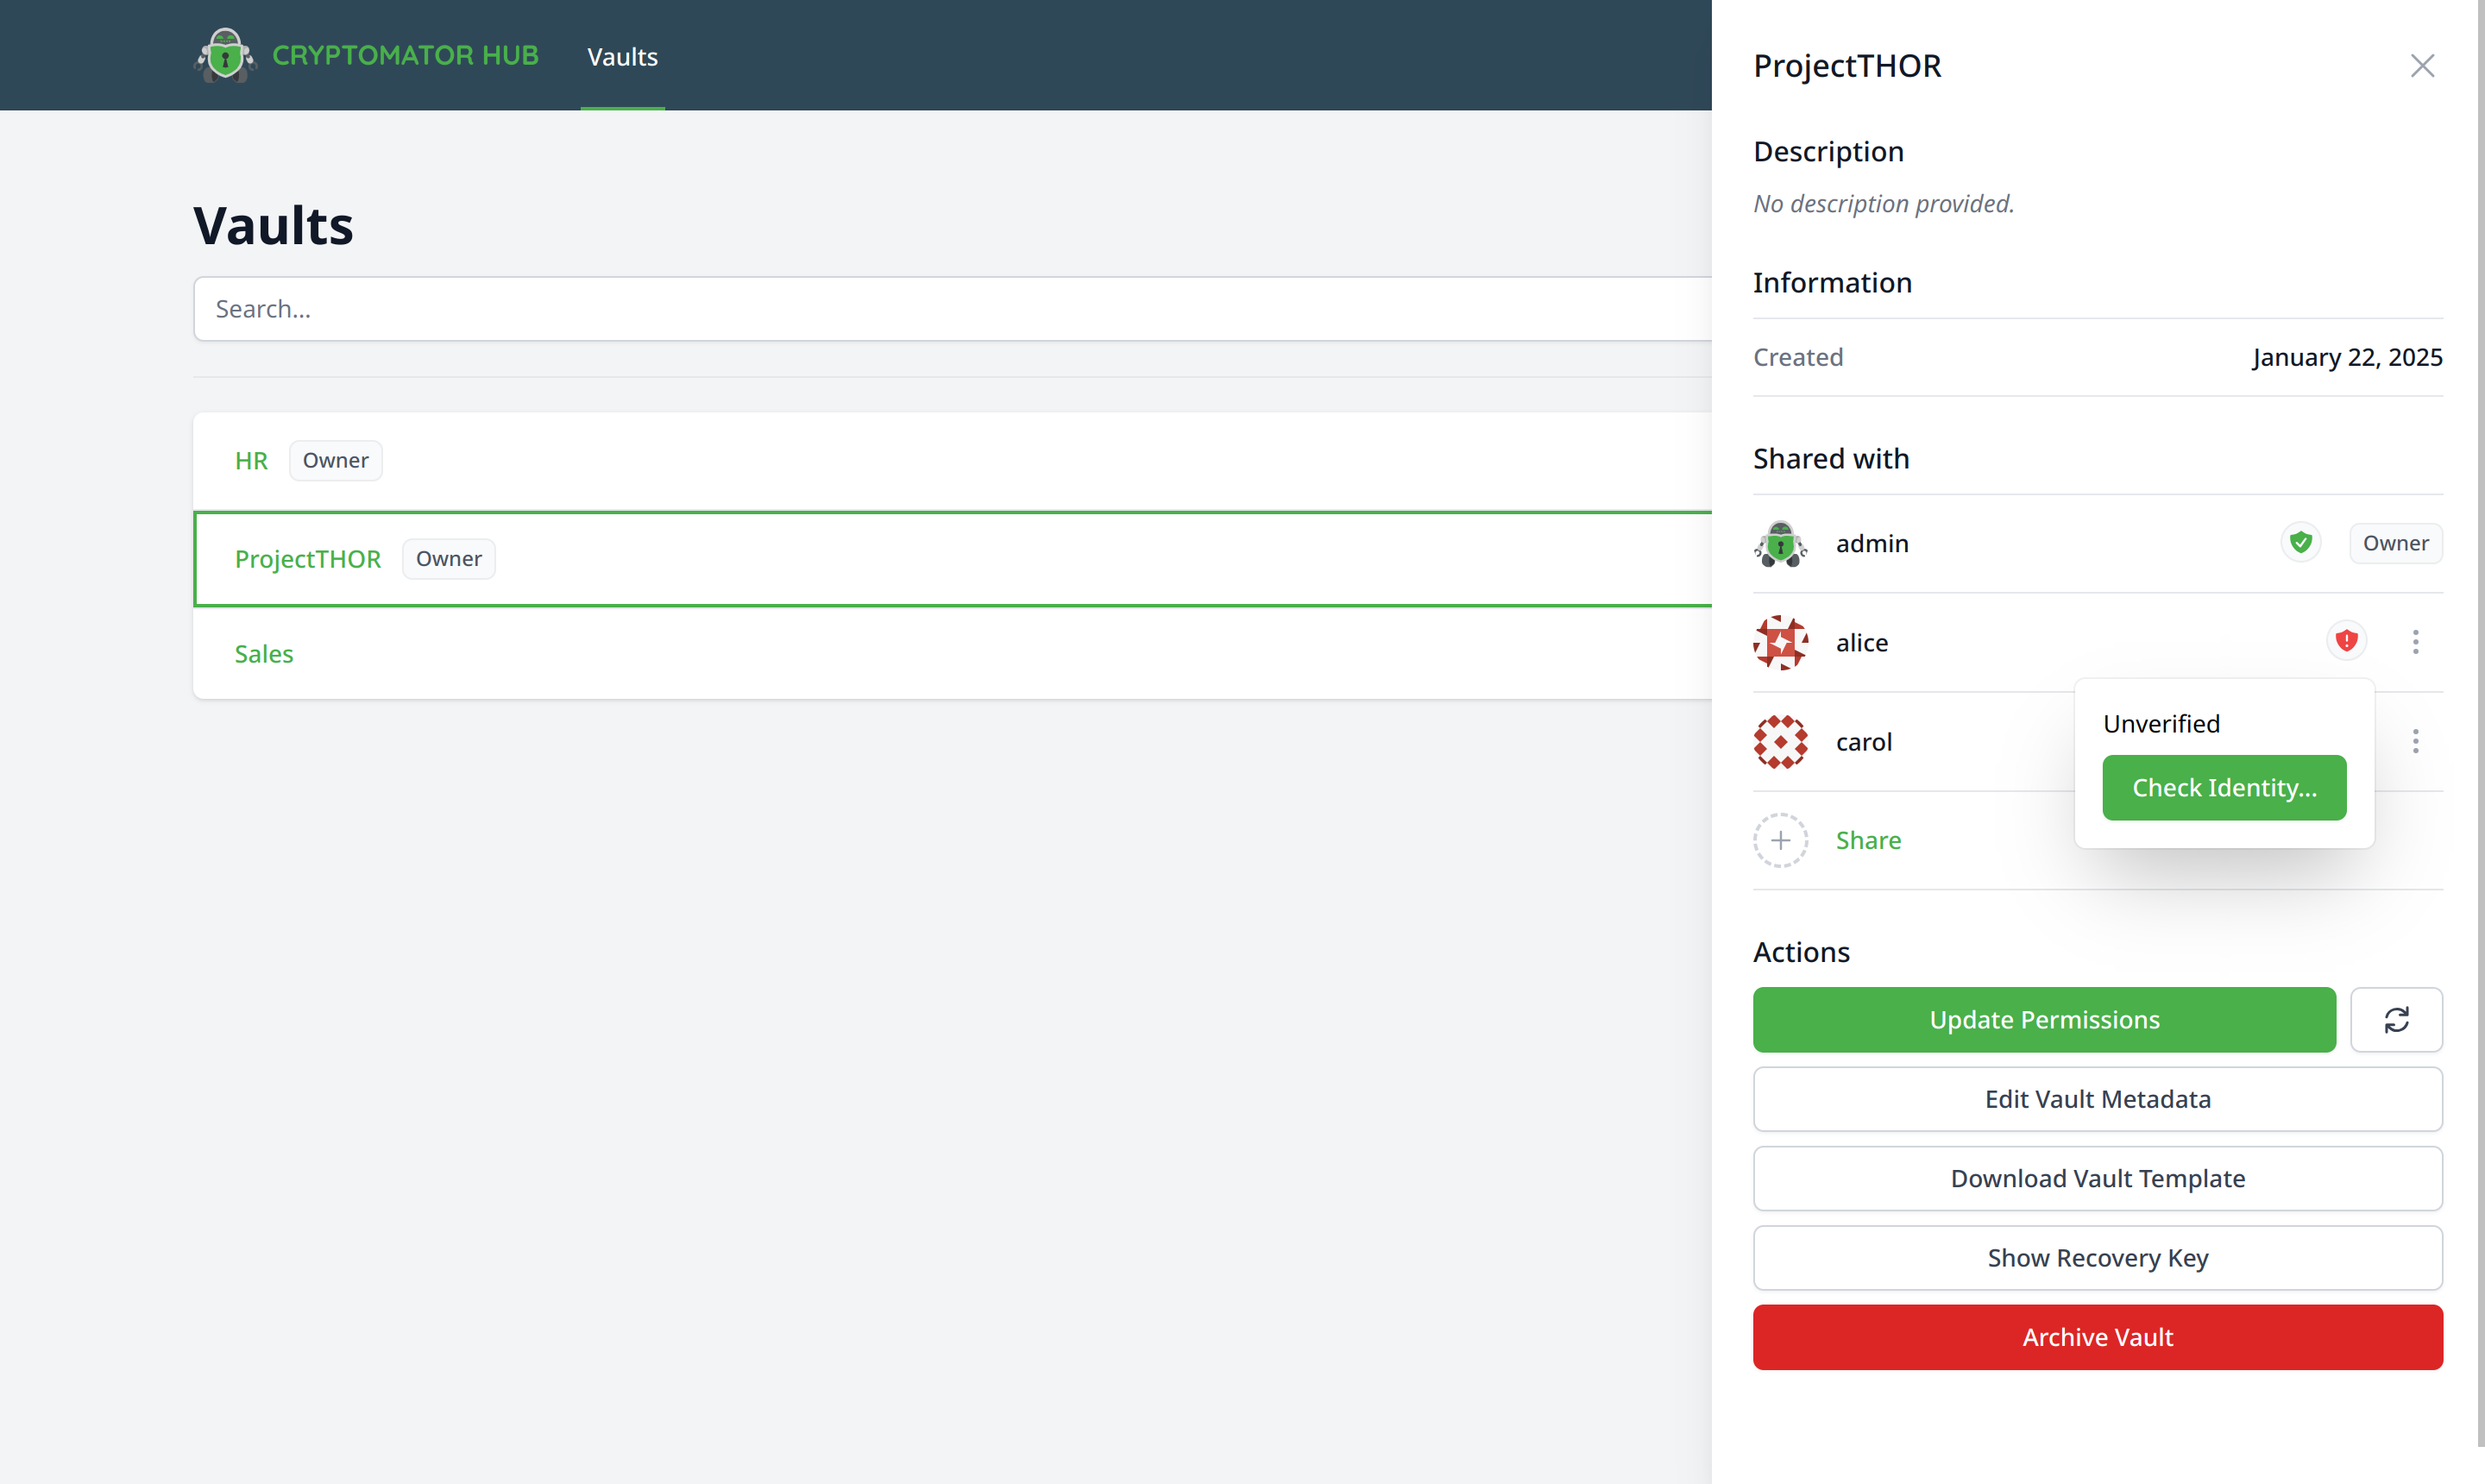
The WoT state of a user is displayed in the vault details page. The state can be one of the following:
- Unverified: There is no trust chain between you and the specific user. Indicated with a red shield. You can change this by verifying the user.
- Verified: There is a trust chain between you and the specific user. Indicated with a green shield. You or a user you trust has verified the user.
To verify alice, click on the red shield icon and select Check Identity…
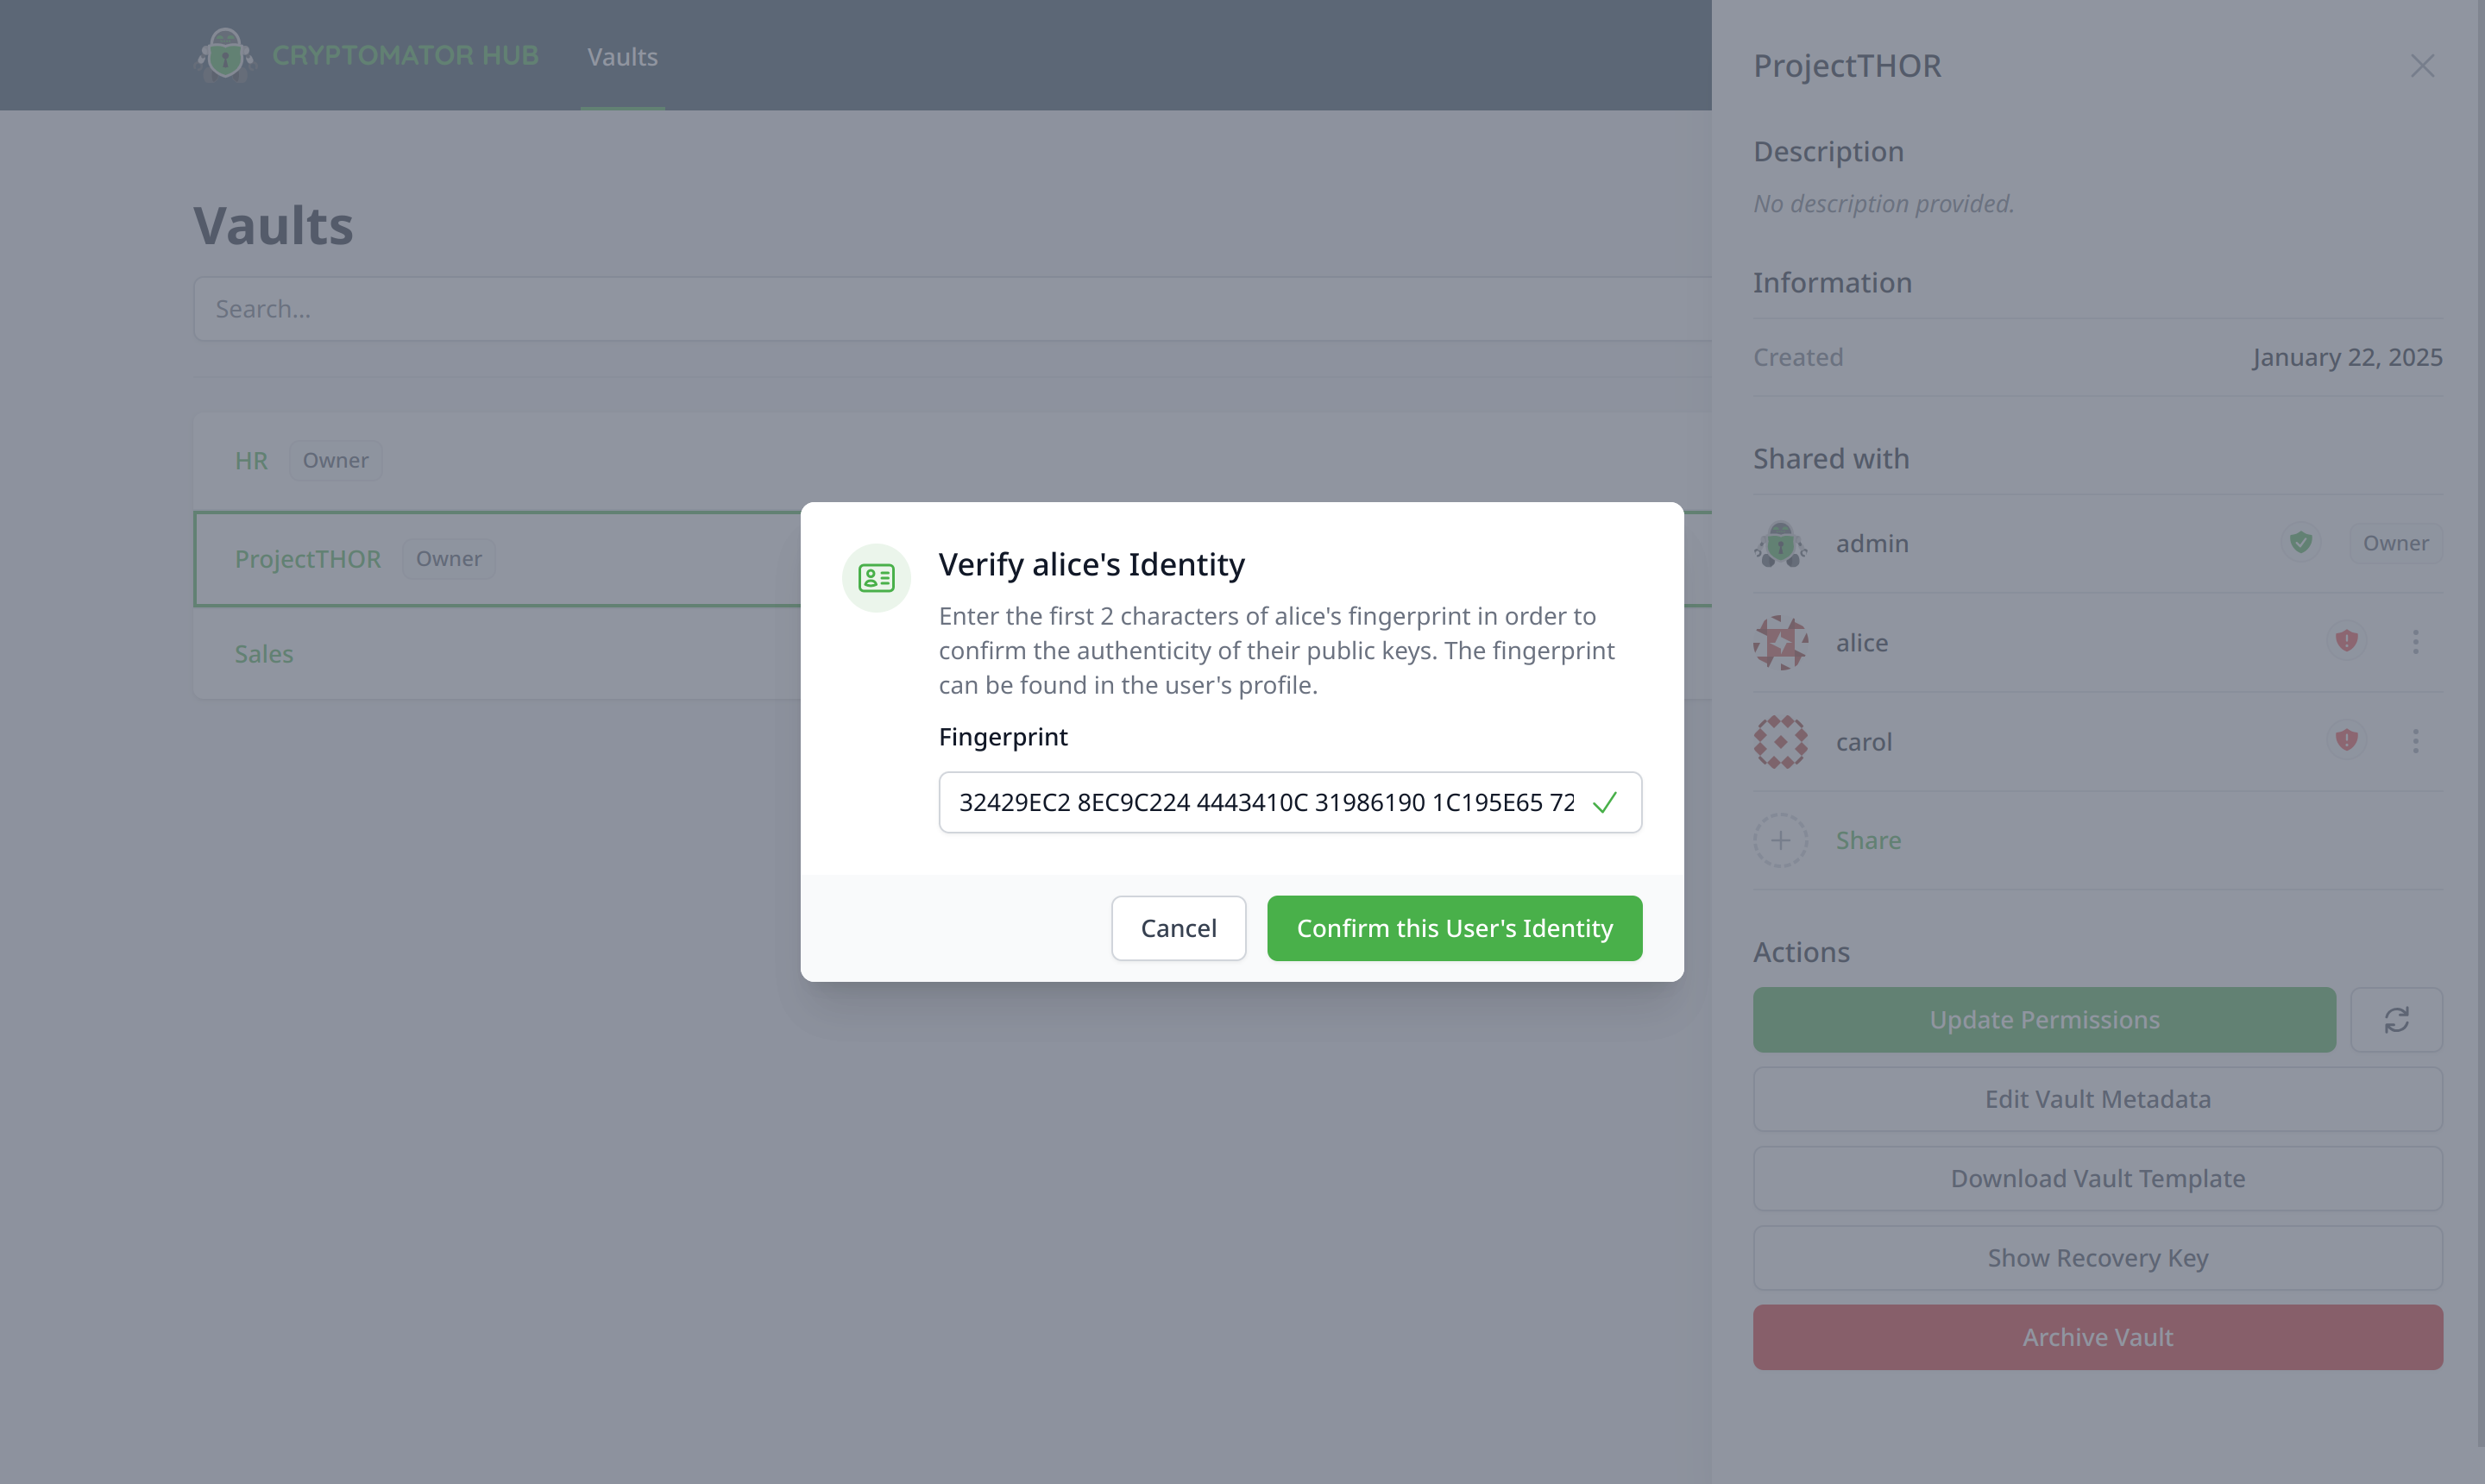
While verifiying a user, you need to enter the first characters of the user's public key fingerprint. This fingerprint is displayed in user coresponding user profile page.
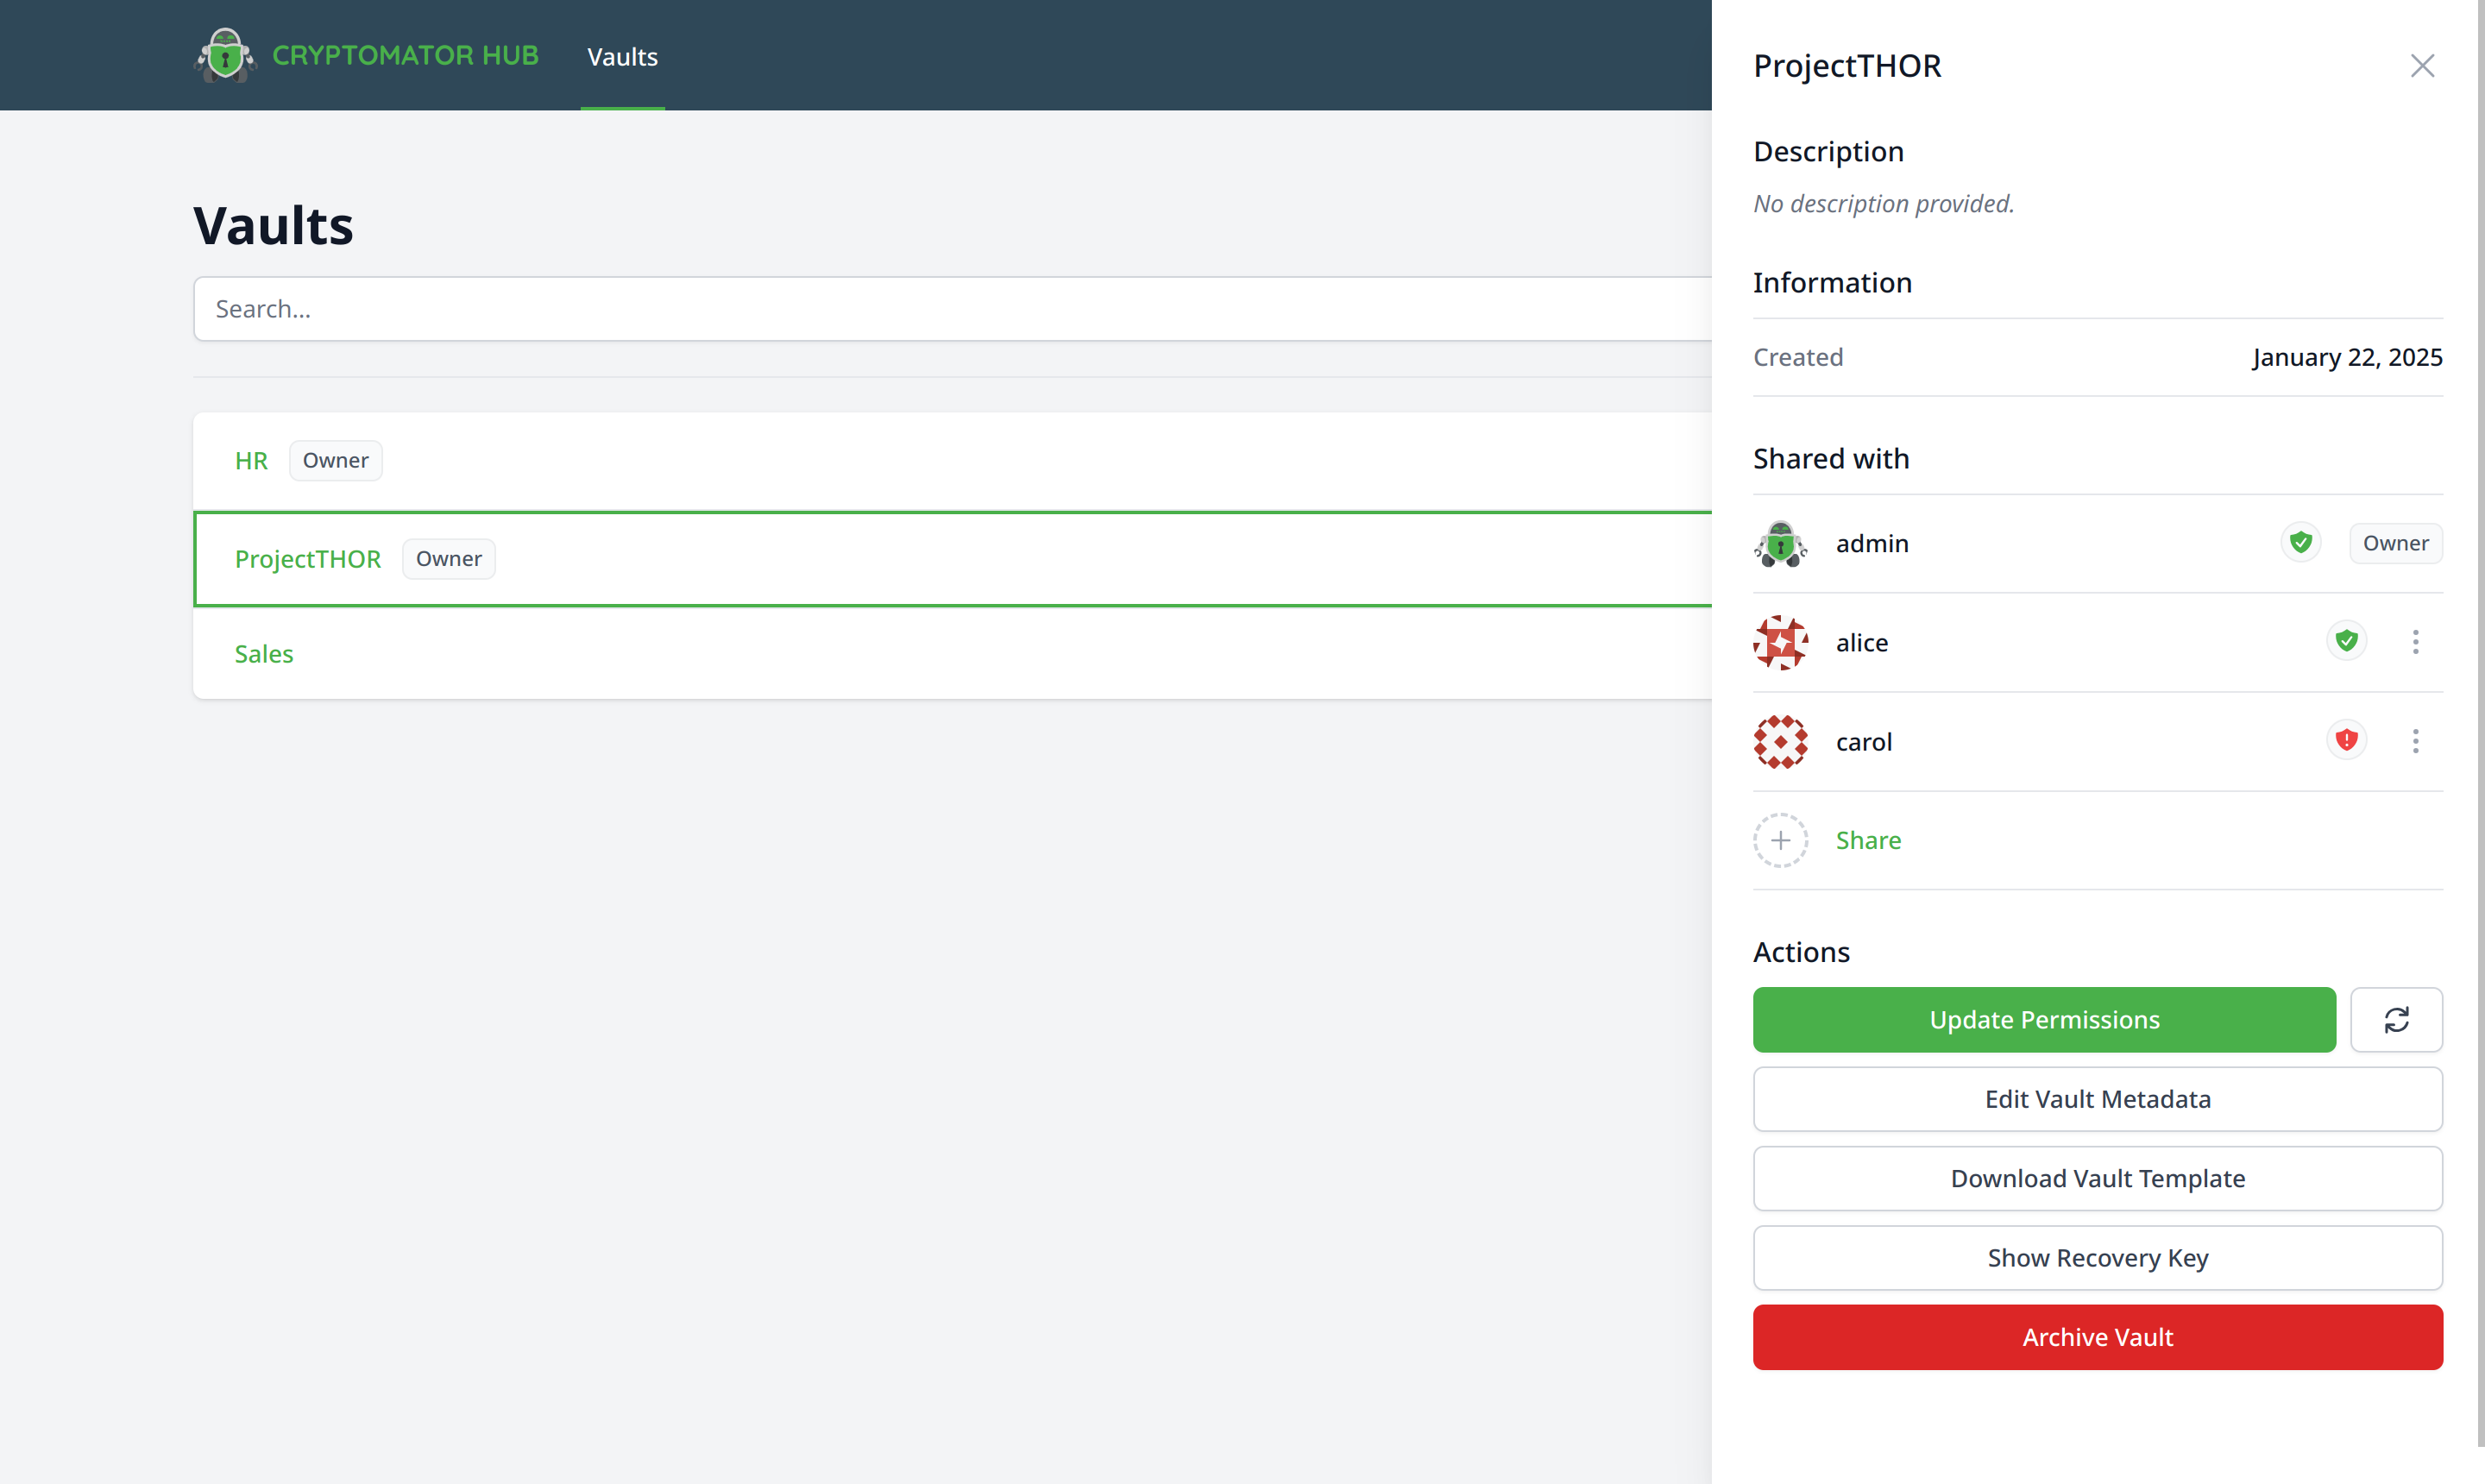
alice is now verified
The verification process is logged in the audit log with event type Signed Identity
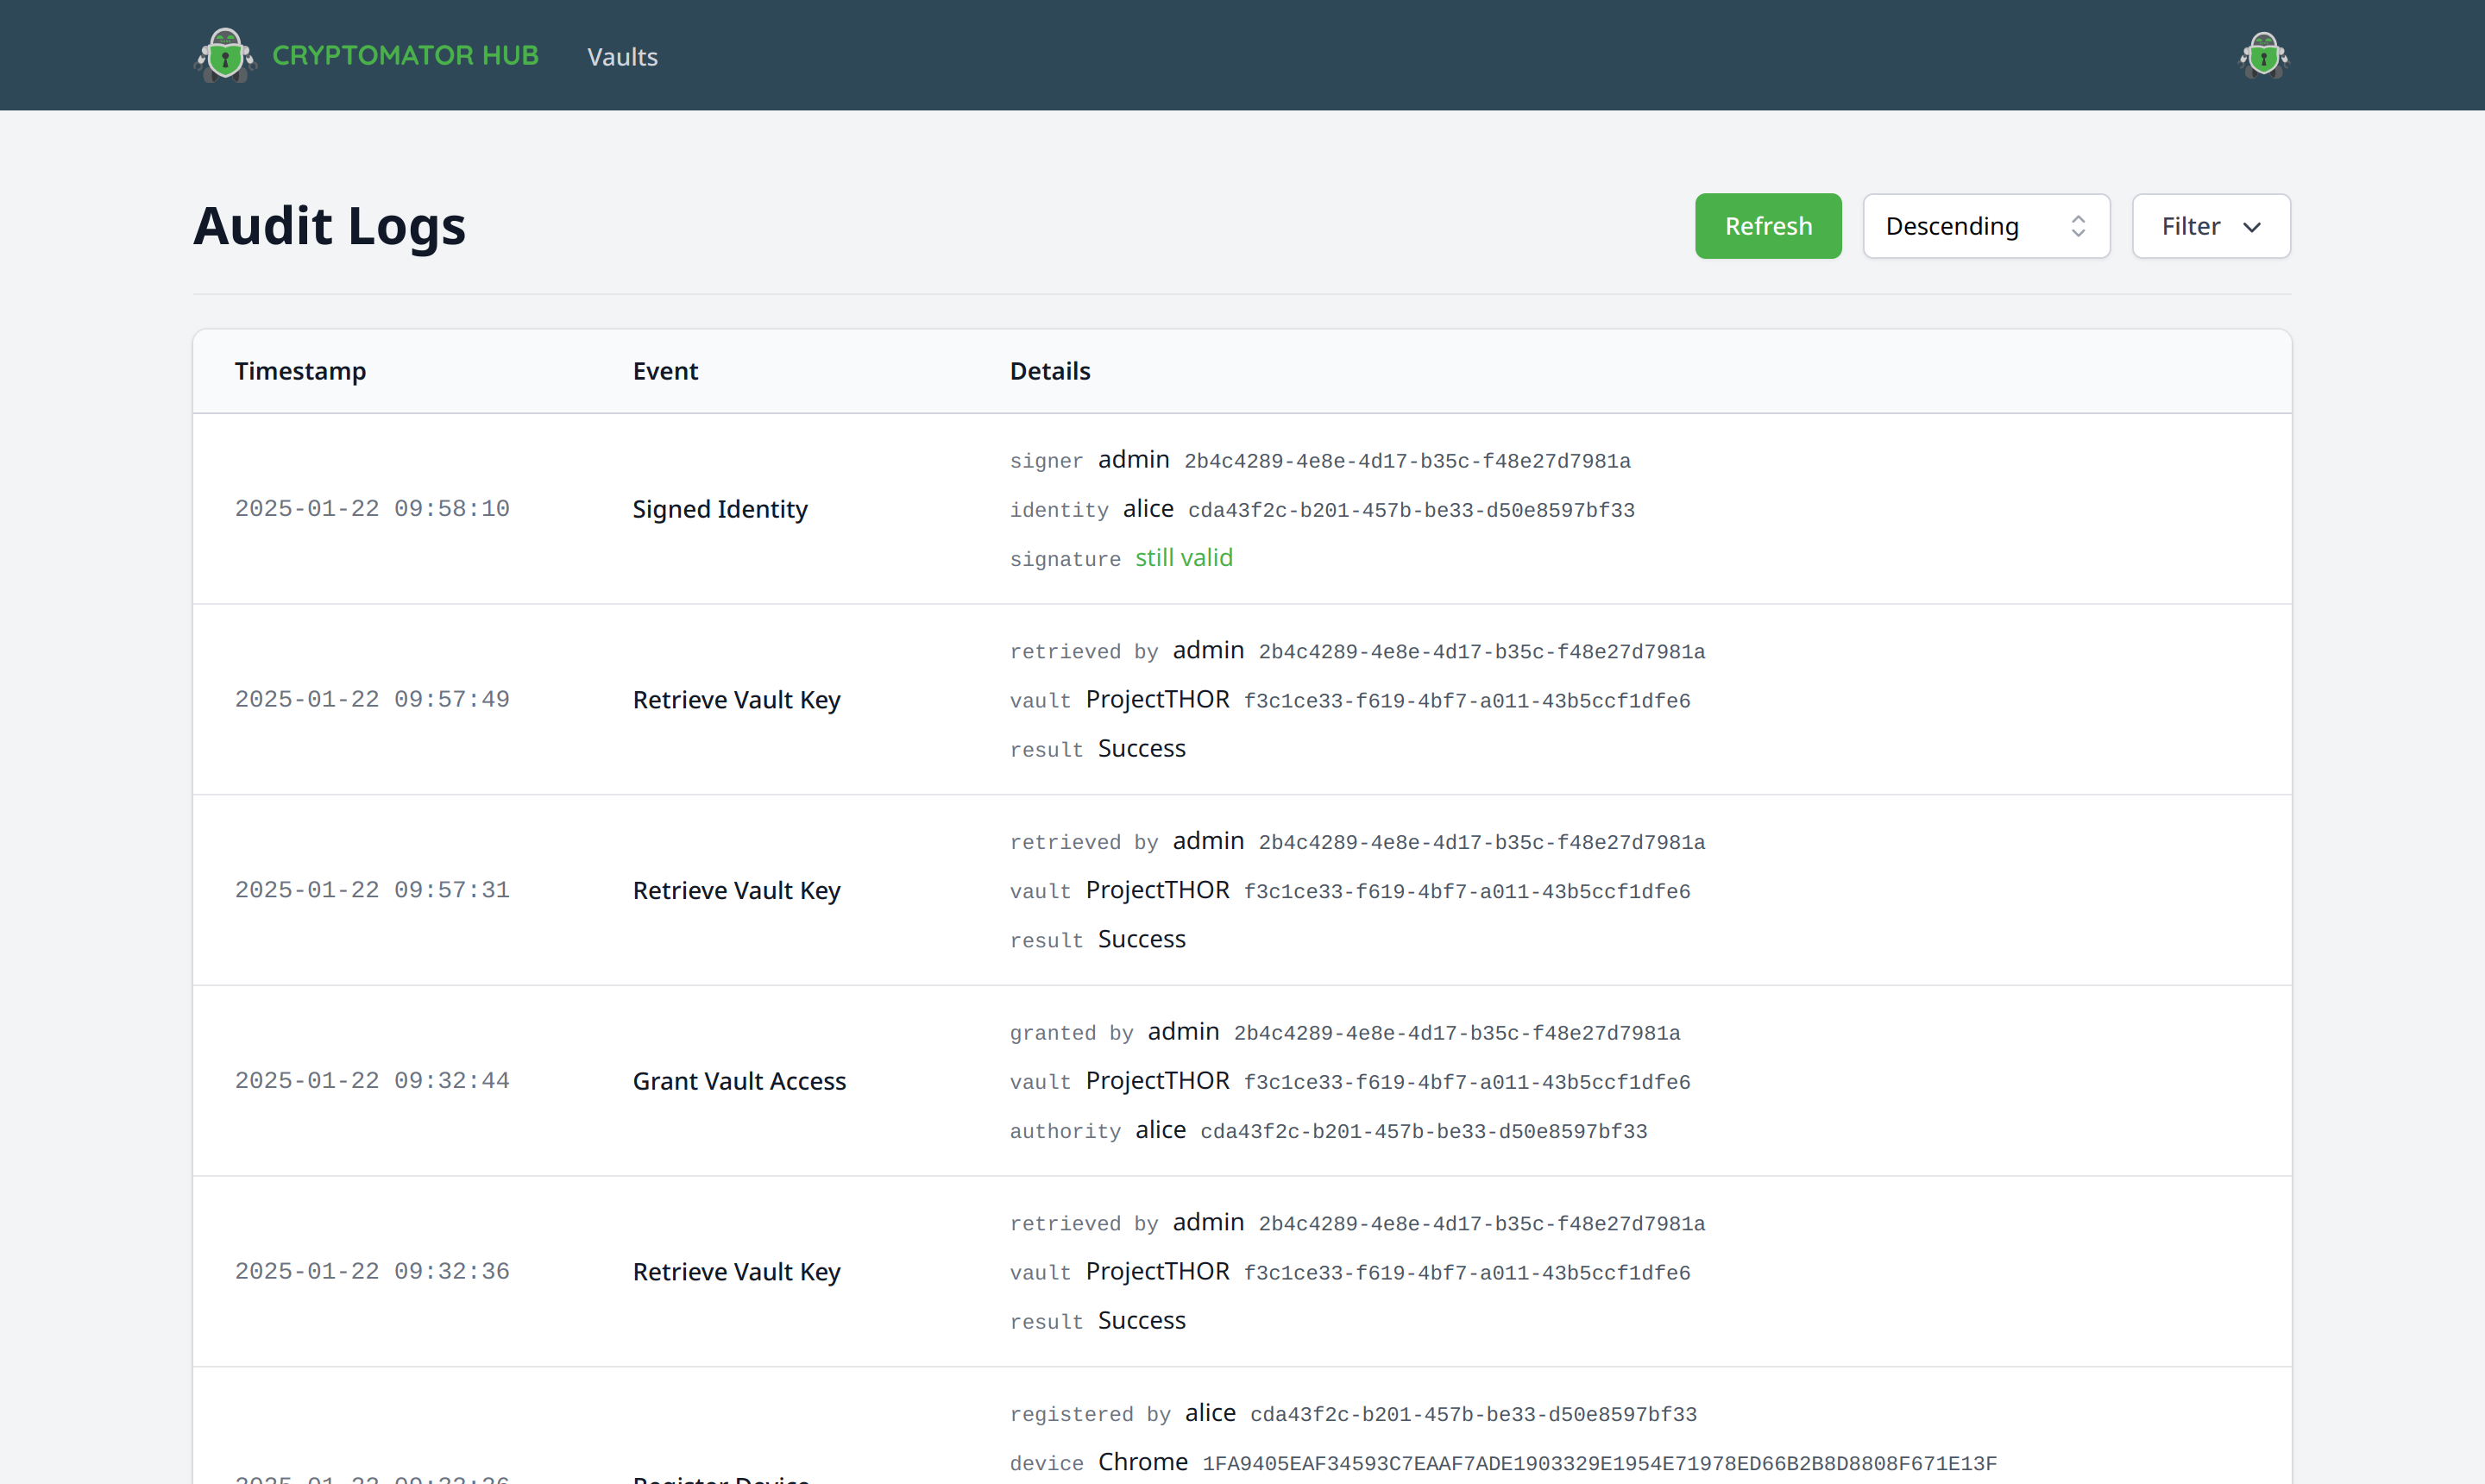
signature still valid means that the identity has still the same key. If the user account gets reset after verification, this message changes to was valid; signed key changed by now and the user needs to get verified again.
You can read more details about Web of Trust and how to configure its settings in the Admin section of Hub.
Import a Vault
If you have a existing, password-based Cryptomator vault and want to switch to centralized, password-less user access management, you can import the vault in Cryptomator Hub. For a successful import, the recovery key of the vault and write access to its storage location is needed
The import is done via the Hub vault recovery feature.
Follow the vault online recovery guide and use the recovery key of the password-based vault in the process.
Don't forget to replace the vault config file vault.cryptomator at the vault storage location at the end.
Finally, to ensure that the vault cannot be unlocked with its old password anymore, remove the file masterkey.cryptomator and all backup files (ending with .bkup).