Quick Start
This guide walks you through your first steps in Cryptomator Hub, from logging in for the first time to working with an unlocked vault, in about 15 minutes.
As a worked example, meet Bob: he just joined the design agency Acme, and his administrator Alice sent him the Hub URL and his login credentials. Bob will set up his account, create a vault called Client Projects, share it with his colleague Carol and the Designers group, and unlock it with the Cryptomator desktop app.
Before You Start
You need:
- The URL of your organization's Hub instance and login credentials, both provided by your administrator.
- The Cryptomator app for your OS. This guide uses the desktop app; Android and iOS work analogously, see Working with Vaults.
- The
create-vaultsrole to create a vault yourself. If theAddbutton in the vault list stays grayed out for you, ask your administrator for the role — or skip that section and continue with a vault someone shared with you.
Set Up Your Account
Bob opens the Hub URL, logs in with his credentials, and Hub greets him with a one-time account setup.
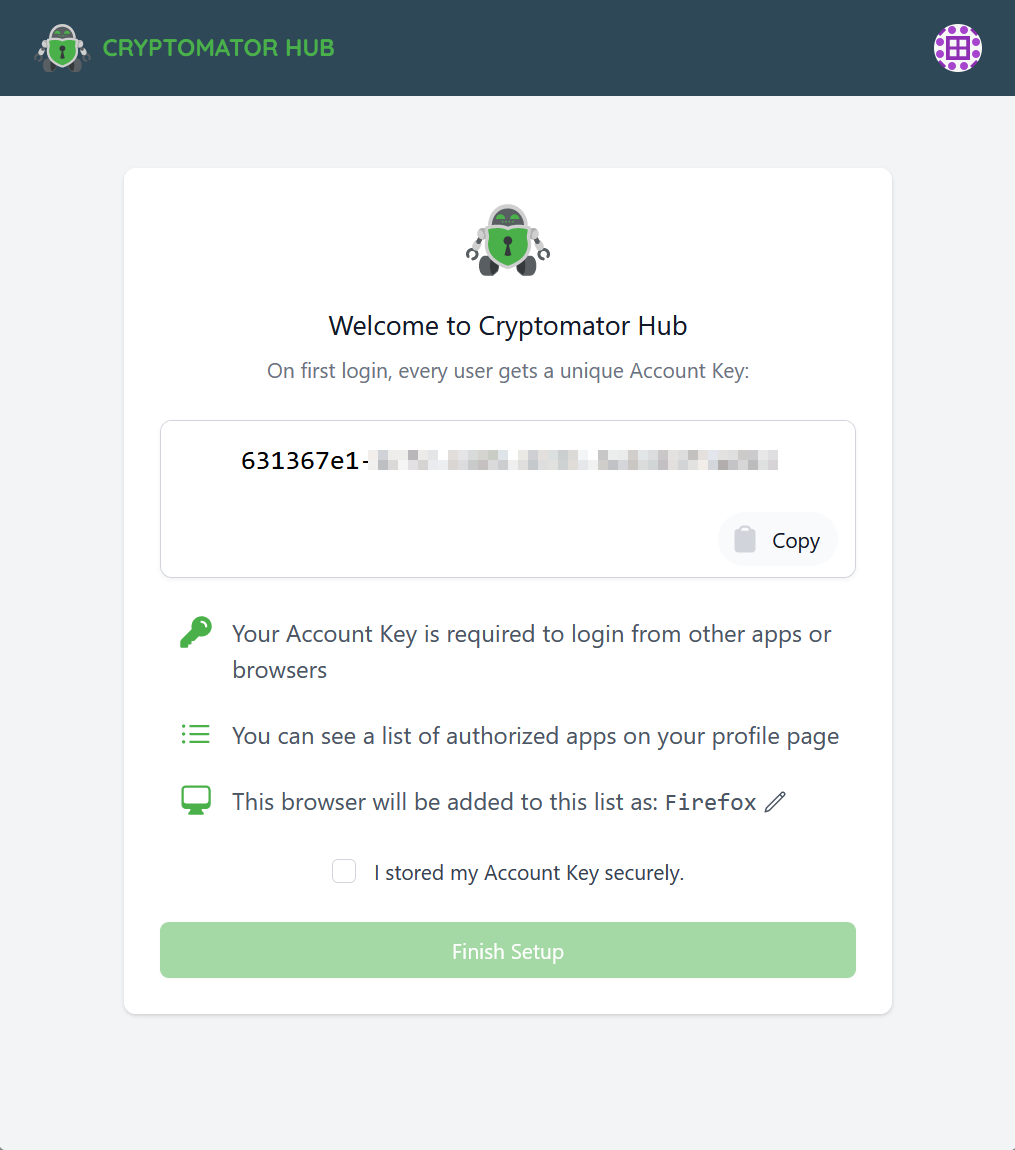
The setup generates his personal Account Key. It is what links further browsers and Cryptomator apps to his account later, so he copies it into his password manager before finishing the setup.
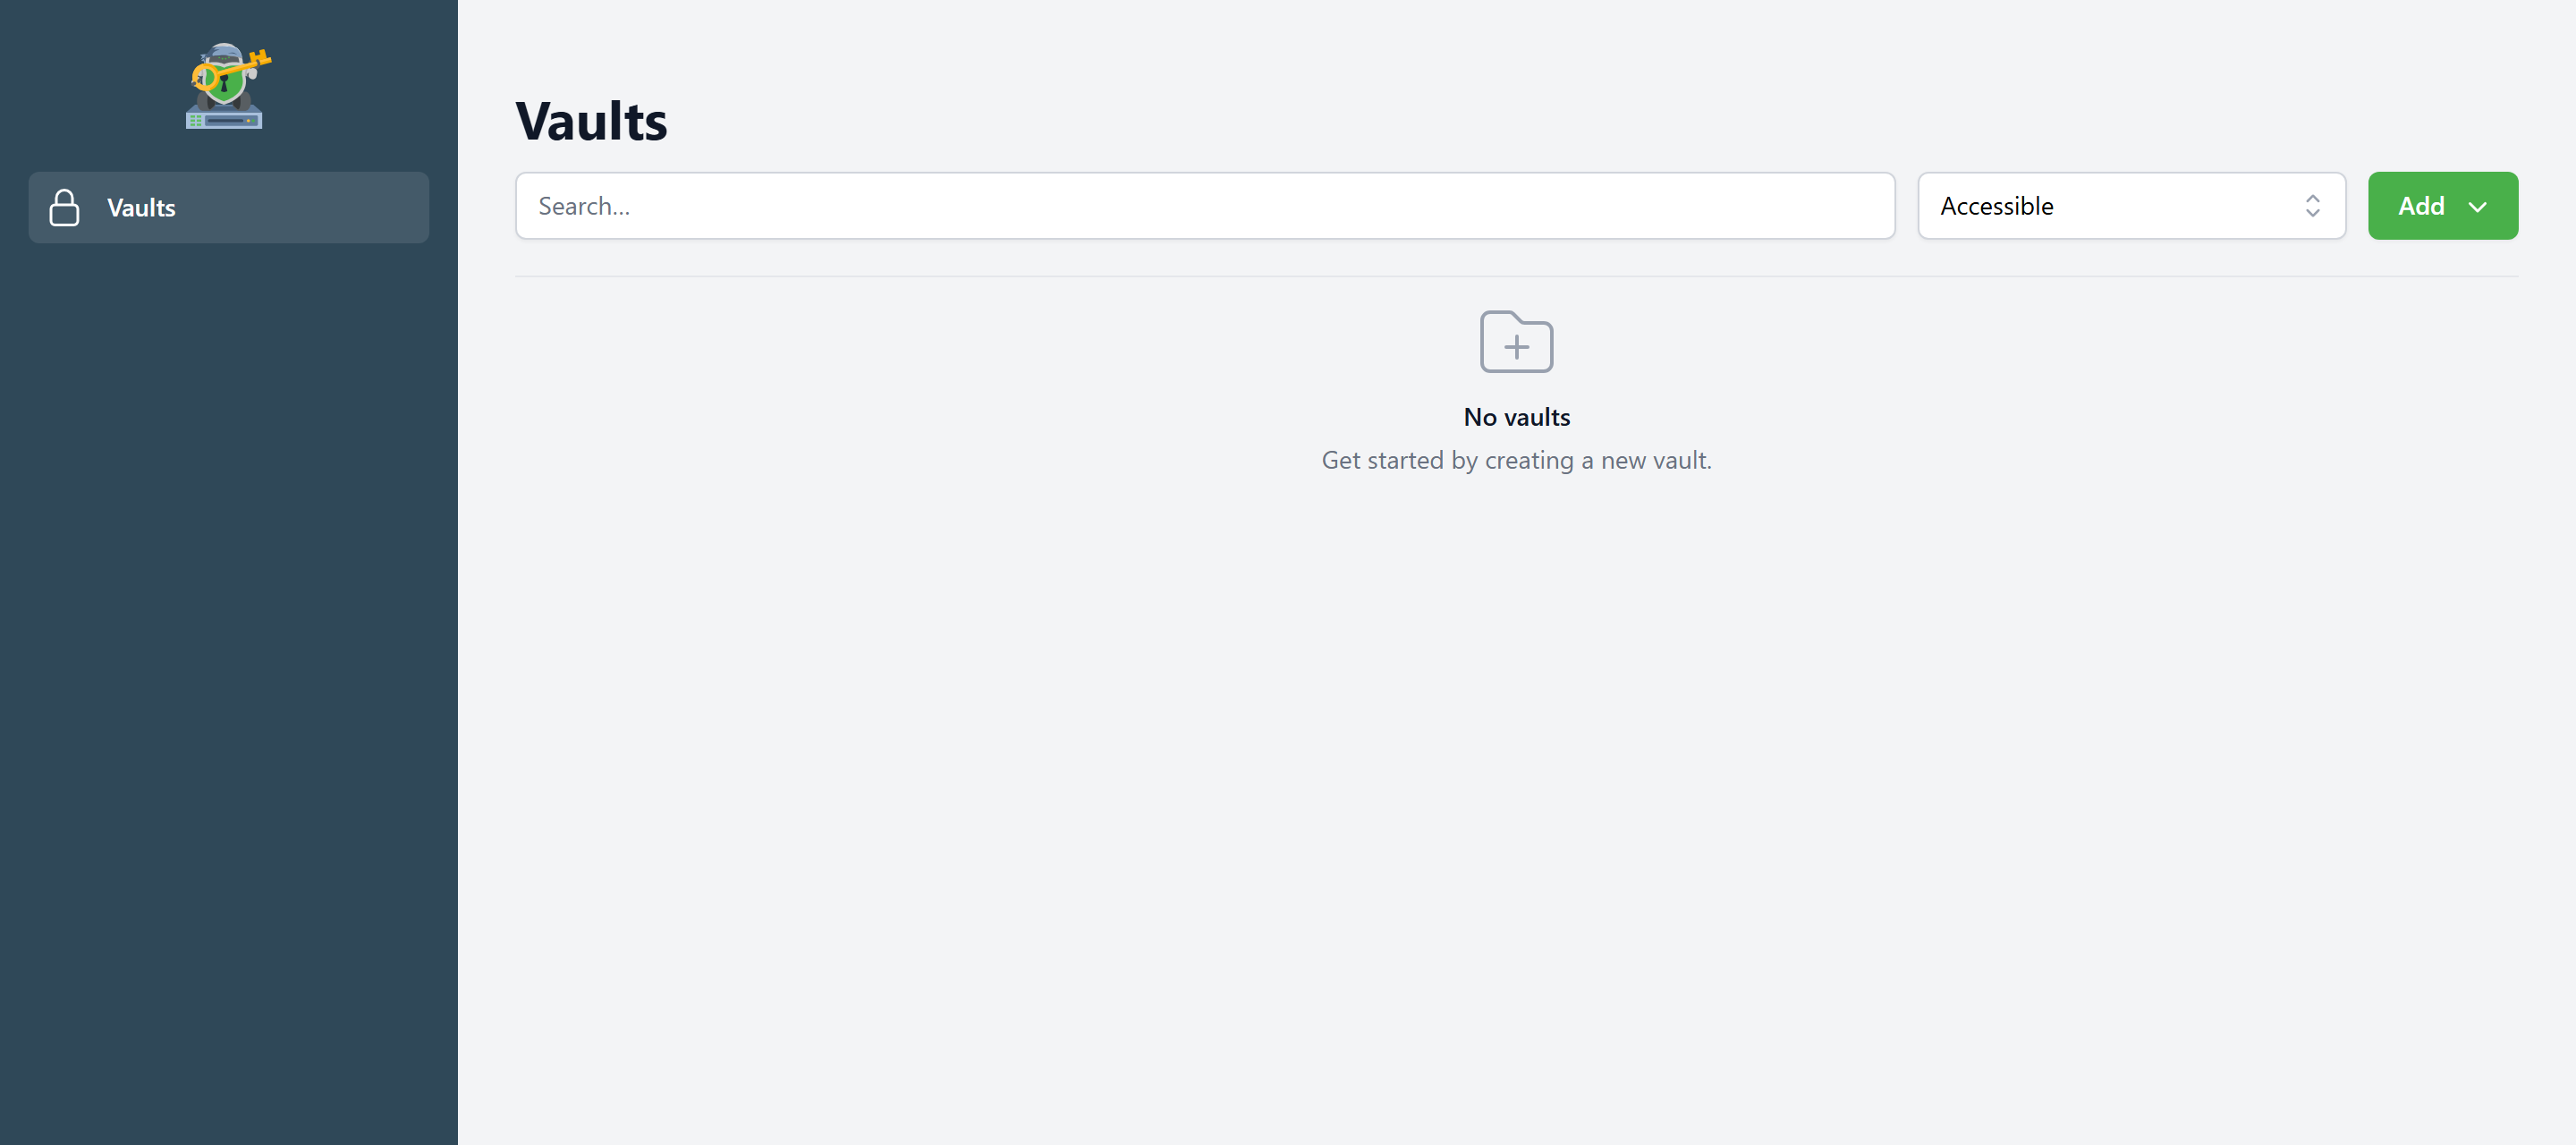
After finishing the setup, Bob lands on the vault list — Acme's is still empty.
The Add button in the top right corner is the starting point for the next section: Create New opens the vault creation wizard.
For more details, read Account Setup and Account Key.
Create a Vault
Time for the first vault:
- In the vault list, Bob clicks
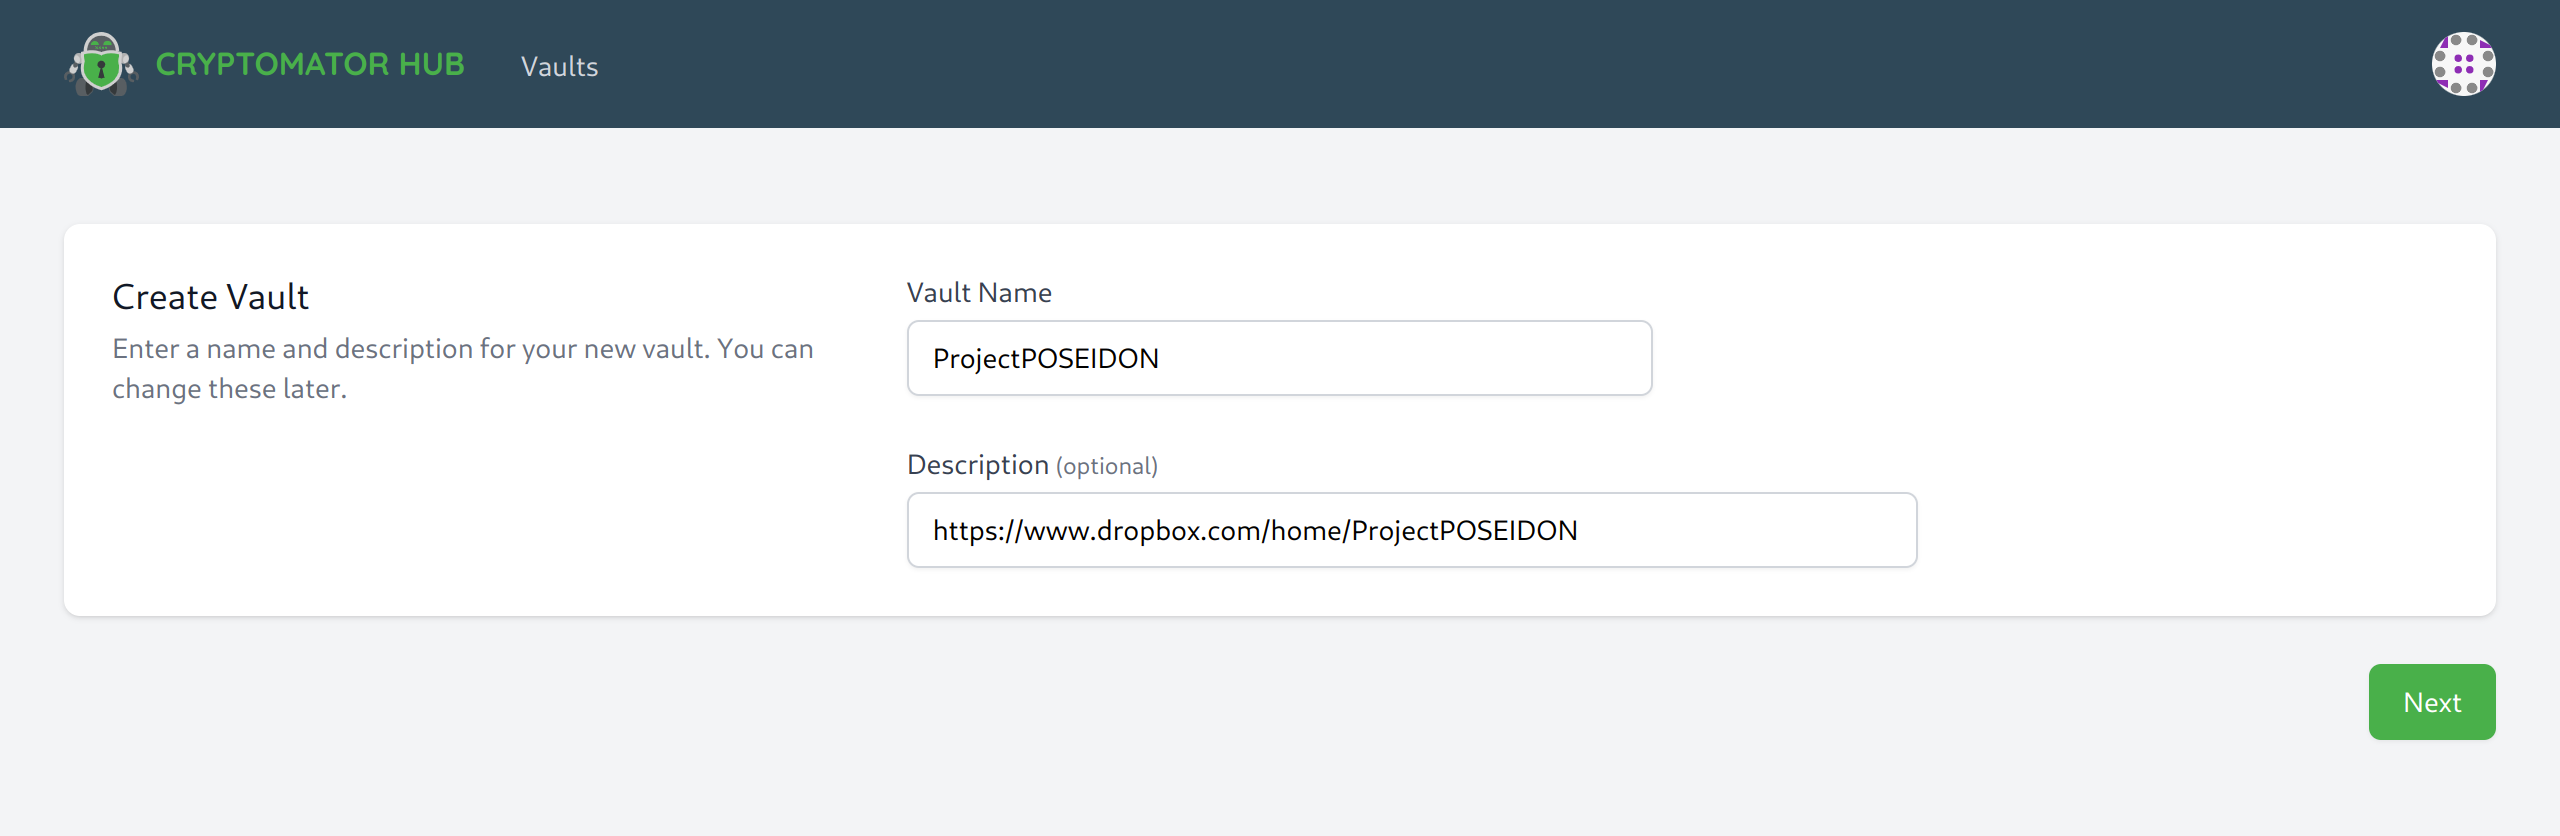
Add→Create Newand names the vault Client Projects. - He follows the creation wizard and stores the displayed recovery key in his password manager — it restores access to the vault data if Hub is ever unavailable.
- In the last step, he downloads the vault template (a zip file, exactly once) and unzips it into the cloud storage folder the team already shares.
For more details, read Create a Vault, Show Recovery Key, and Download Vault Template.
Add Members
The vault is Bob's alone so far.
In the vault details, he clicks into the search field of the Shared with section, picks Carol, and clicks Add.
He then adds the Designers group the same way, so future team members get access automatically through their group membership.
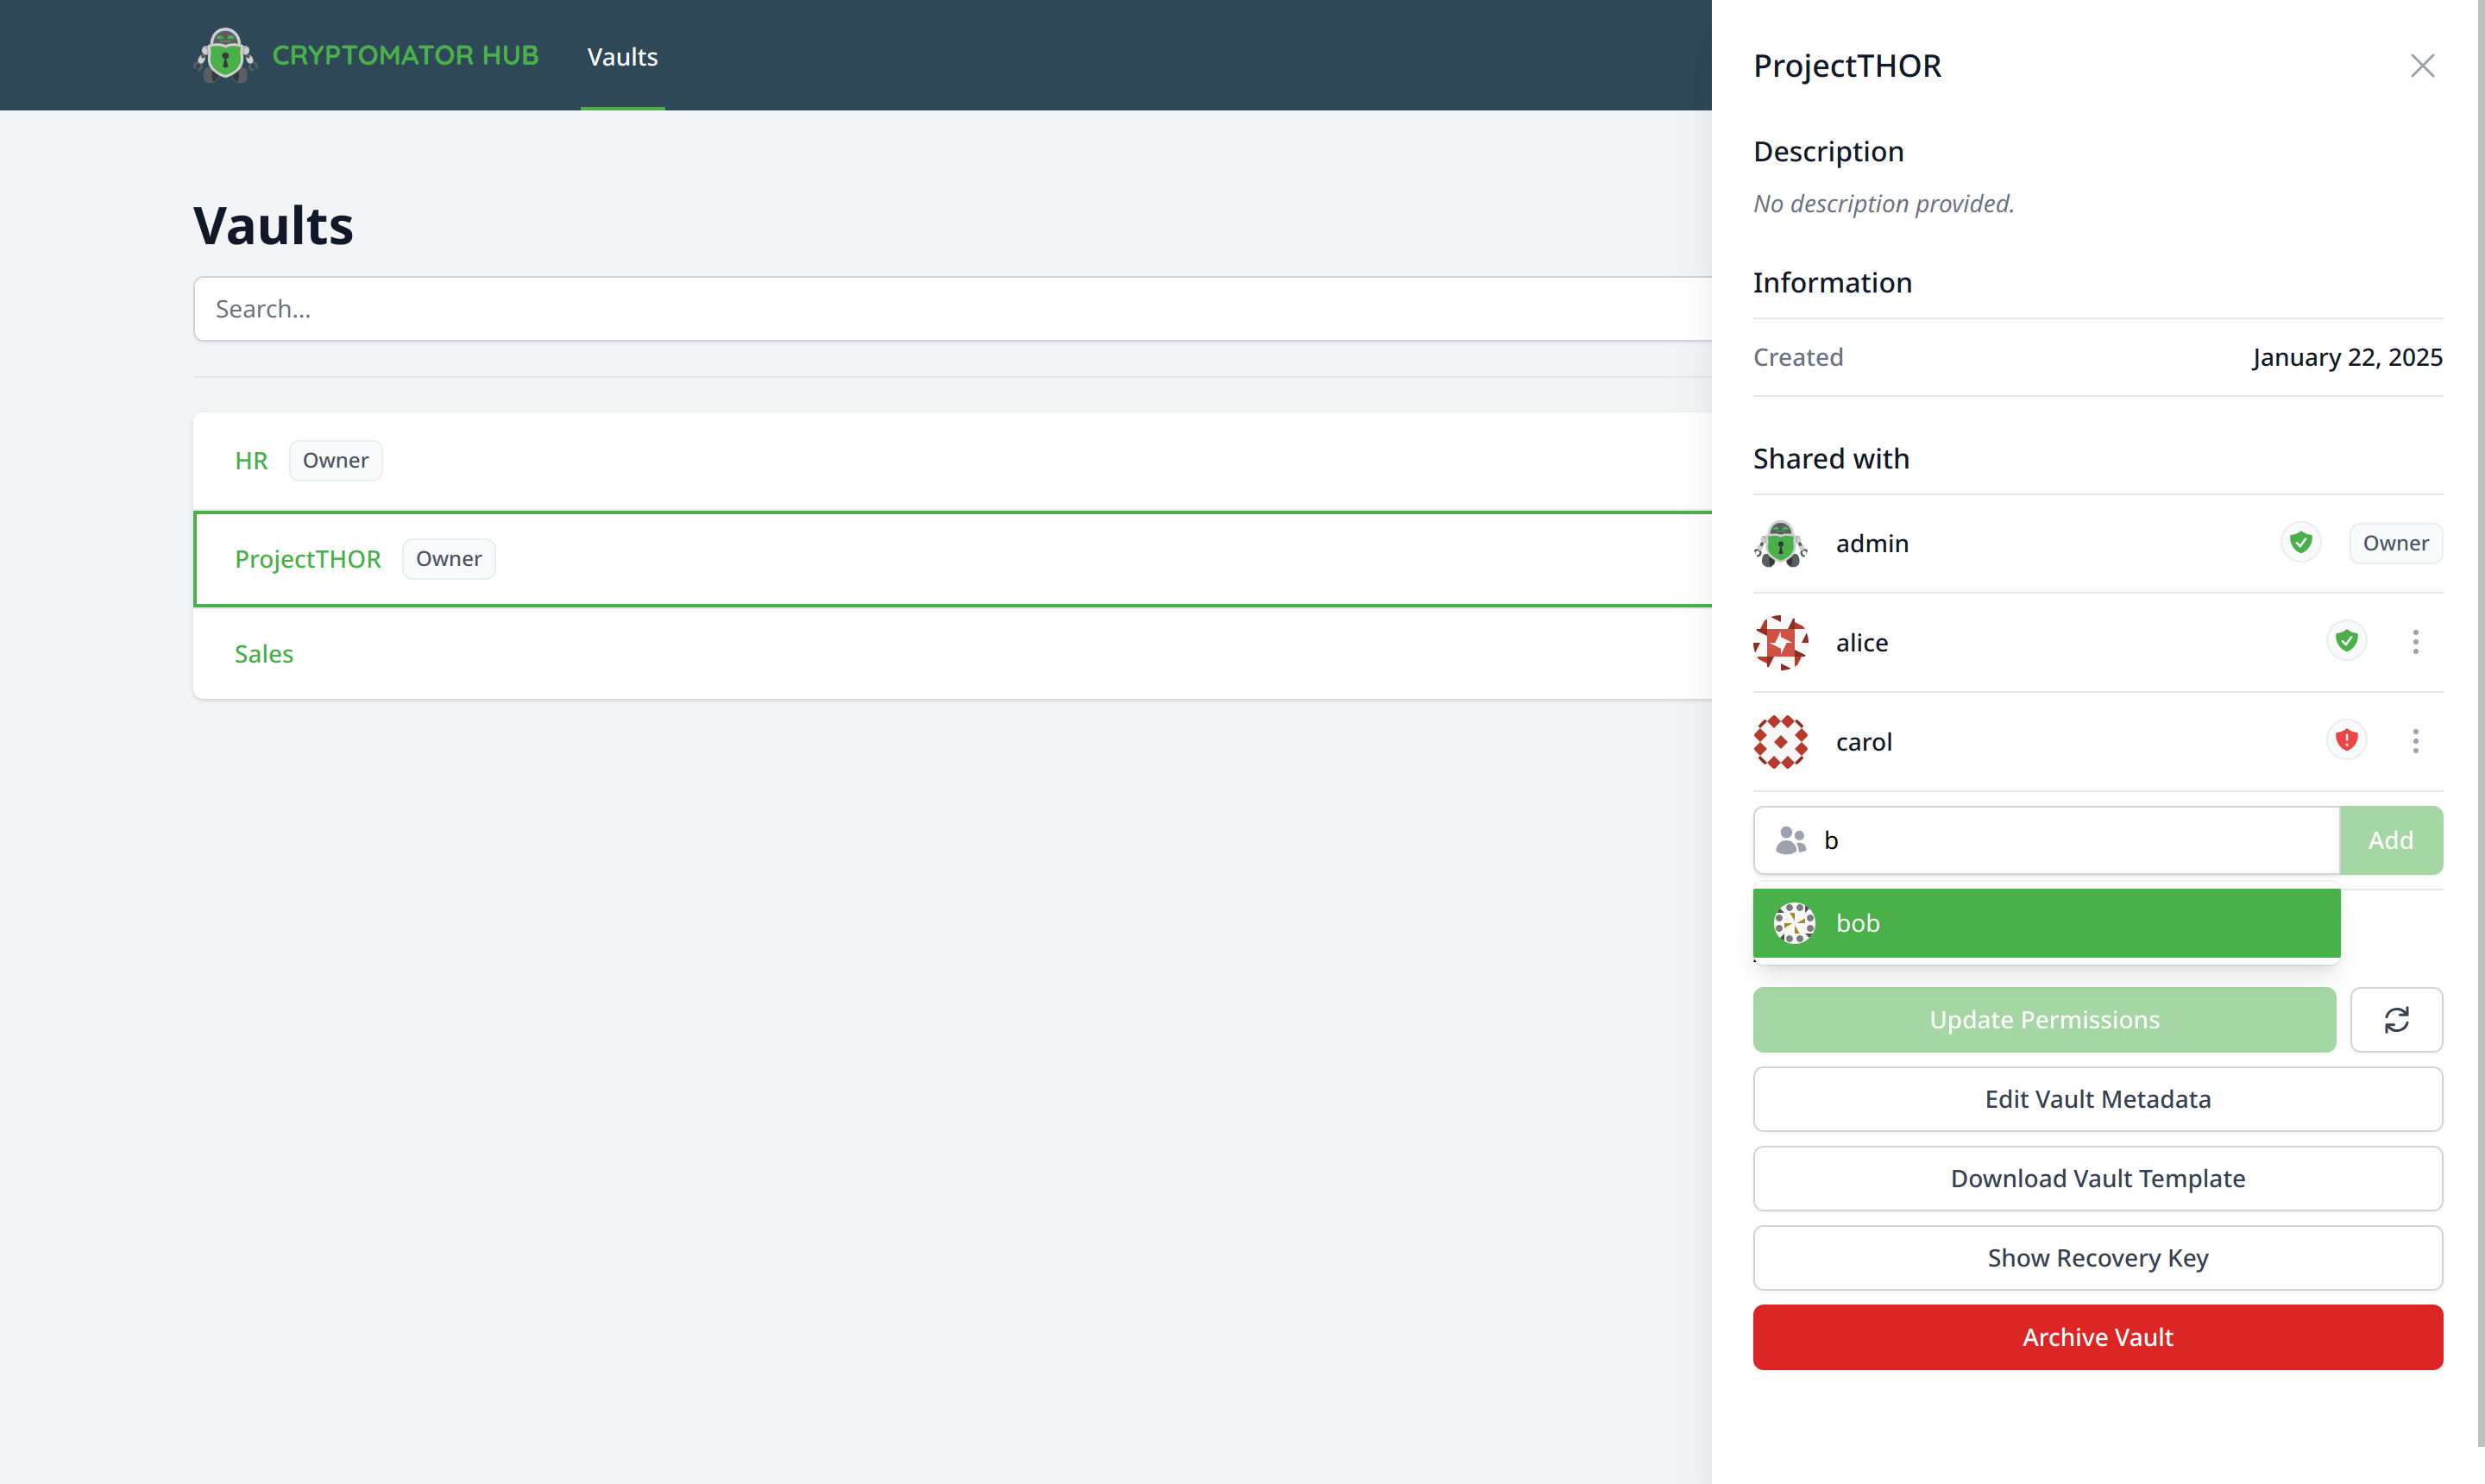
When a member completes their account setup (or resets their account), a vault owner has to confirm the access once via the Update Permissions button before that member can unlock the vault.
For more details, read Share a Vault, Update Permissions, and Web of Trust for verifying the identity of vault members.
Unlock the Vault
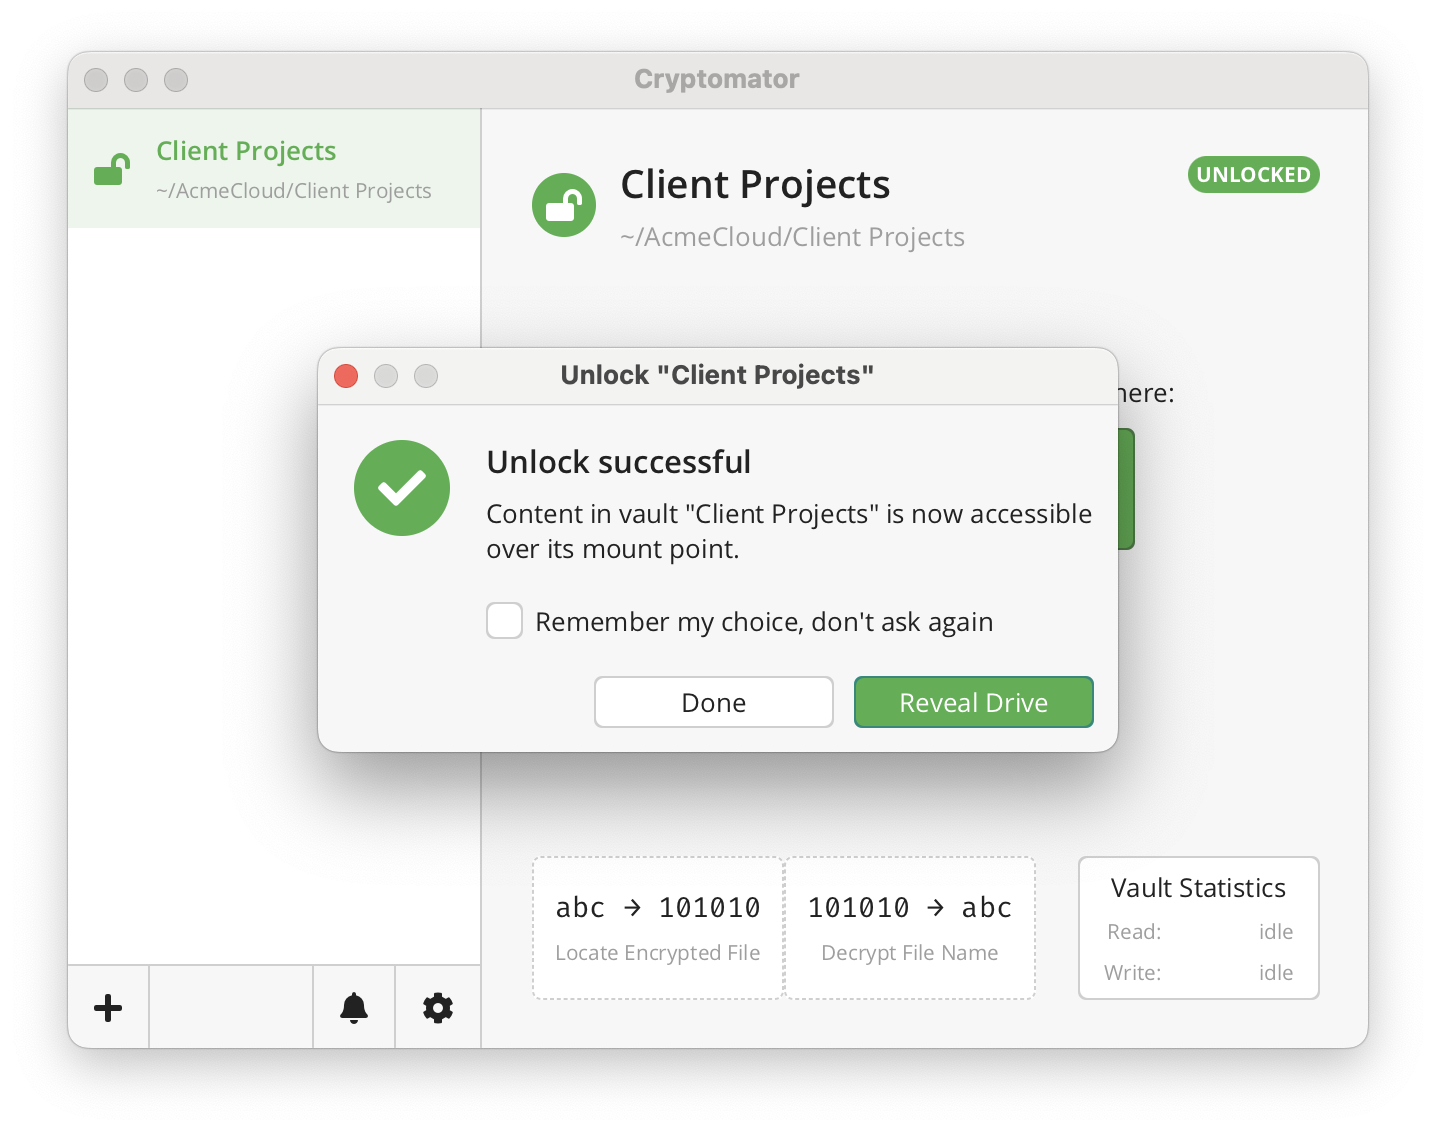
To work with the encrypted data, Bob opens the Cryptomator desktop app, adds the vault by selecting the vault.cryptomator file from the shared cloud folder, and clicks Unlock.
His browser opens for authentication, and since this is the first unlock from this device, Hub asks him to register it with a device name and his Account Key.
After that, the vault unlocks, and Bob can reveal and edit the Client Projects files as usual.
For more details, read Unlocking a Vault, in particular Register Device.
Next Steps
- Lost access to a vault or Hub itself? See Vault Recovery.
- Review and revoke your registered browsers and apps under Authorized Devices.
- Curious how the zero-knowledge key management works? Read the security architecture.