Quick Start
This guide walks you through setting up a fresh Cryptomator Hub instance for your organization in about 20 minutes.
As a worked example, meet Alice: she administers Hub at the design agency Acme. Her instance is up and running, and now she adds her first users and a group, connects the company's identity provider, enables Emergency Access, and checks the audit log and license.
Before You Start
You need:
- A running Hub instance — a local test instance from the Quick Start or a server deployment (managed or selfhosted)
- An account with the
adminrole, such as the initial admin account created during deployment.
Not keen on hosting an instance yourself? Cryptomator Hub is also available as a managed service with a free 30-day trial period — this guide applies there all the same.
Add Users and Groups
Since version 2.0, users and groups are managed directly in Hub, via the Users and Groups entries in the sidebar.
Alice creates accounts for Bob and Carol, each with username, email, and an initial password.
She then creates the group Designers and adds both as members — sharing vaults with a group scales better than managing individual permissions.
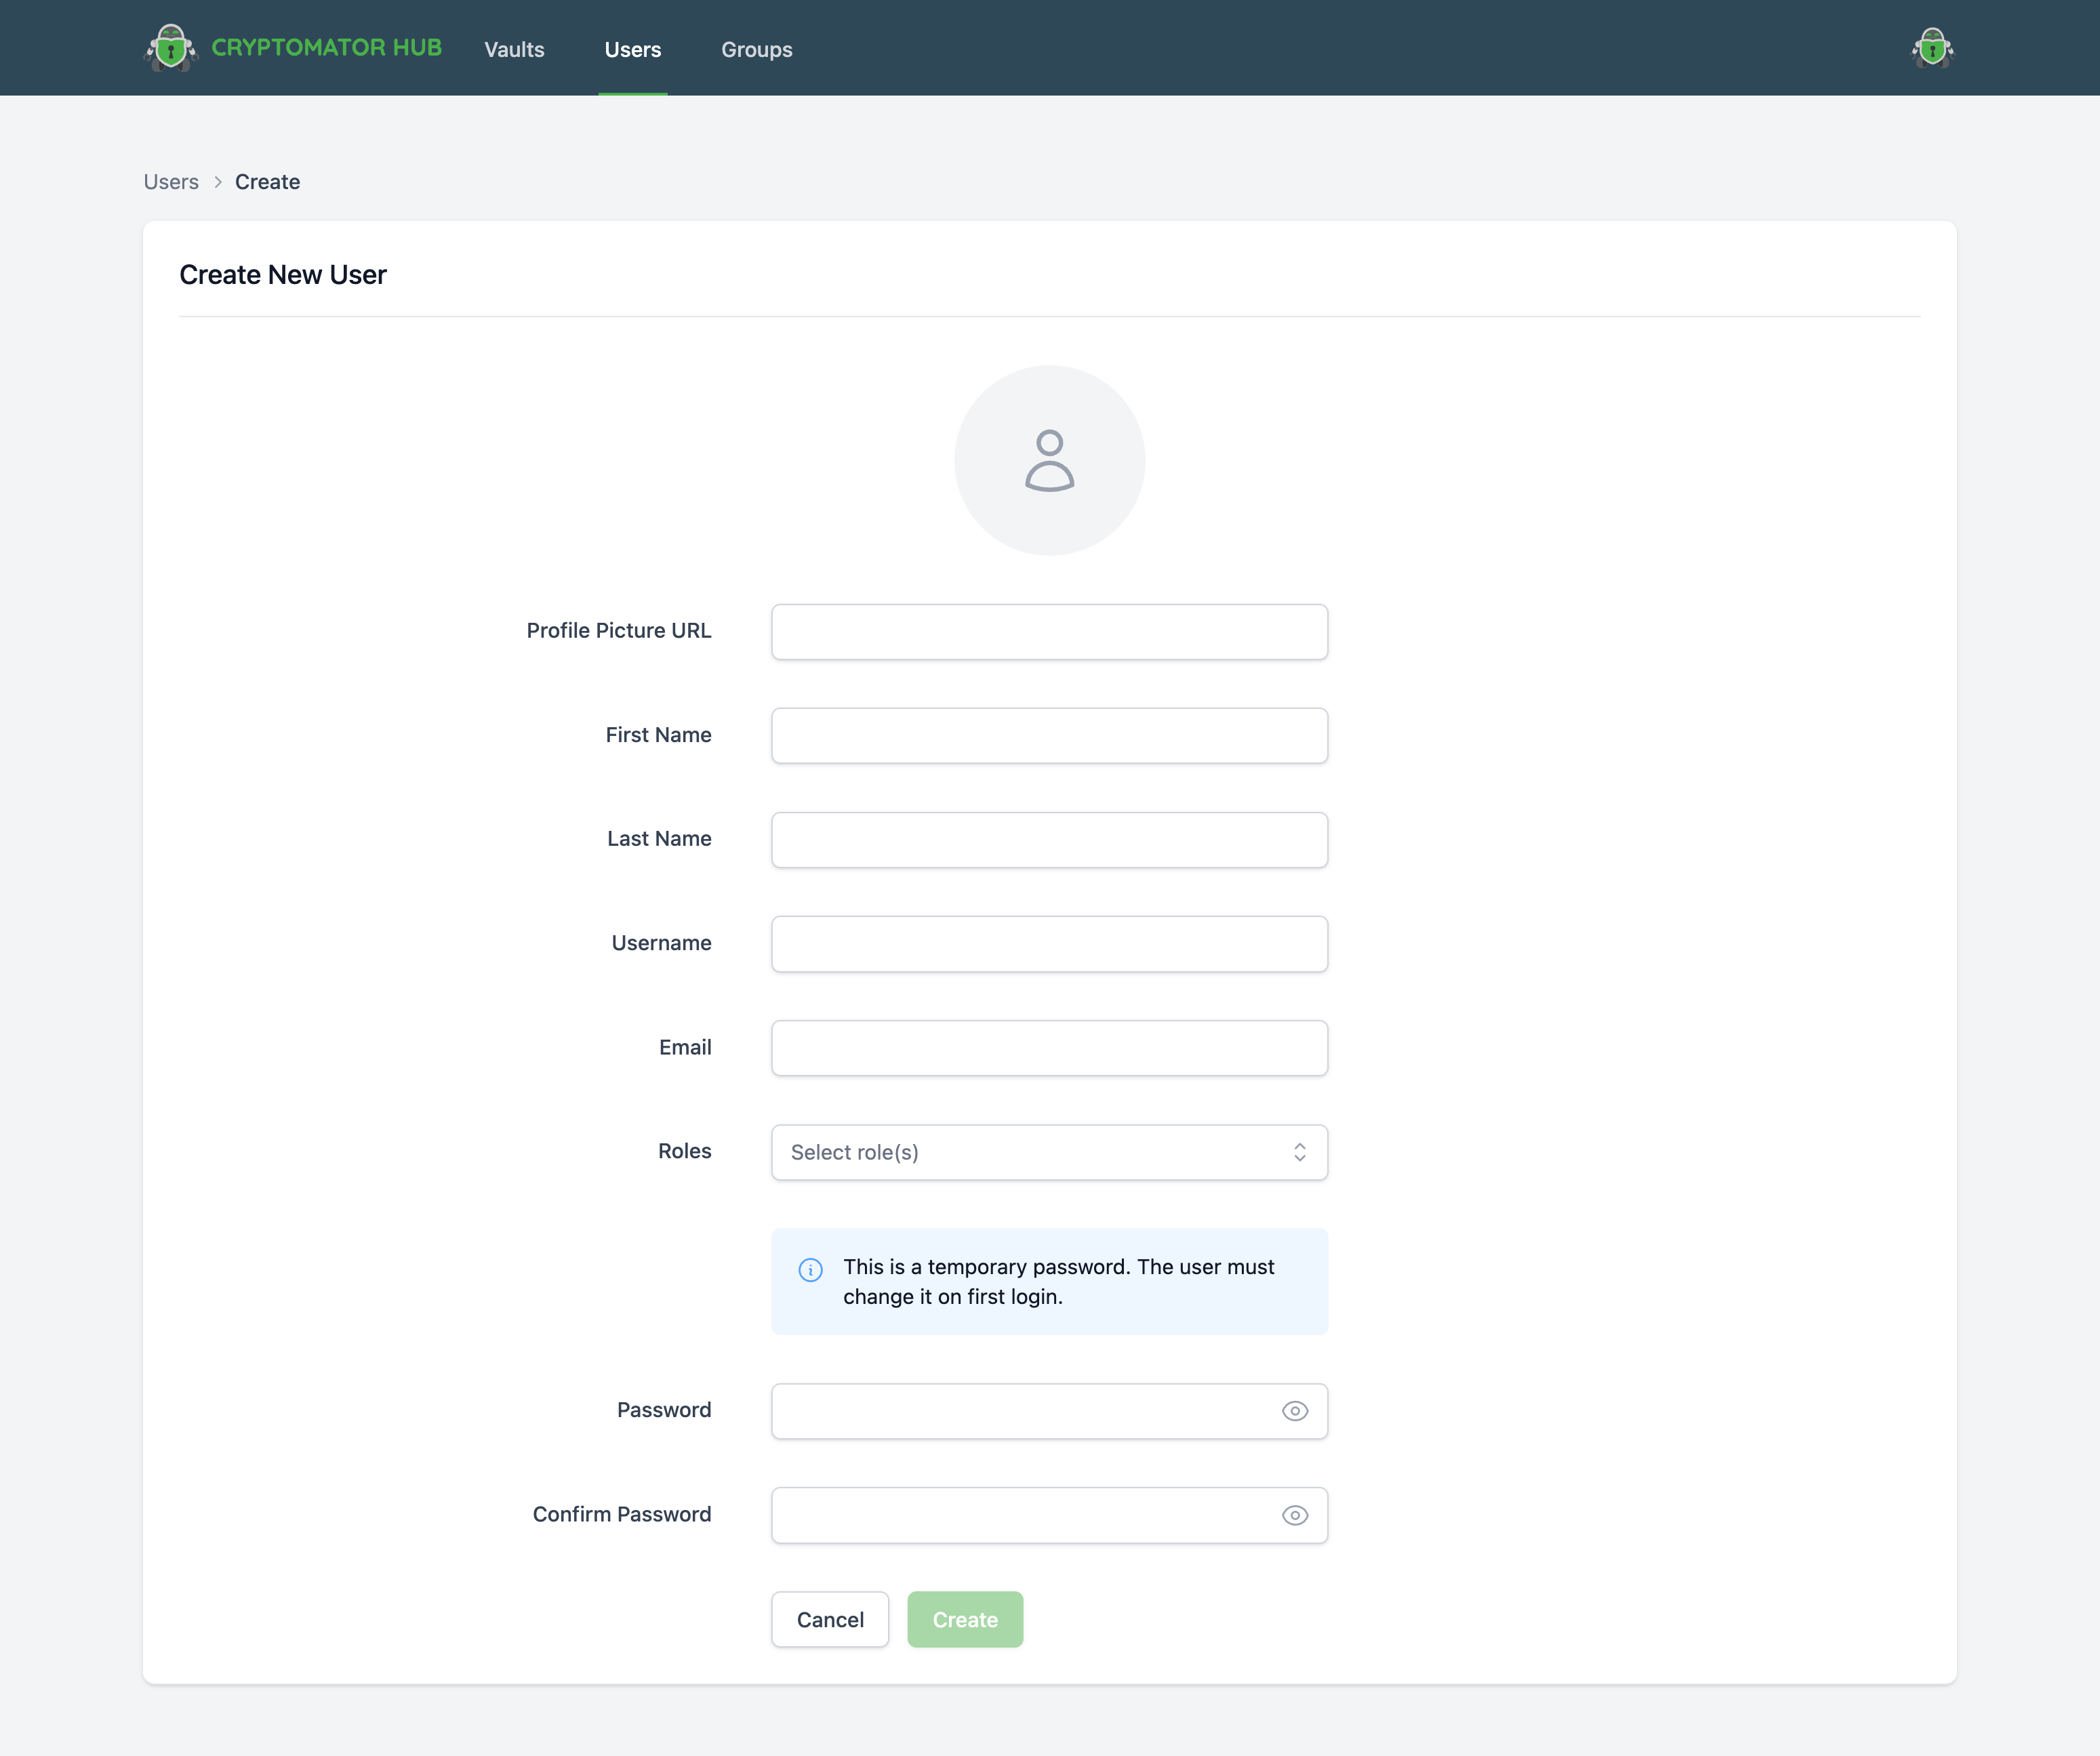
Bob and Carol can now log in and complete their account setup, as described in the User Guide.
For more details, read Create User, Create Group, and Manage Group Members.
Connect Your Identity Provider
Creating users by hand is fine for a handful of people. Since Acme already manages its staff in a central directory, Alice instead connects Hub's bundled Keycloak to it, so users log in with their existing credentials and accounts stay in sync.
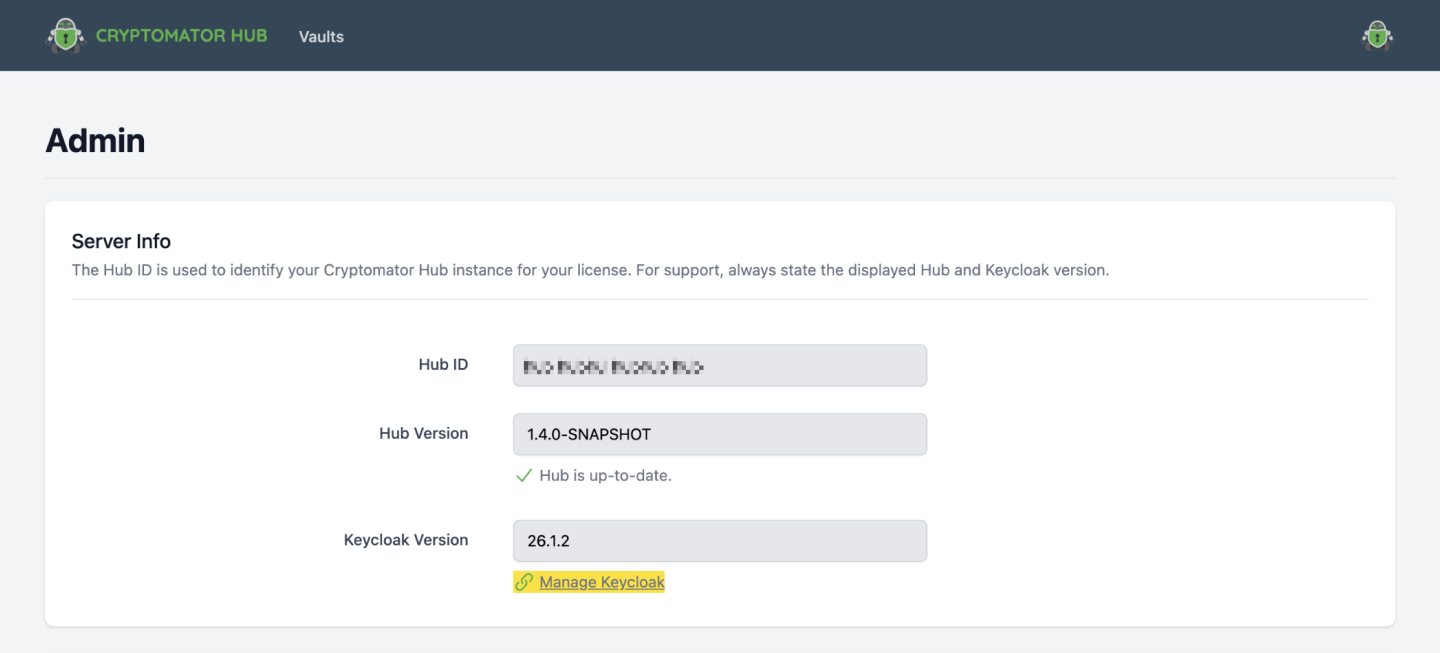
The Manage Keycloak link takes Alice to the Keycloak admin console, where identity providers are configured on the Identity providers page:
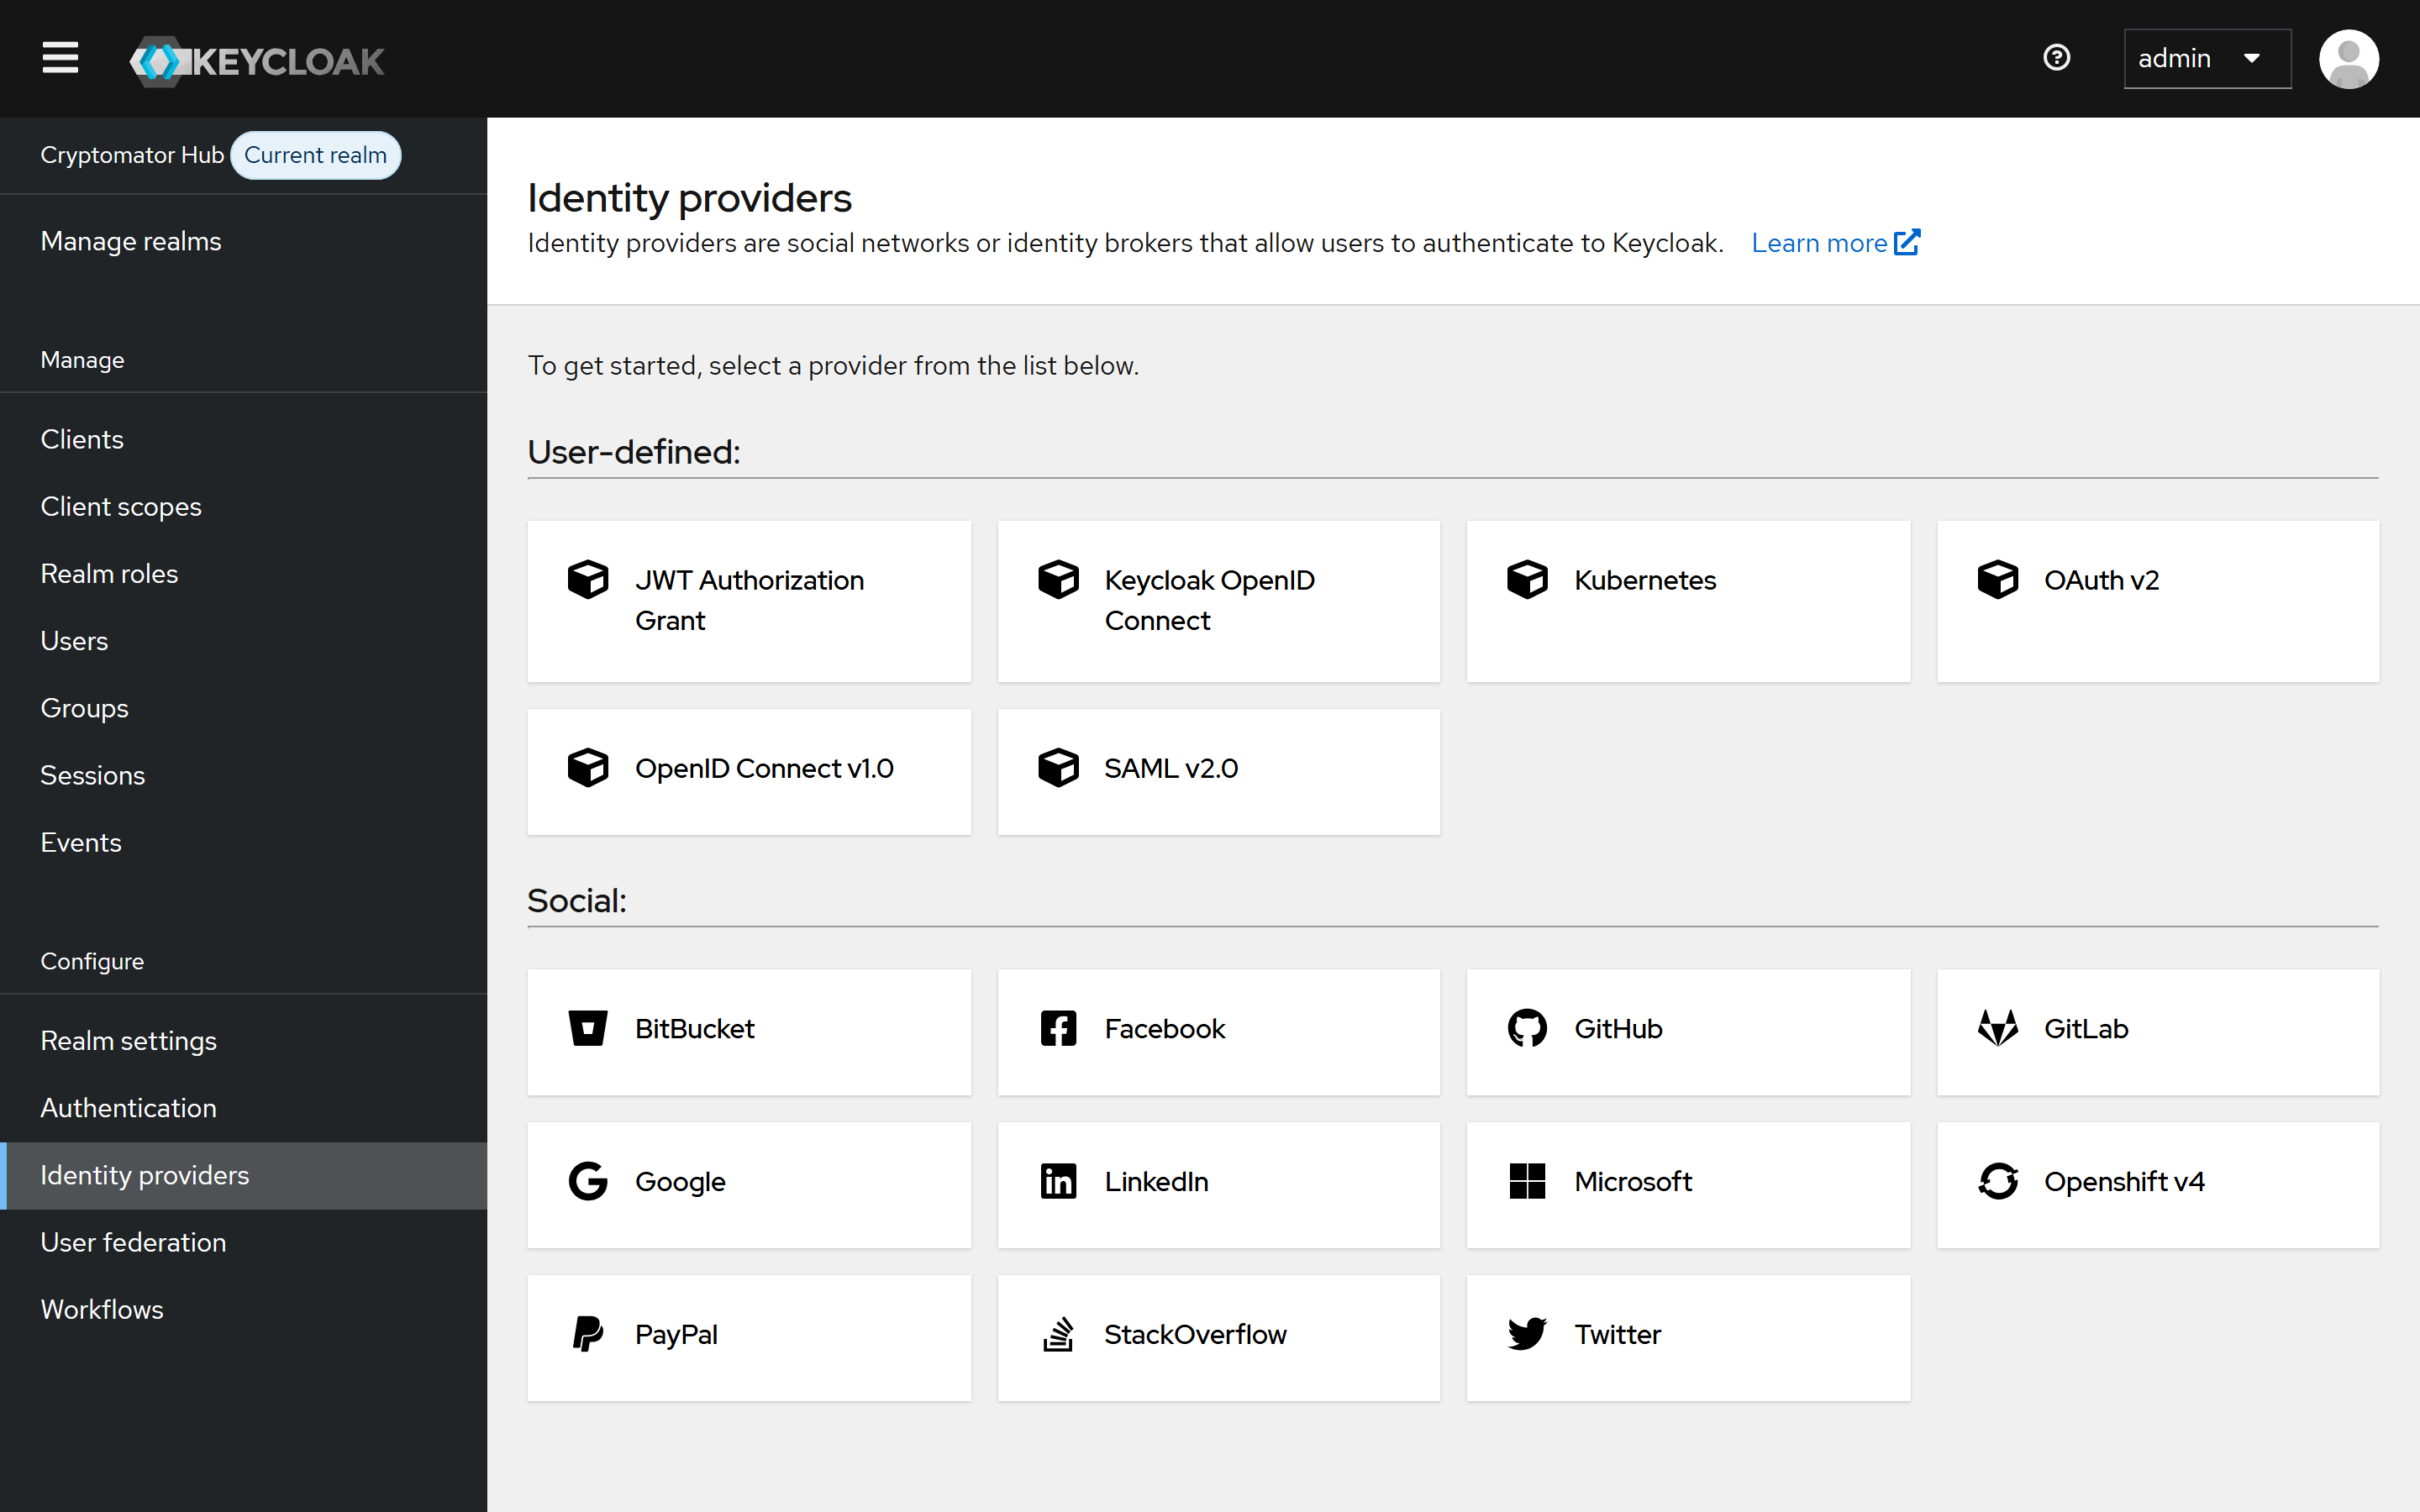
Depending on what your organization runs, follow the matching reference section:
- OpenID Connect providers such as Microsoft Entra ID or Google Workspace.
- LDAP and Active Directory for user federation.
- Mapping groups to roles, e.g. to grant an IT directory group the
adminrole automatically.
For more details, read Connecting an External Identity Provider and External Identity Management.
Enable Emergency Access
What if Bob leaves Acme and the Client Projects vault has no other owner? Emergency Access, new in version 2.0, lets a council of trusted users jointly restore access to a vault. Alice enables it in the admin area and defines a default council, so every new vault gets Emergency Access conditions during creation. For existing vaults, owners set up the council in the vault details.
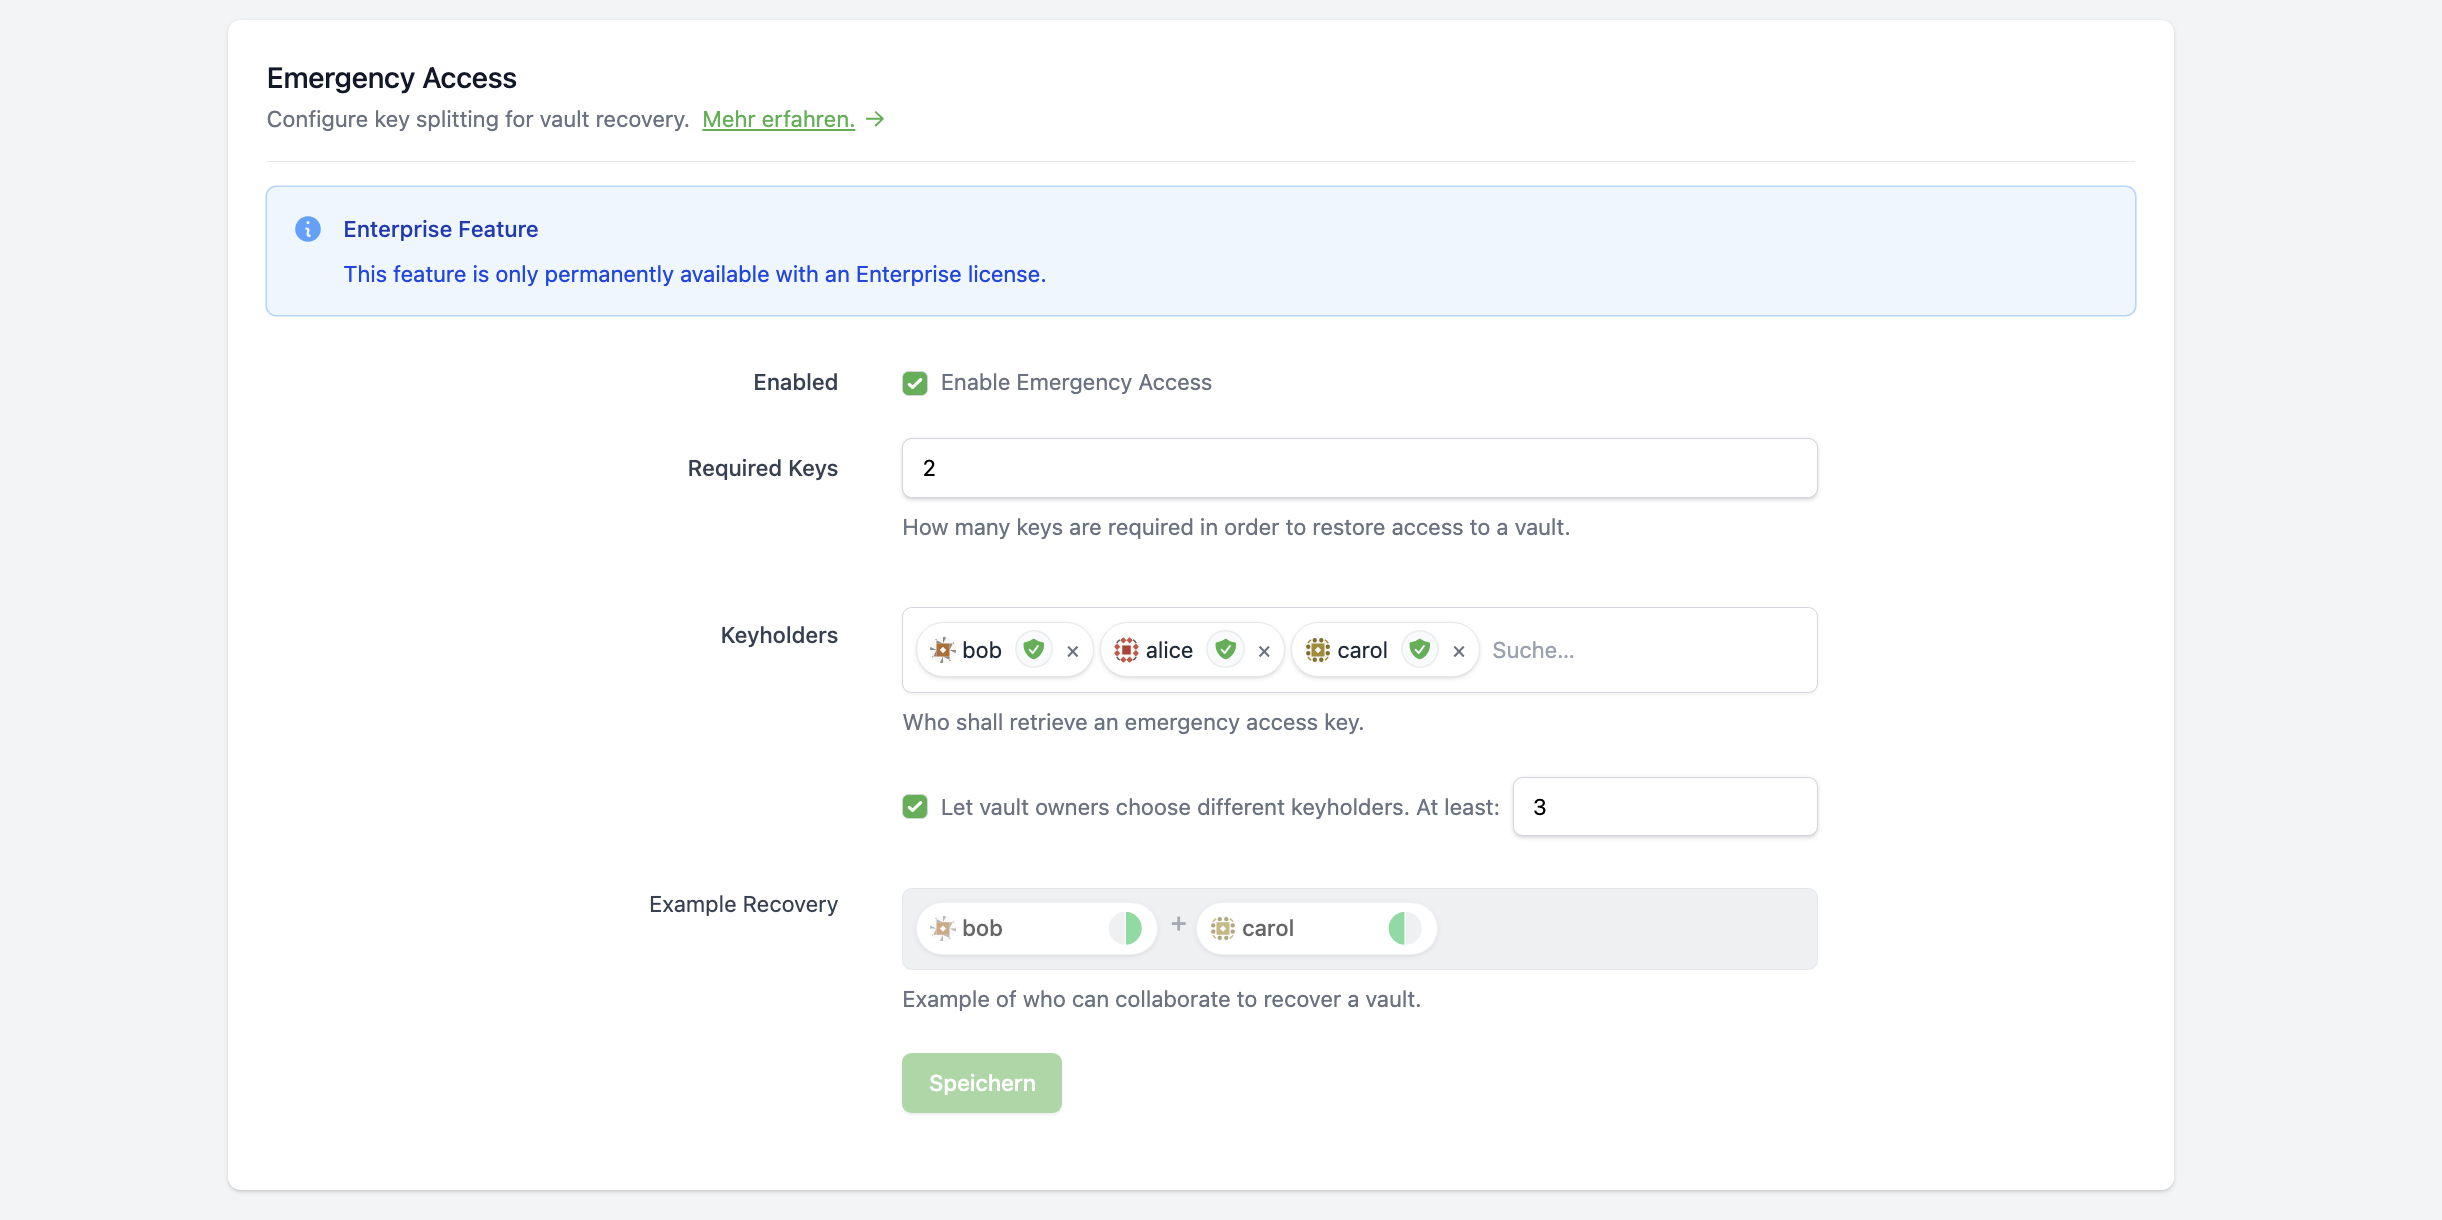
Emergency Access is available as an Enterprise feature. Visit cryptomator.org for more information.
For more details, read Emergency Access admin settings, Set Up Emergency Access, and the per-vault Emergency Access Council.
Review the Audit Log
The next morning, Alice verifies that everything went as intended. In the audit log, she filters for vault events and sees the creation of Client Projects and the access grants for Carol and the Designers group, each with actor and timestamp.
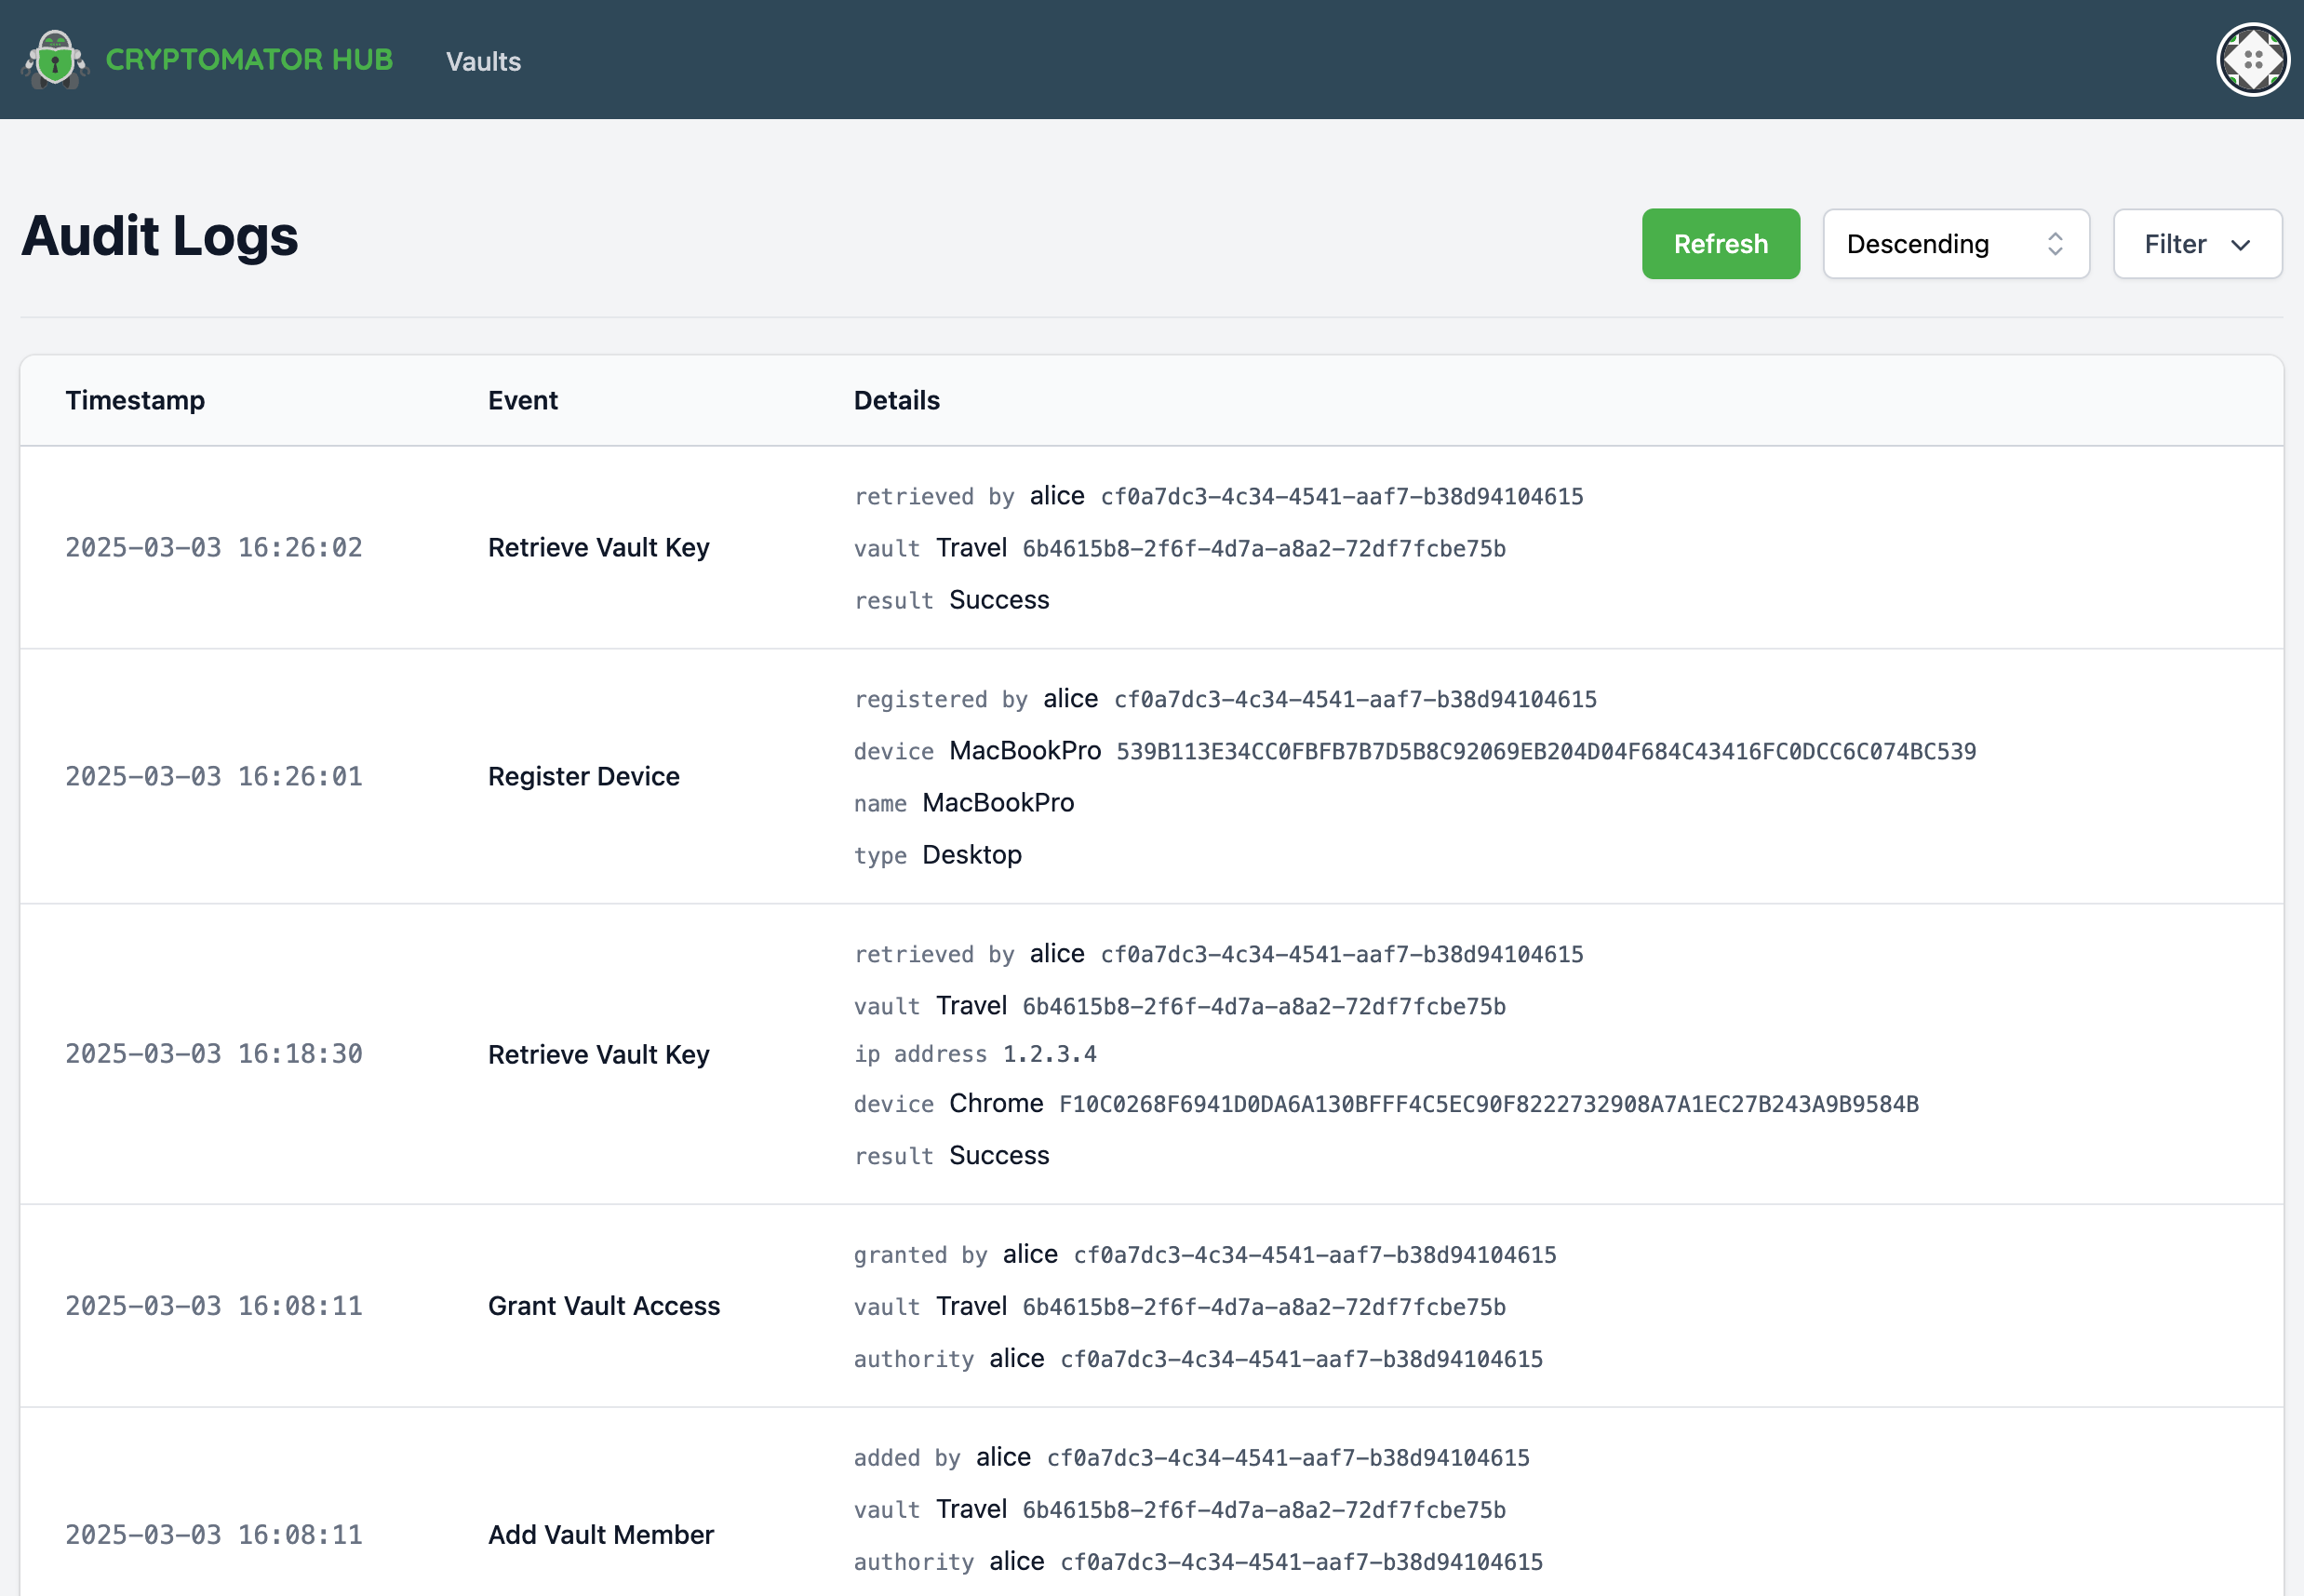
For more details, read Audit Logs, Filtering Audit Logs, and the list of Event Types.
Check Your License
Finally, Alice opens the license section of the admin area. With Bob and Carol having vault access, two seats are in use — a seat is occupied by every user who is assigned to at least one vault. The overview shows the used and licensed seats and where to upgrade before the team grows.
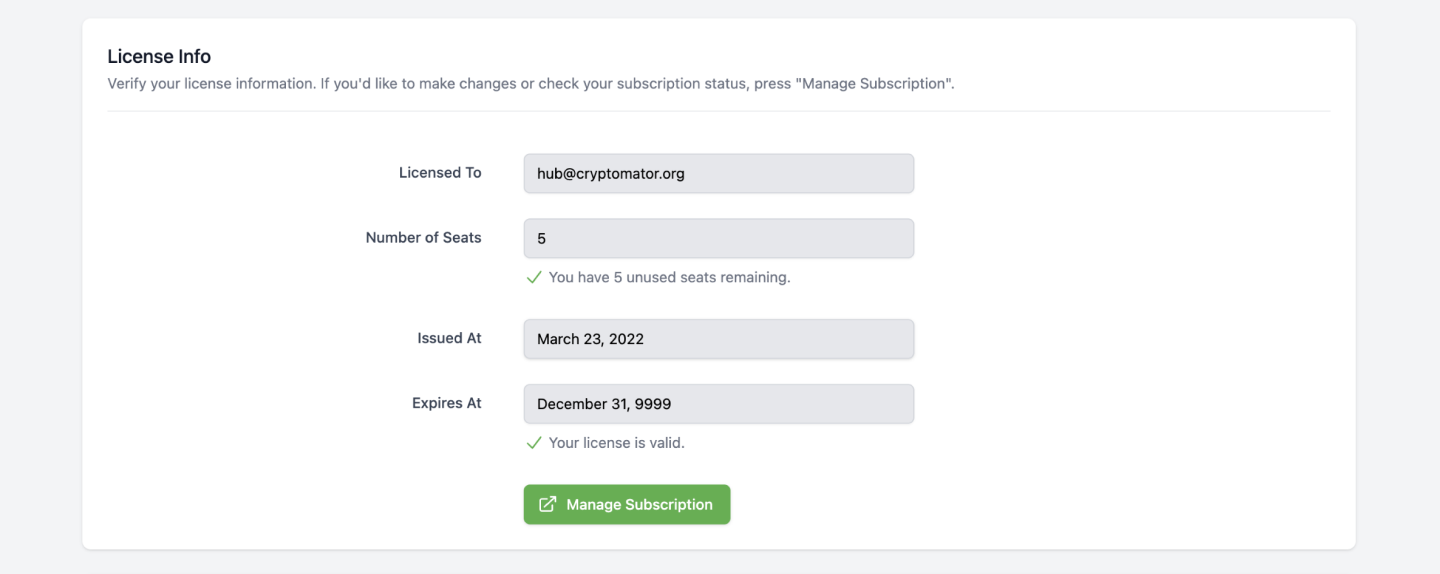
For more details, read License, What Is a Seat?, and Updating Your License.
Next Steps
- Set up backups before real data accumulates.
- Harden logins with session timeouts and access restrictions.
- Send your team the User Guide so they can get started on their own.