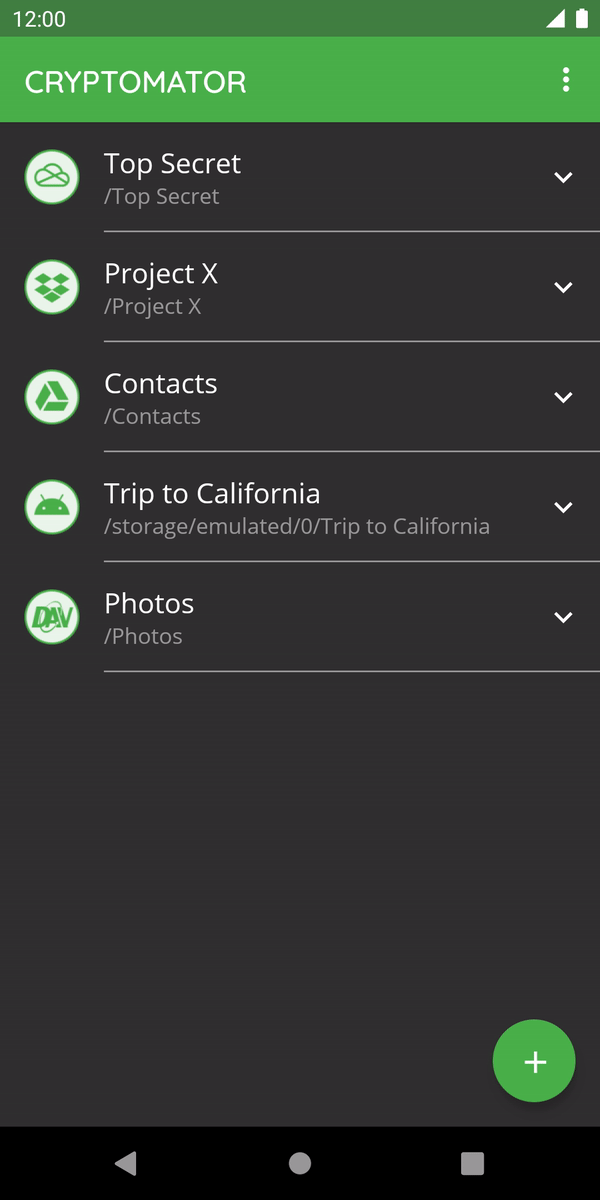
Vault Management
A vault is where your files are stored encrypted on your Android device or cloud storage. When you create or access a vault through Cryptomator for Android, your files are automatically encrypted and decrypted in real-time. Only Cryptomator can decrypt the vault's contents when you unlock it using your password.
Cryptomator for Android supports various storage locations including local device storage, Dropbox, Google Drive, OneDrive, and any cloud service that offers WebDAV access. This allows you to securely access your encrypted files from anywhere while maintaining full control over your data.
Create a New Vault
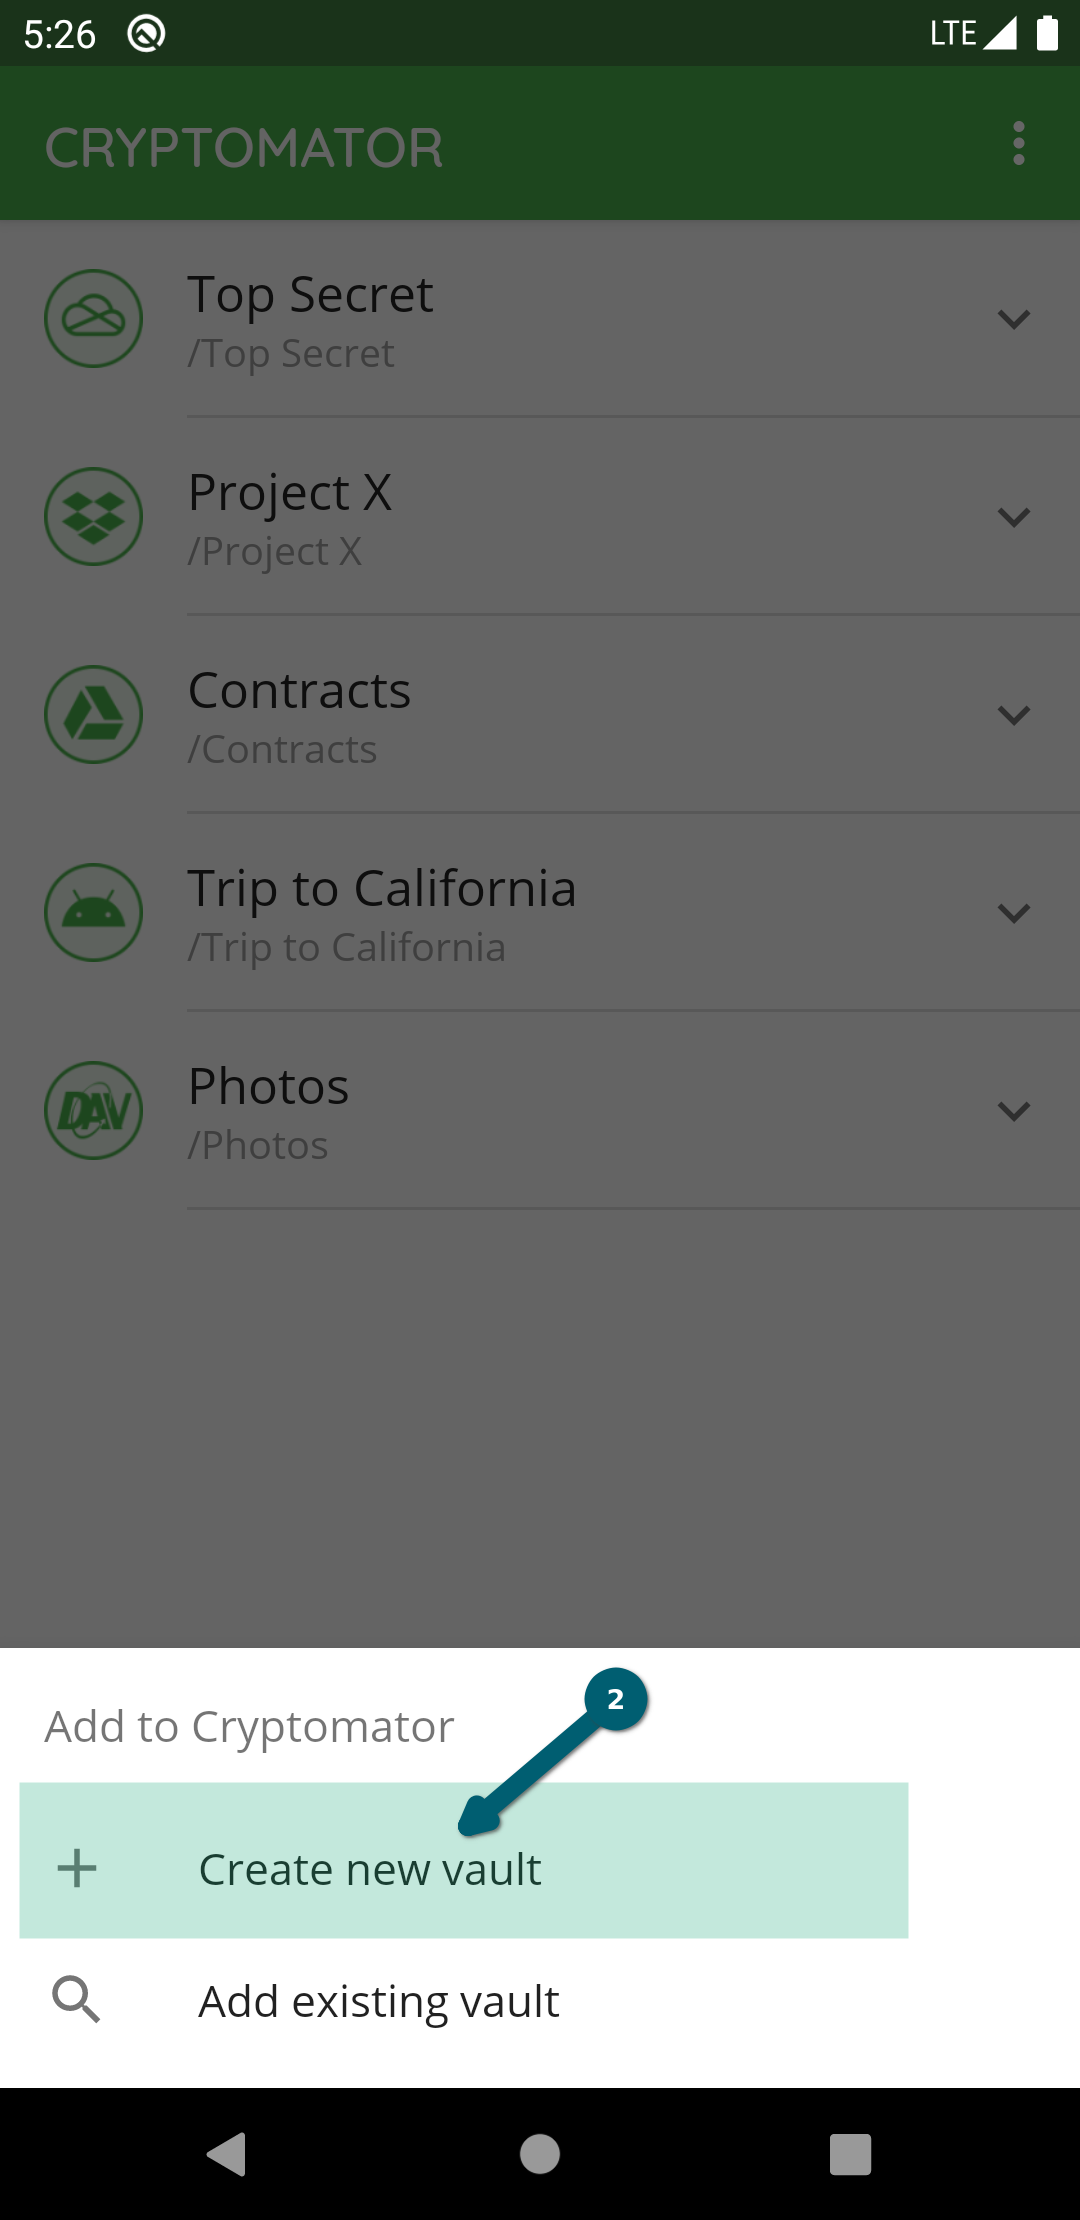
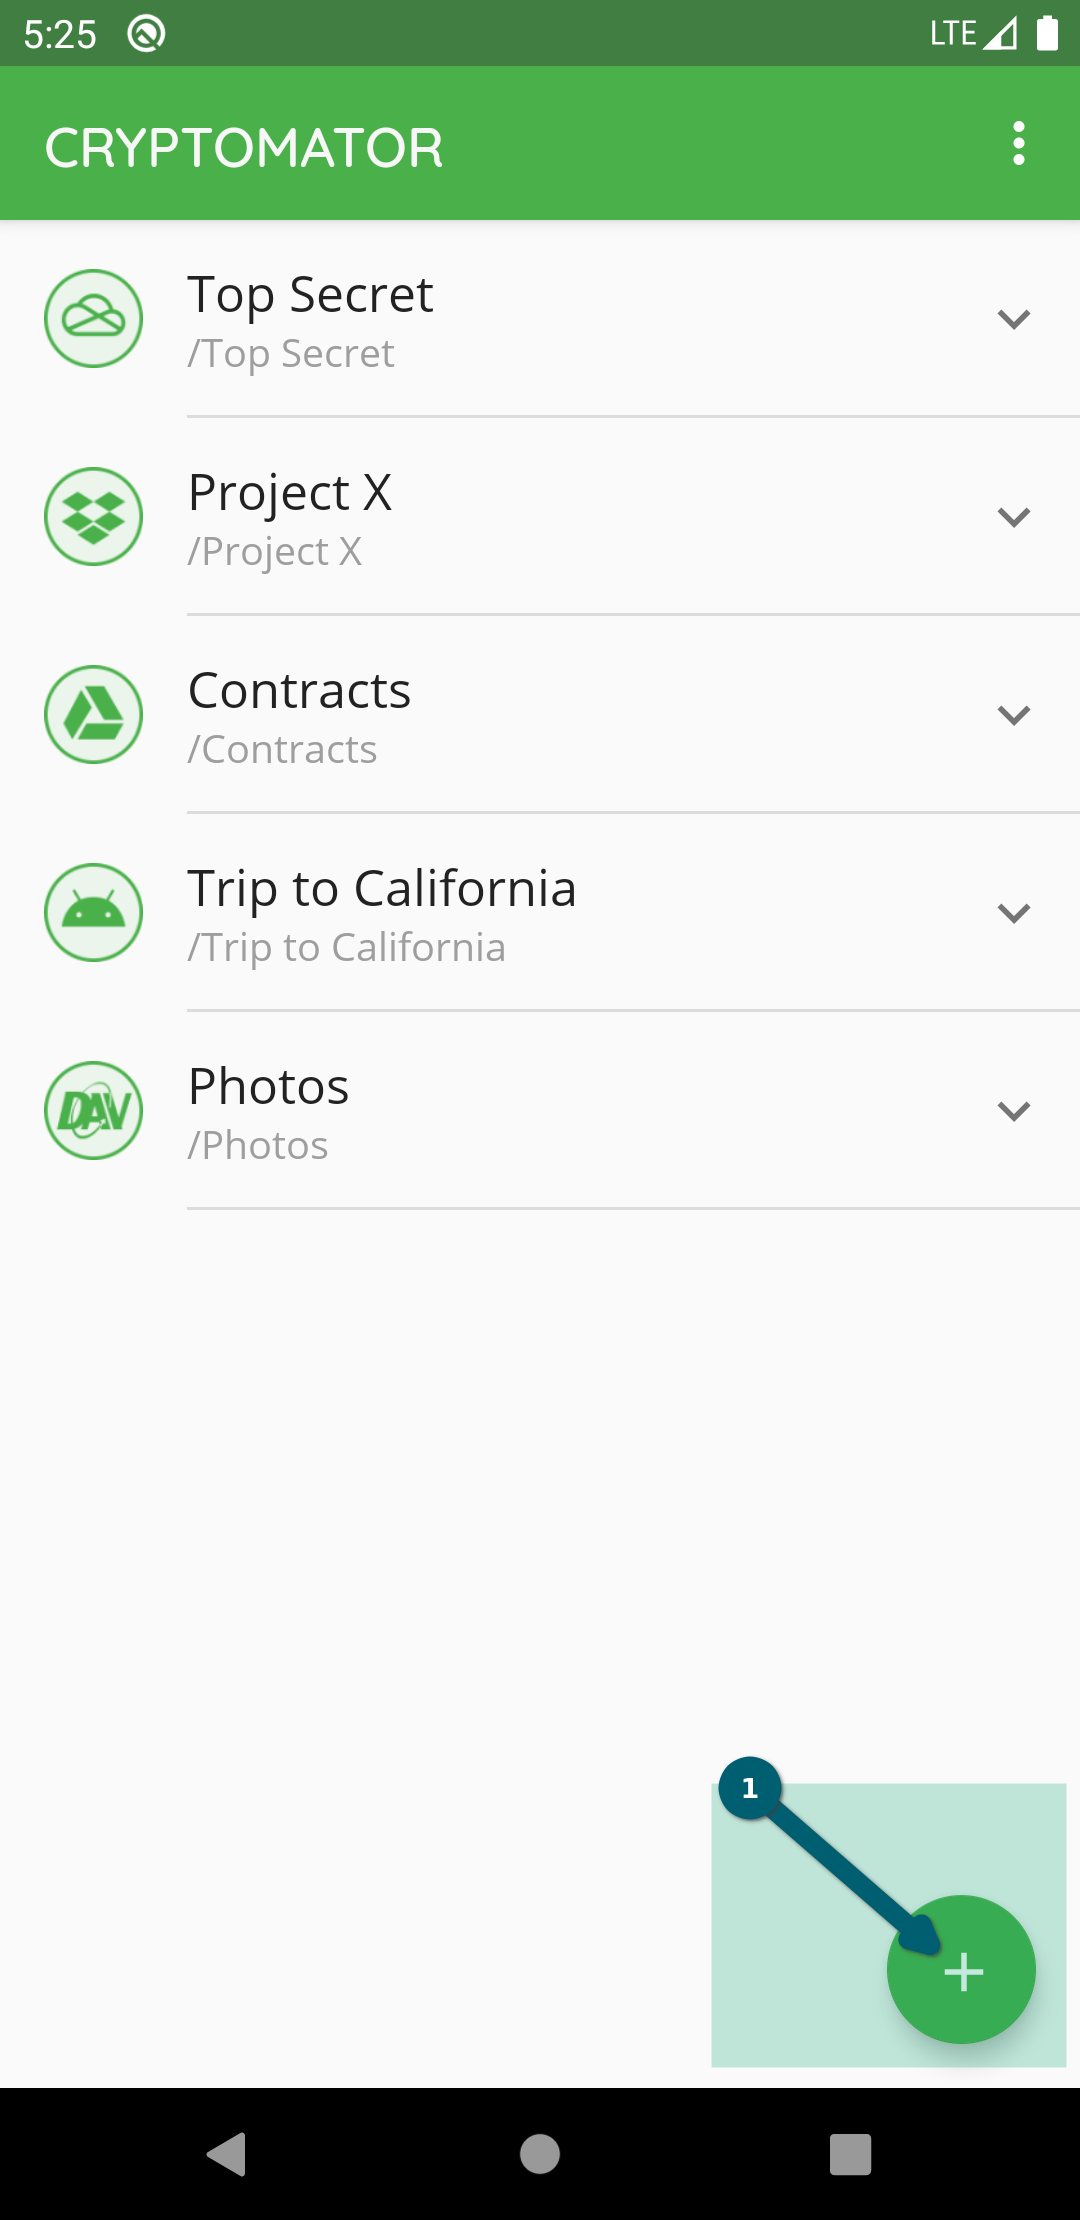
To create a new vault, click on the plus sign ① and choose Create new vault ② in the next screen.

If you already have a vault created with the desktop app and just want to add this vault to your mobile app, please go to chapter Add Existing Vaults.
You will now be prompted to select the Cloud Service where you want to store your vault.
Choose between Dropbox, Google Drive, OneDrive (works also with OneDrive for Business) or Local storage (which means your local device with all attached devices).
If your desired provider is not listed and offers WebDAV access, please select WebDAV as the storage location of your vault.
Please see Cloud Services With WebDAV Support for a non-exhaustive list of Cloud Services and information about accessing them with WebDAV.

If not already done, you have to create the connection between the Cryptomator app and your storage provider account. Please follow the instructions in the Cloud Management chapter and continue later here.
Now that you've established a connection, you'll add the existing vault.
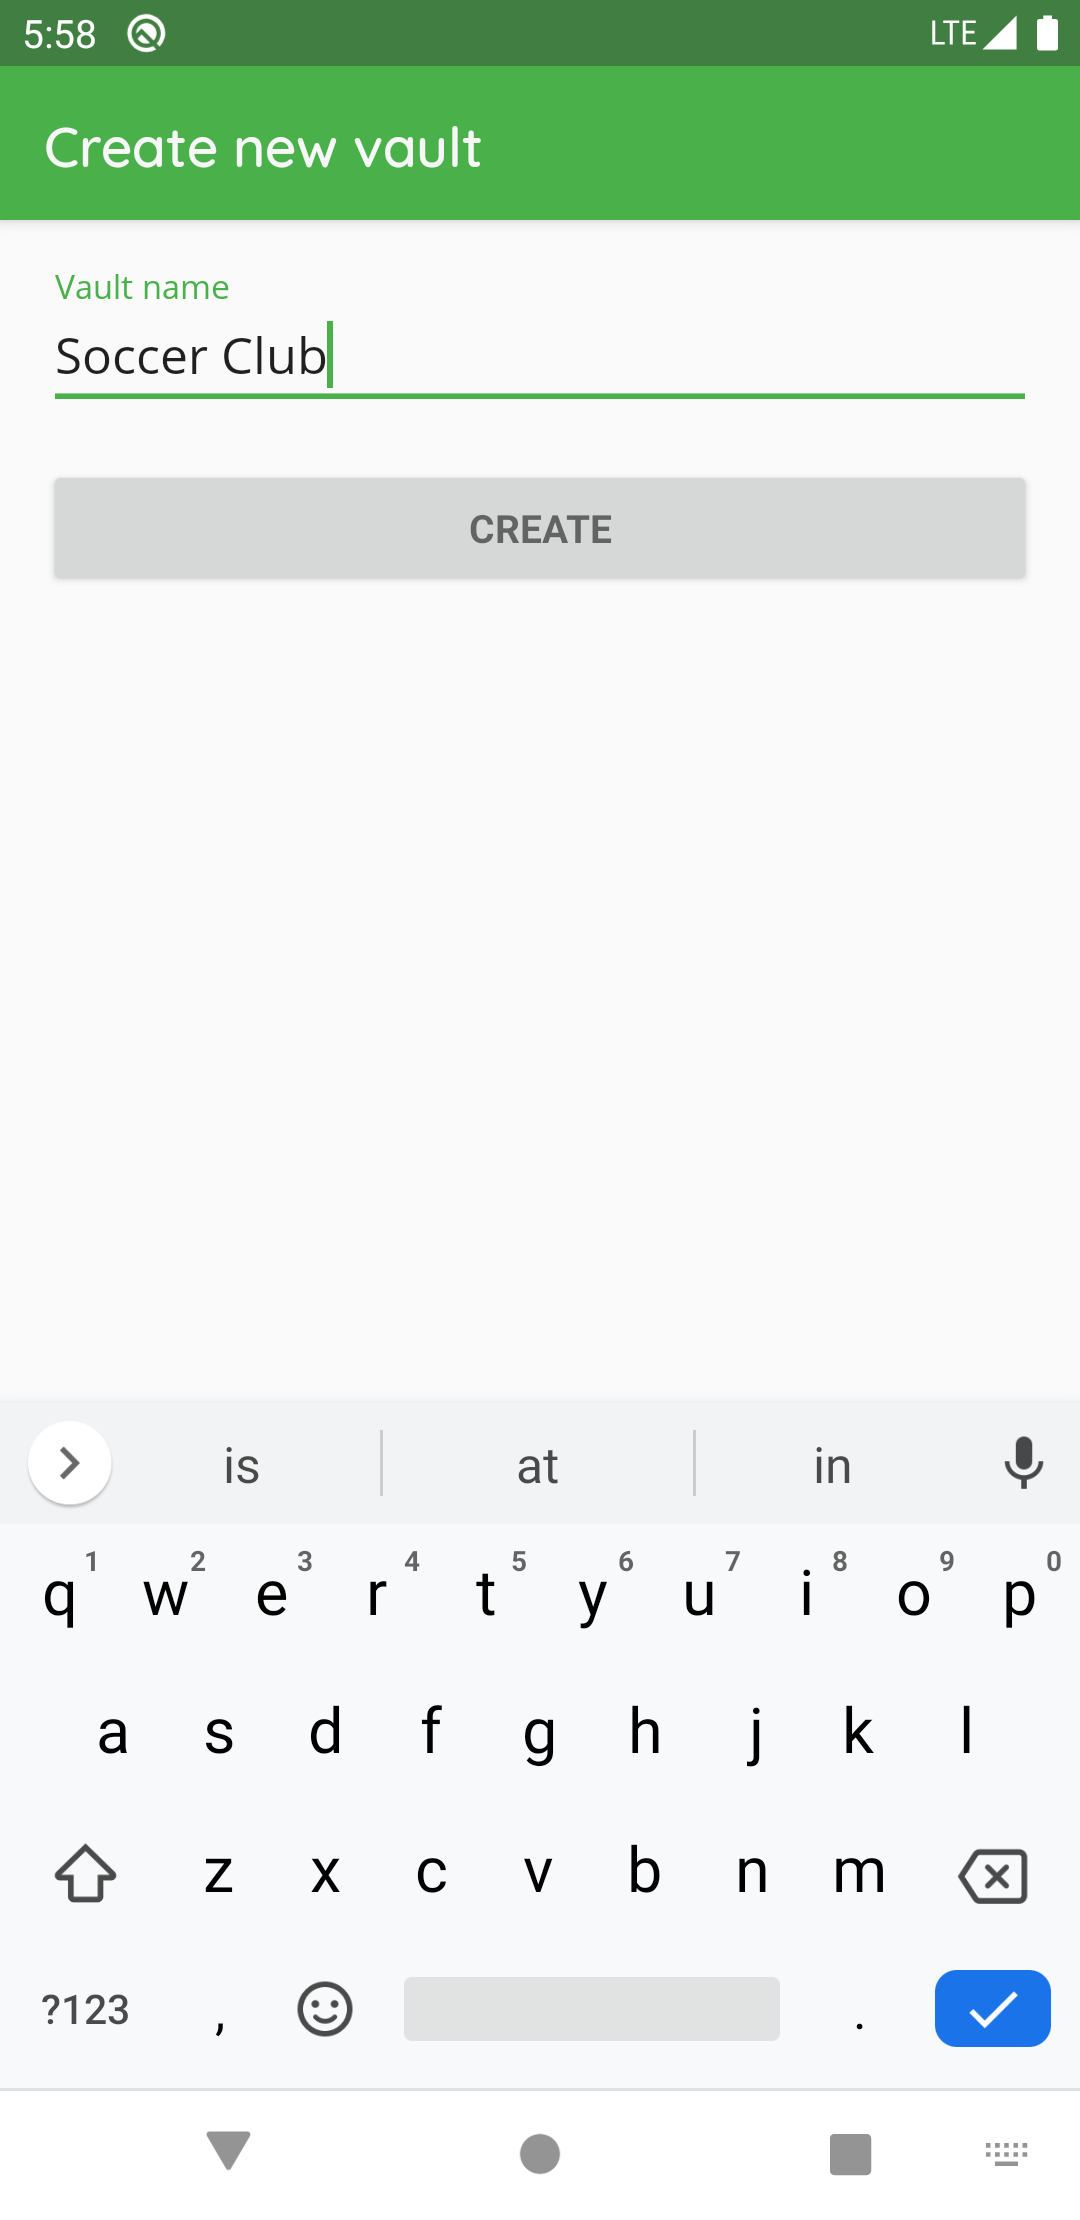
In the first step, please enter a name for your new vault. This name will also be the folder name of your vault files in your online storage.
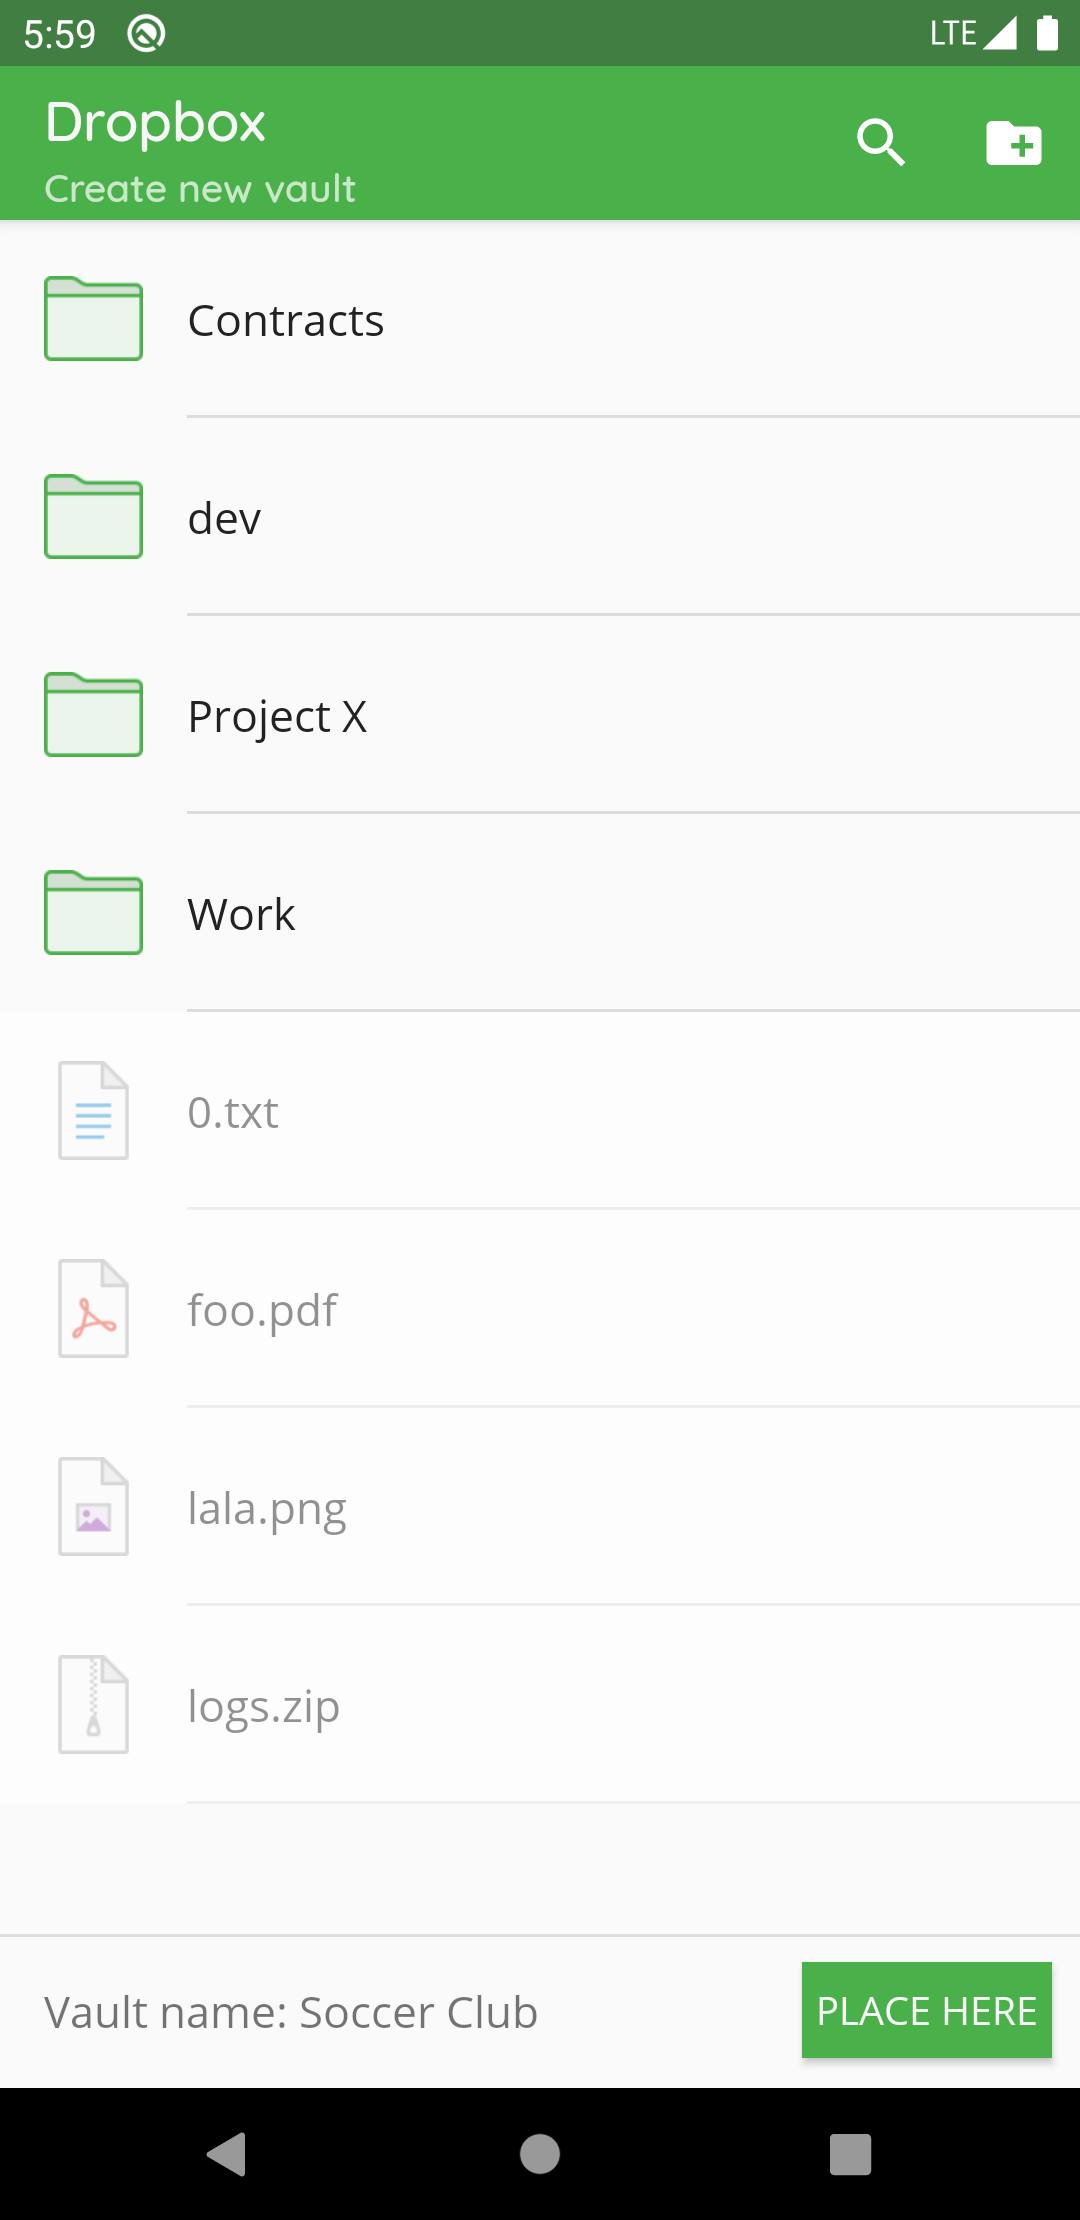
Then choose the location on your Cloud Service where you want to have your encrypted vault files stored.
And last but not least, create a secure password for your vault. Basically, you have the whole Unicode for choosing a password including non-printable characters.
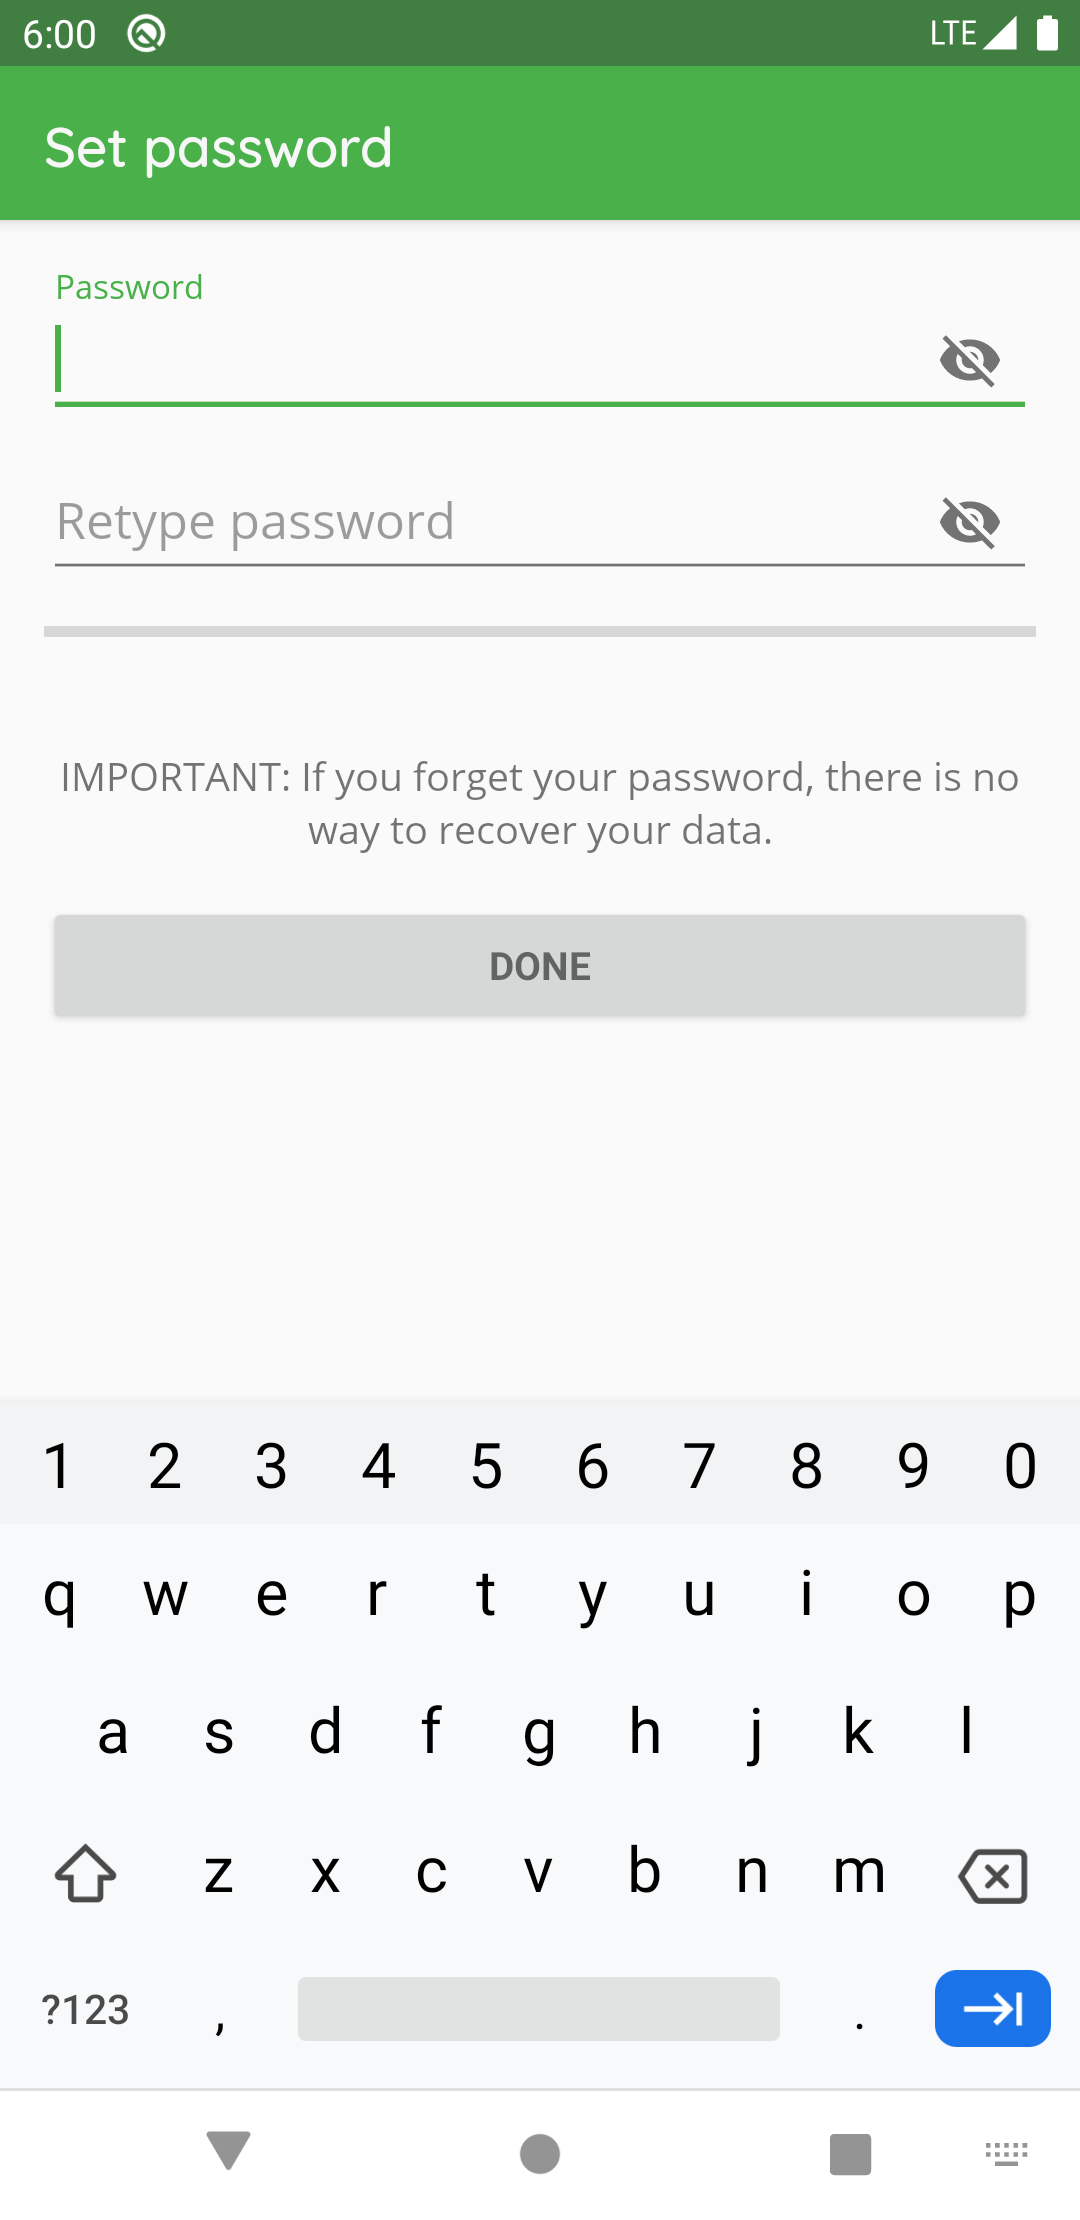
You have to remember this password at all times because there is no way to access your data if you forget your password. Choose a good password to make your data secure.
After you have confirmed your password, the vault is created. You will find it now on the start page of your Cryptomator app, where you can open your vault and optionally change settings.
Add Existing Vaults
To add an existing vault, click on the plus sign ① and choose Add existing vault ② in the next screen.
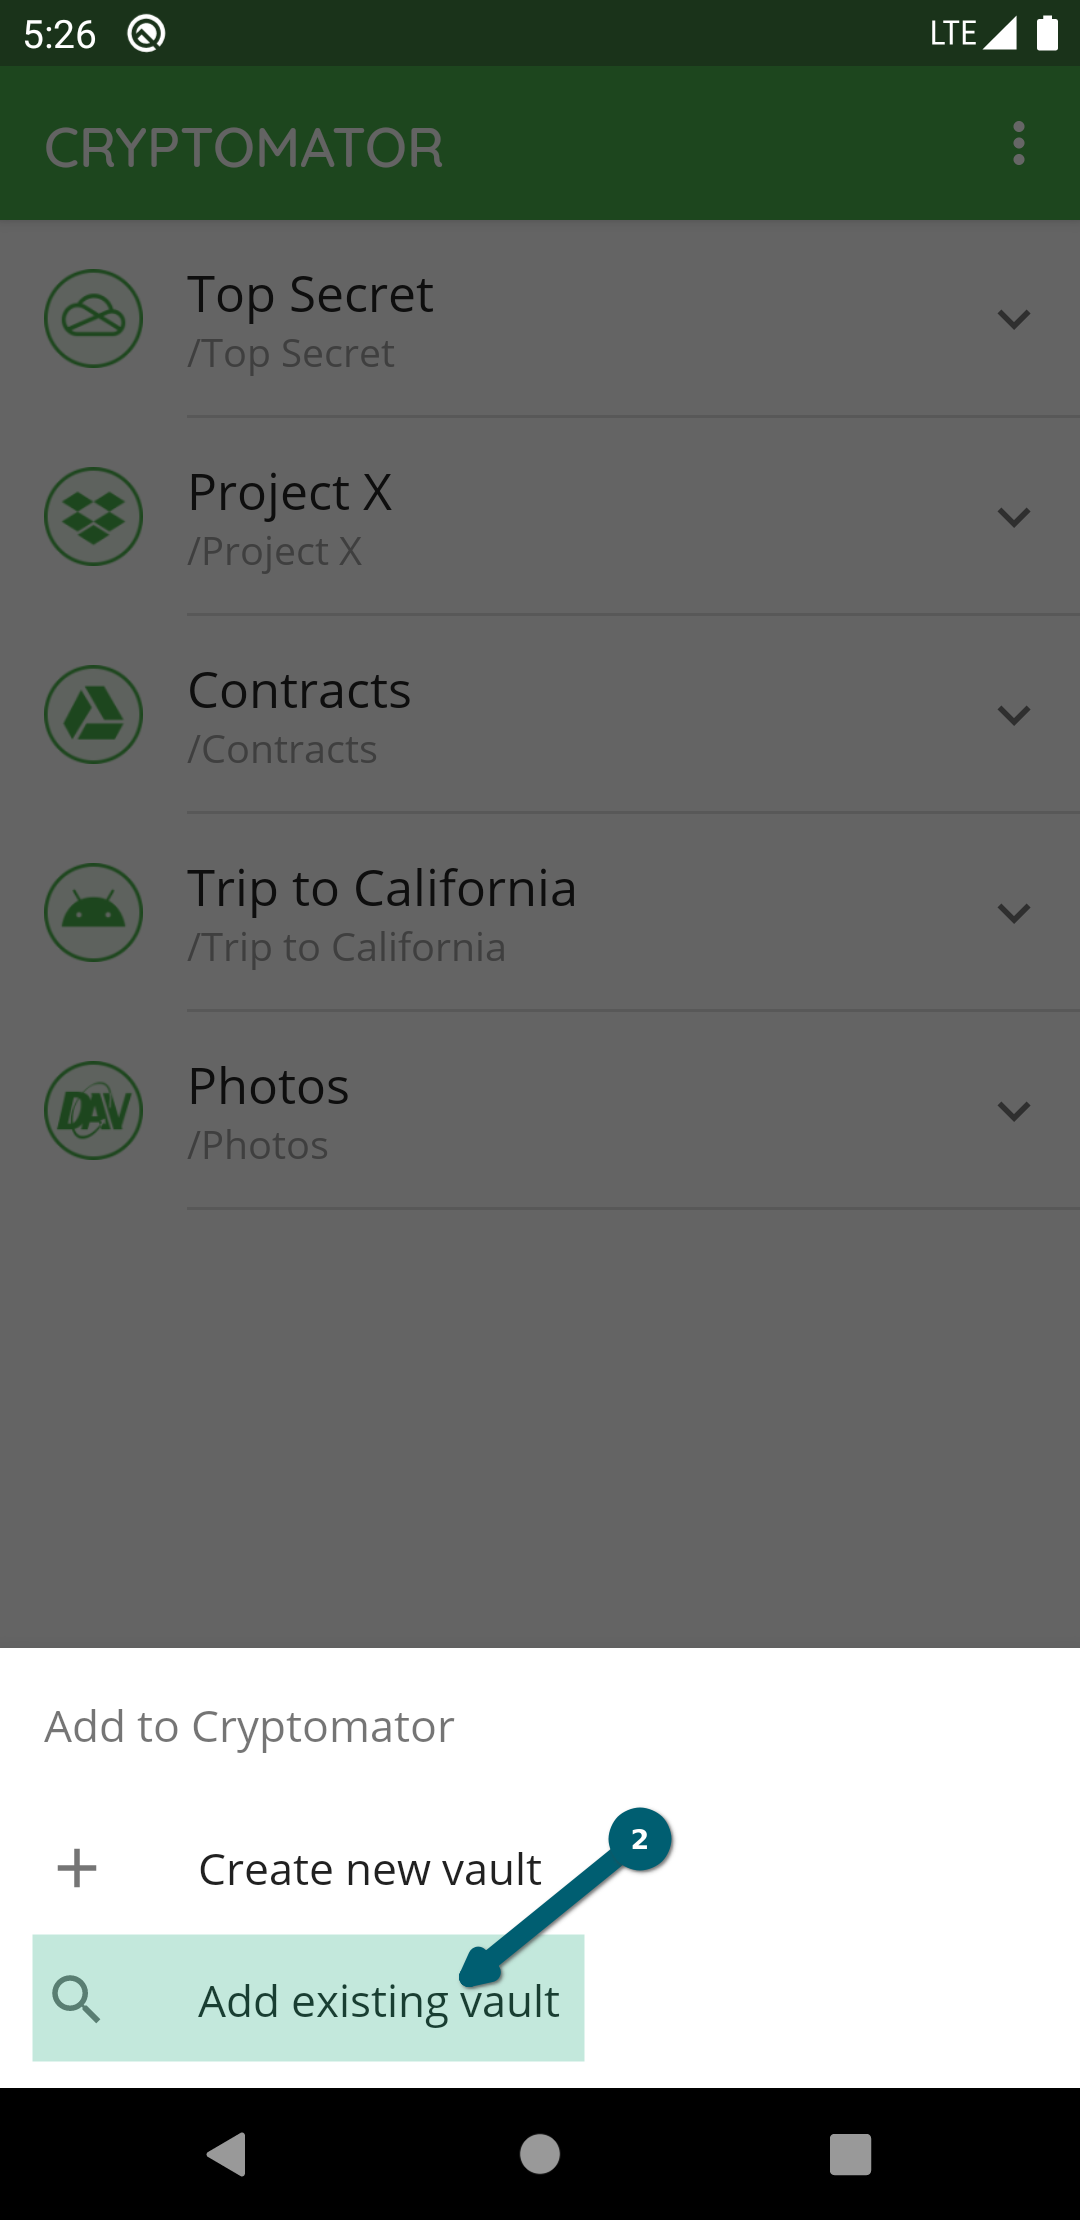
You will now be prompted to select the Cloud Service where the vault is located.
Choose between Dropbox, Google Drive, OneDrive (works also with OneDrive for Business) or Local storage (which means your local device with all attached devices).
If your desired provider is not listed and offers WebDAV access, please select WebDAV as the storage location of your vault.
Please see Cloud Services With WebDAV Support for a non-exhaustive list of Cloud Services and information about accessing them with WebDAV.

If not already done, you have to create the connection between the Cryptomator app and your storage provider account. Please follow the instructions in the Cloud Management chapter and continue later here.
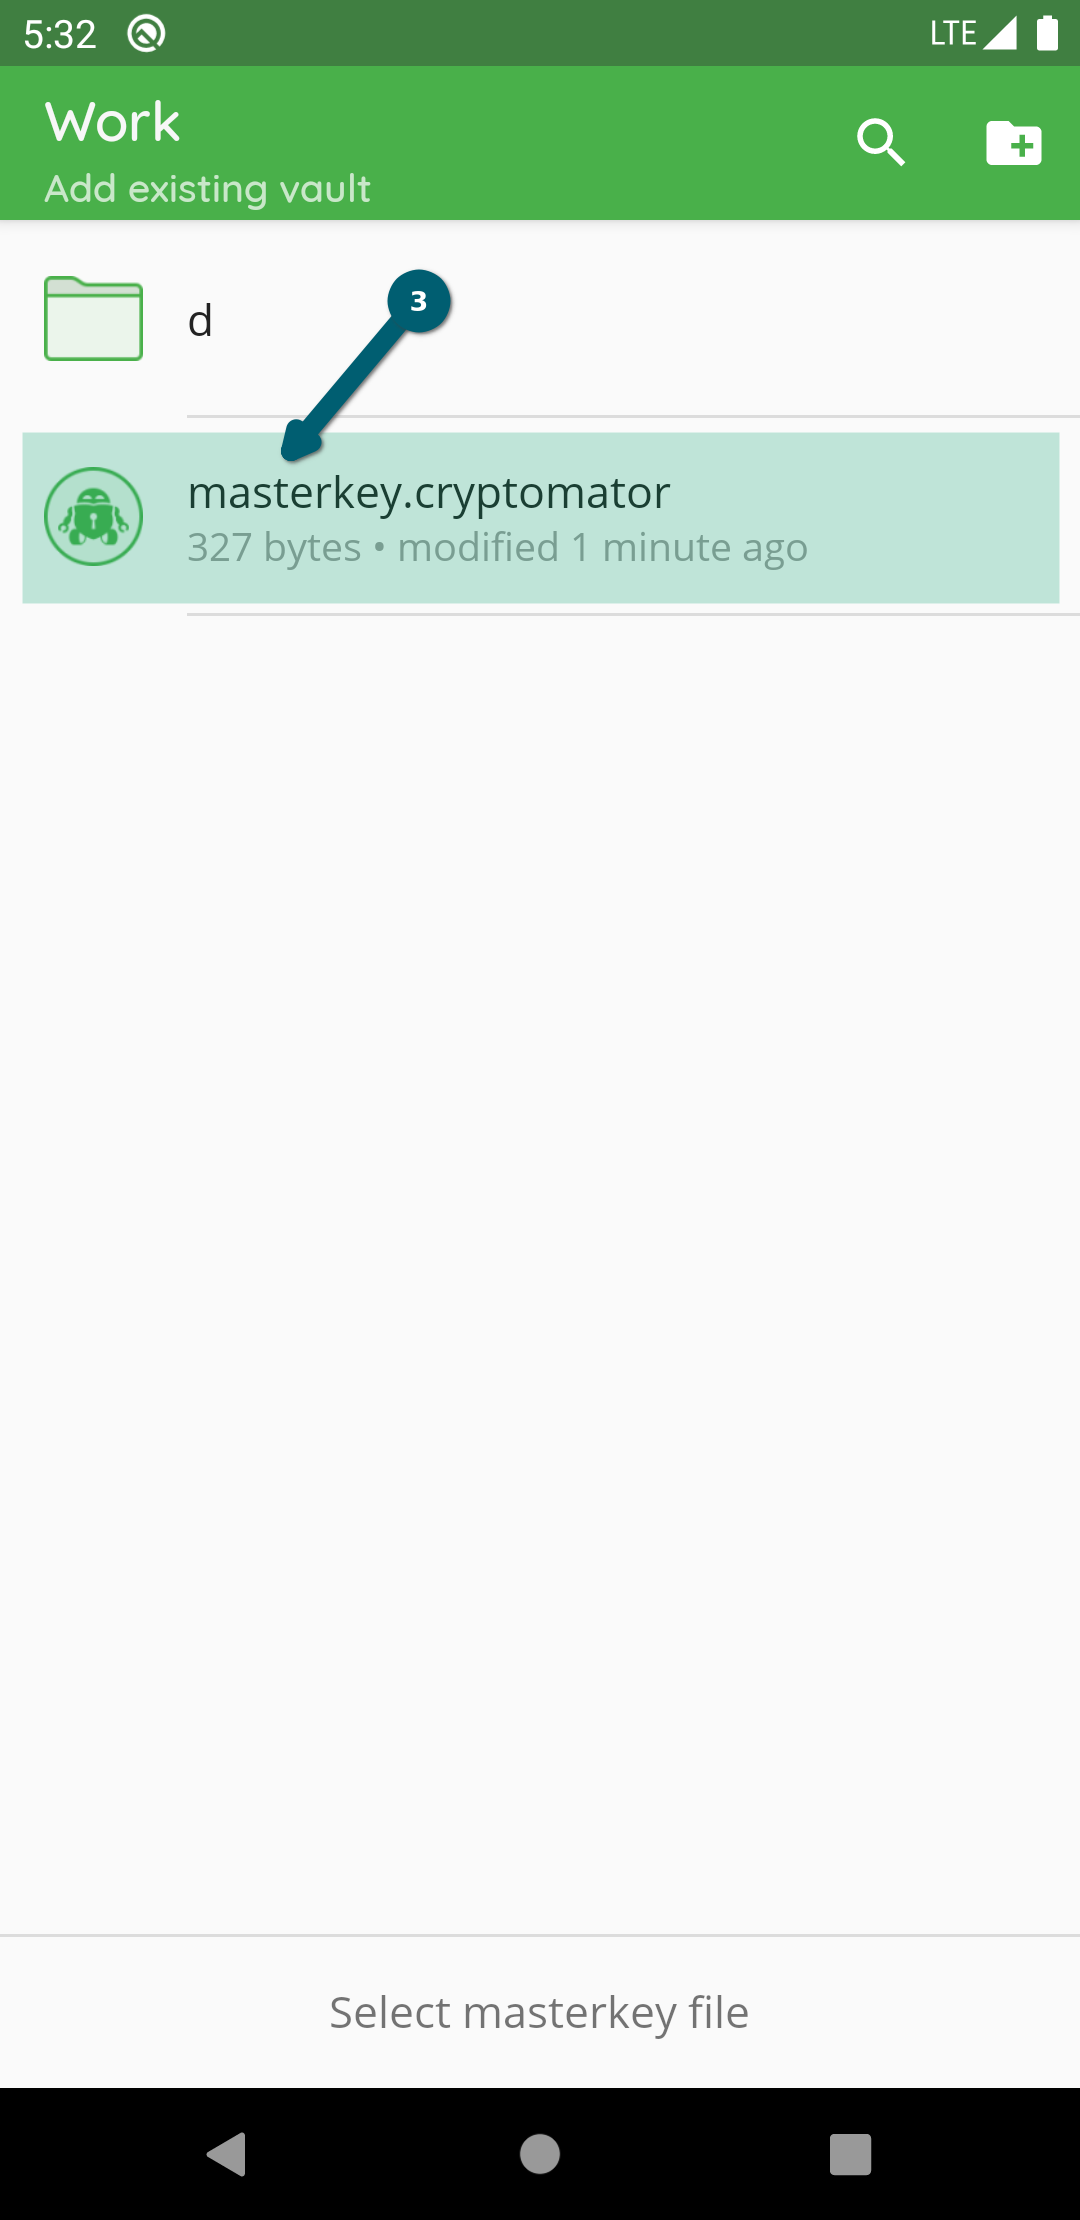
Now that you've established a connection, you'll add the existing vault.
In the first step, please choose the folder in which the vault is located. This folder name is the same as the vault name (in this example, our vault name is test vault so we select this folder).

Then choose the masterkey.cryptomator file.
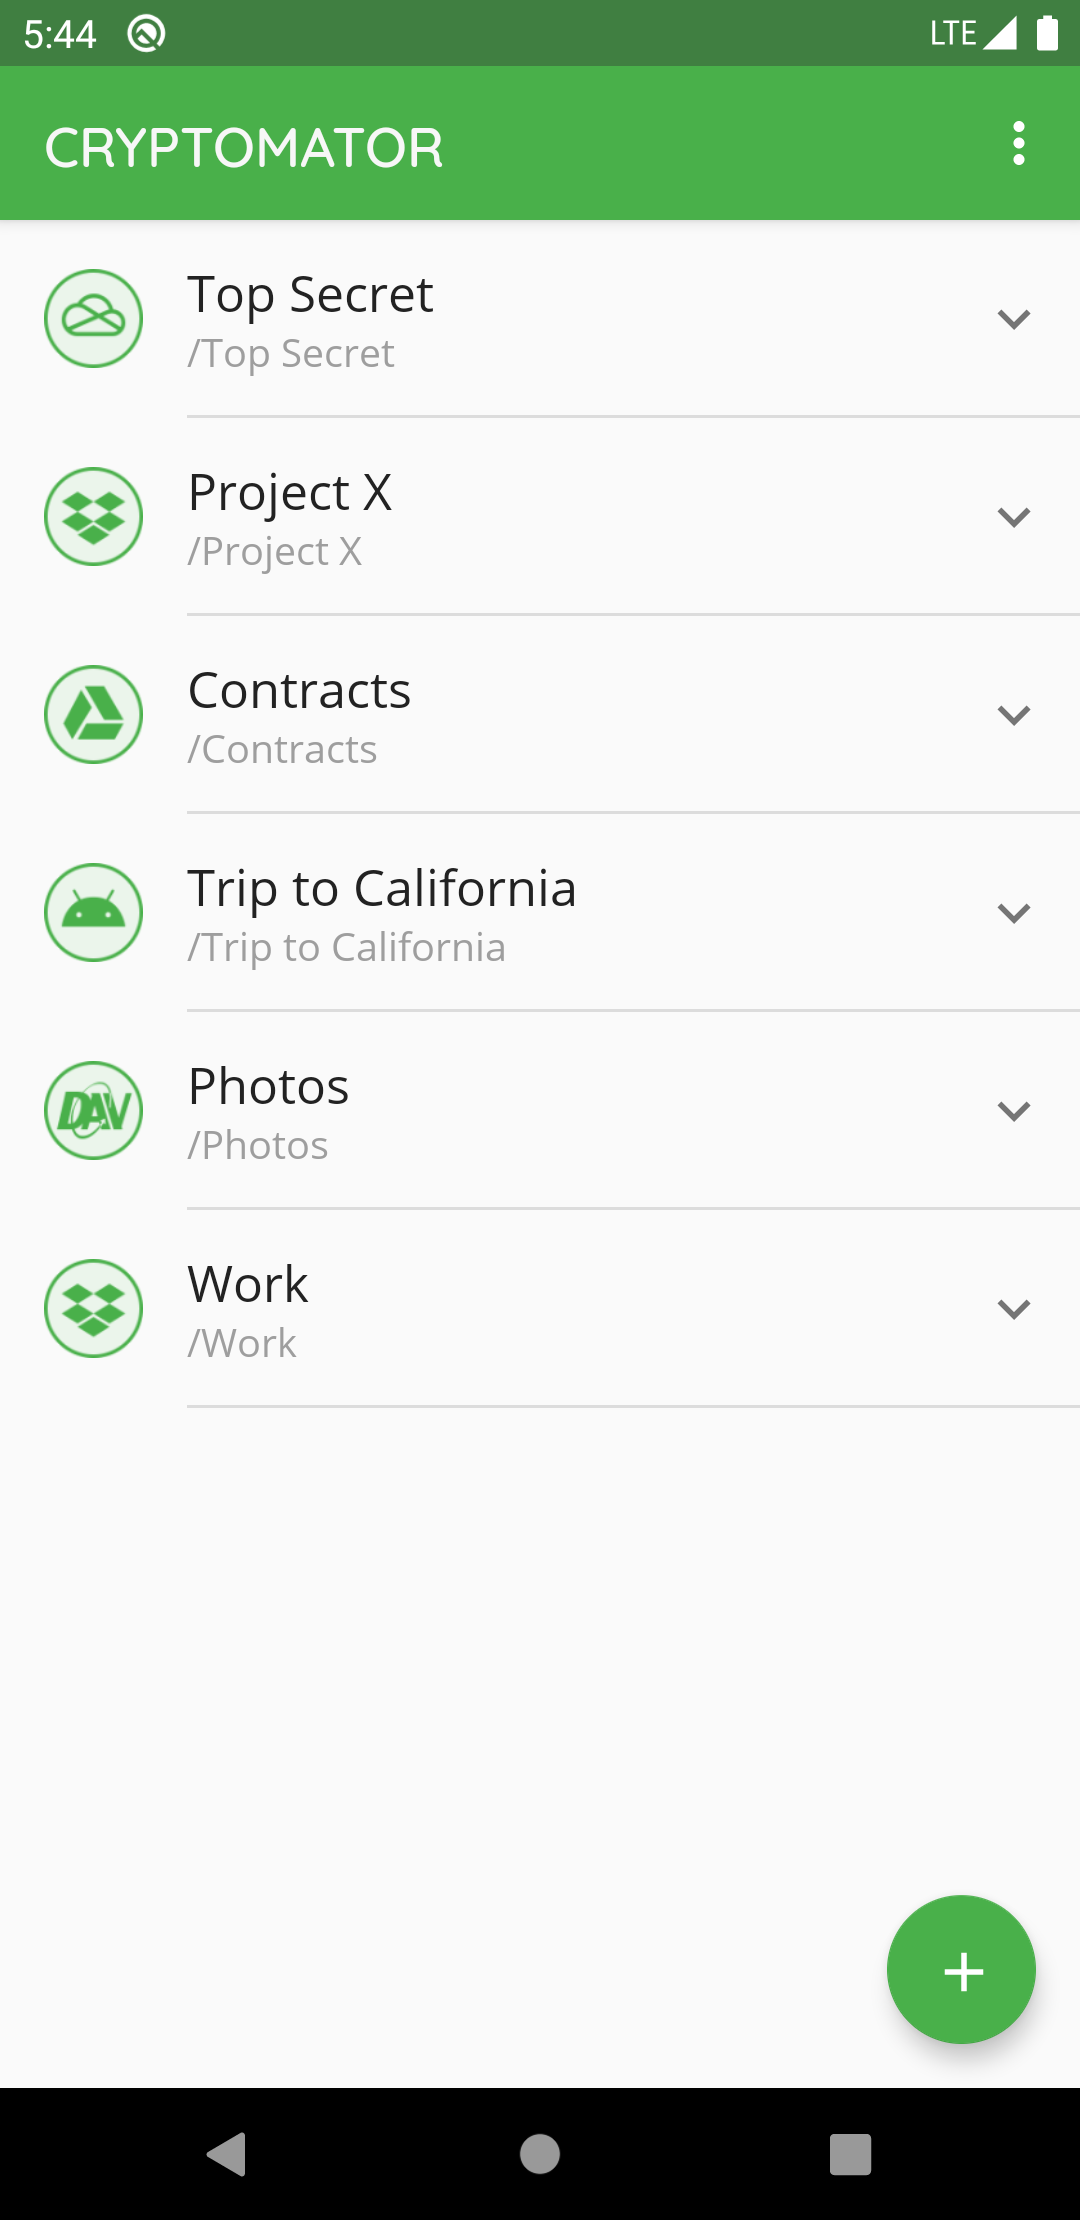
Now the vault is added to the list of vaults. You will find it now on the start page of your Cryptomator app, where you can open your vault and optionally change settings.
Remove Vaults
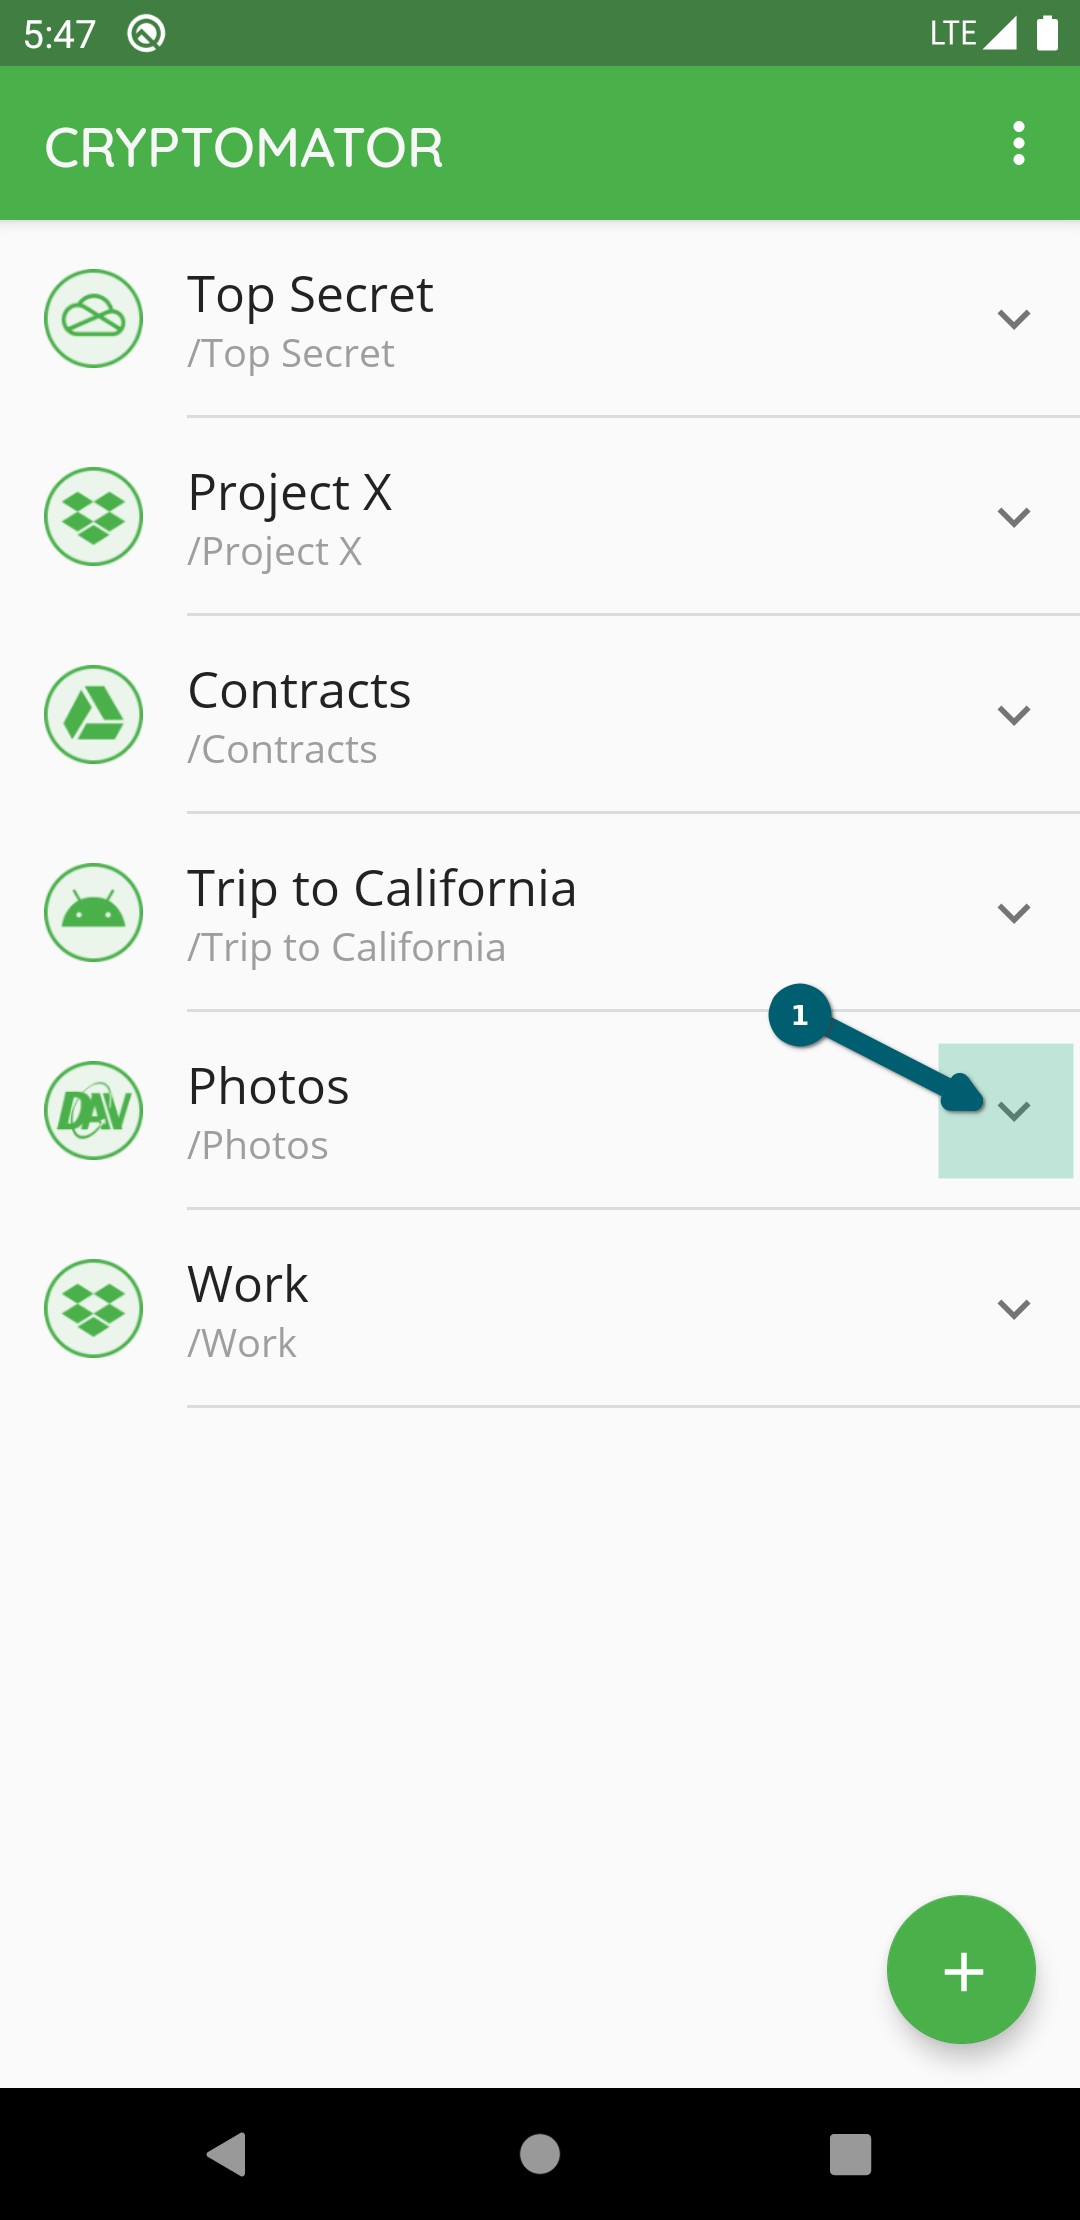
If you want a specific vault to stop being displayed in Cryptomator, you select the V next to the vault ① and choose Remove ②.

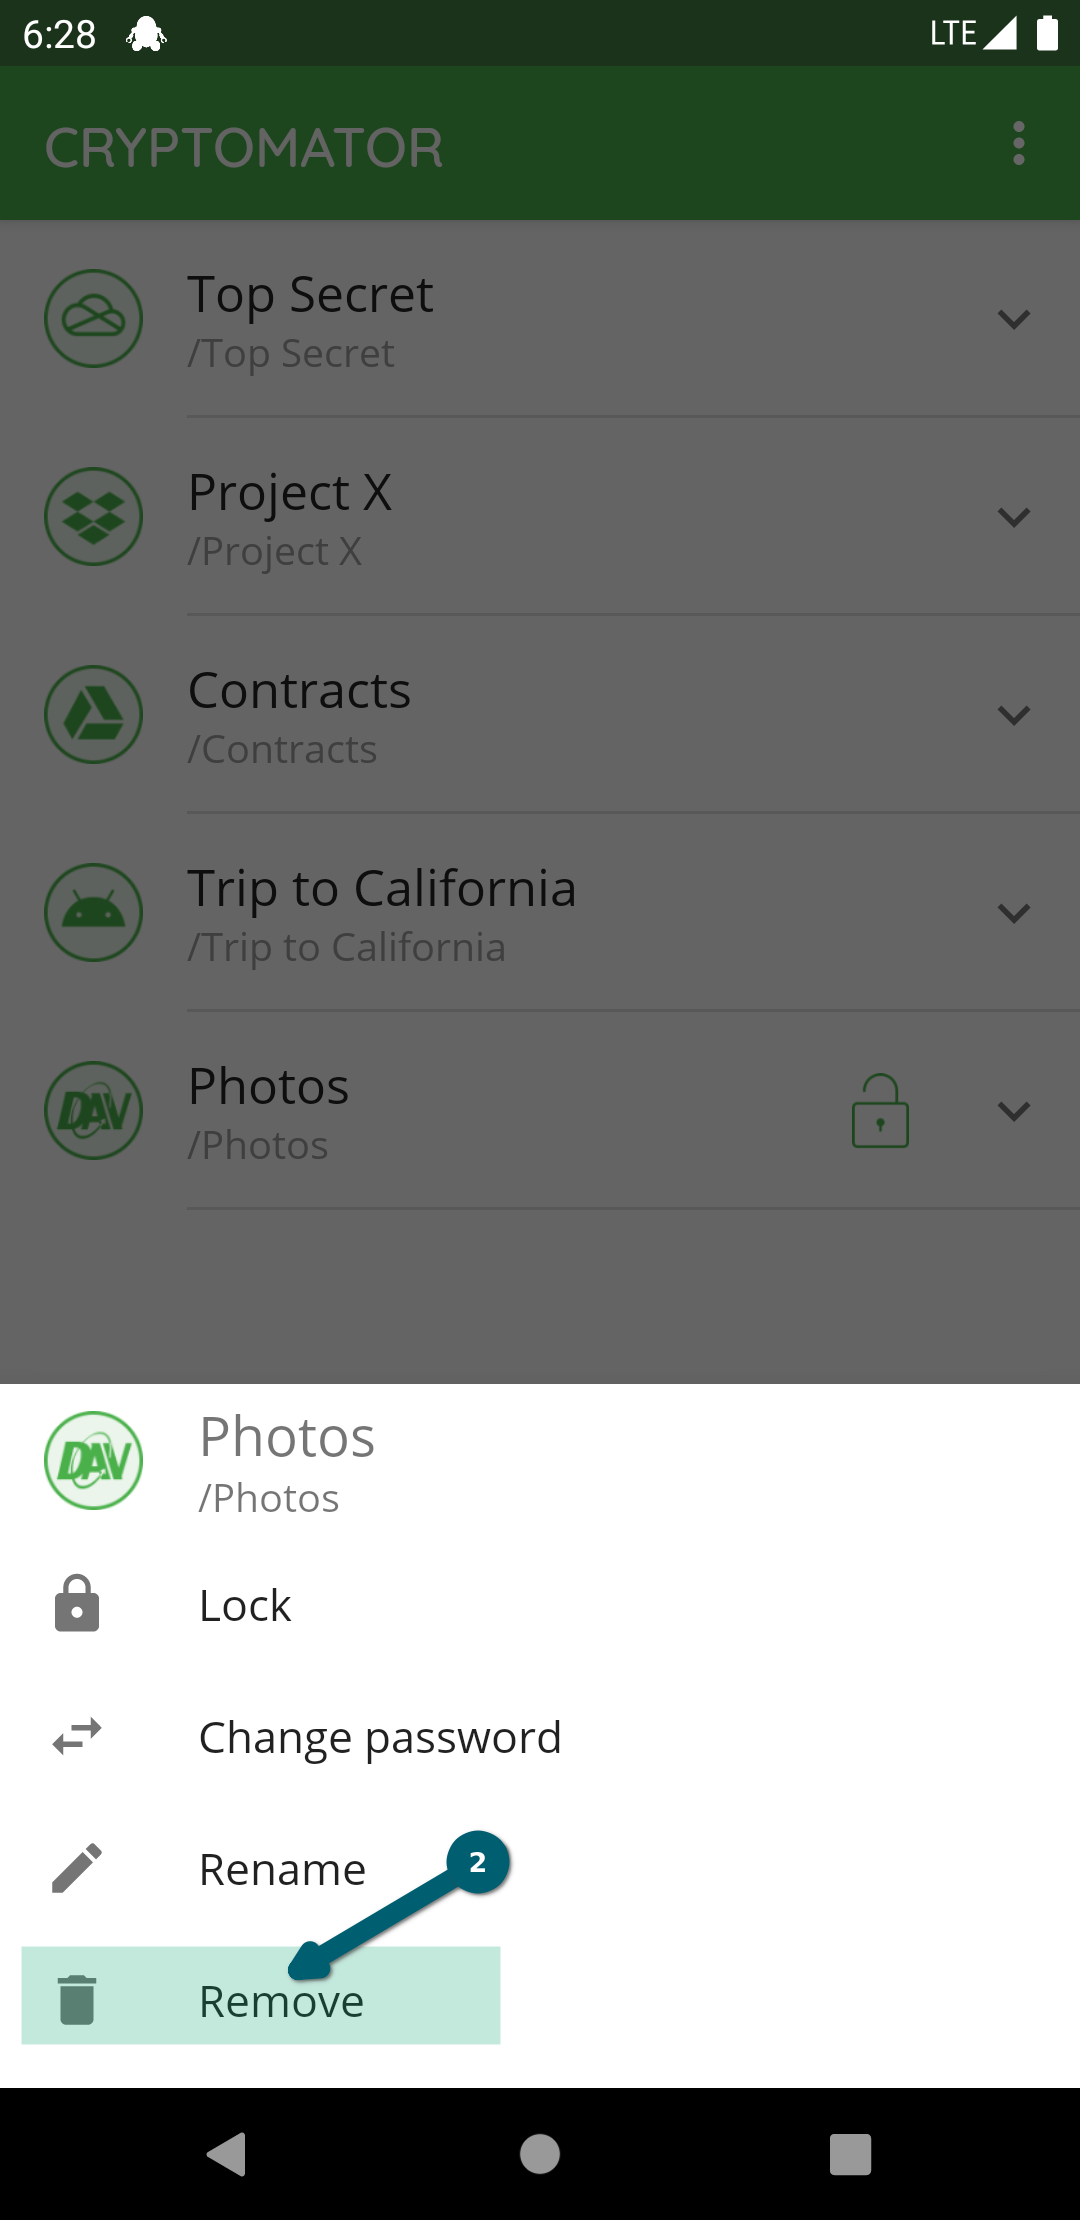
Confirm the deletion process using the Delete button.
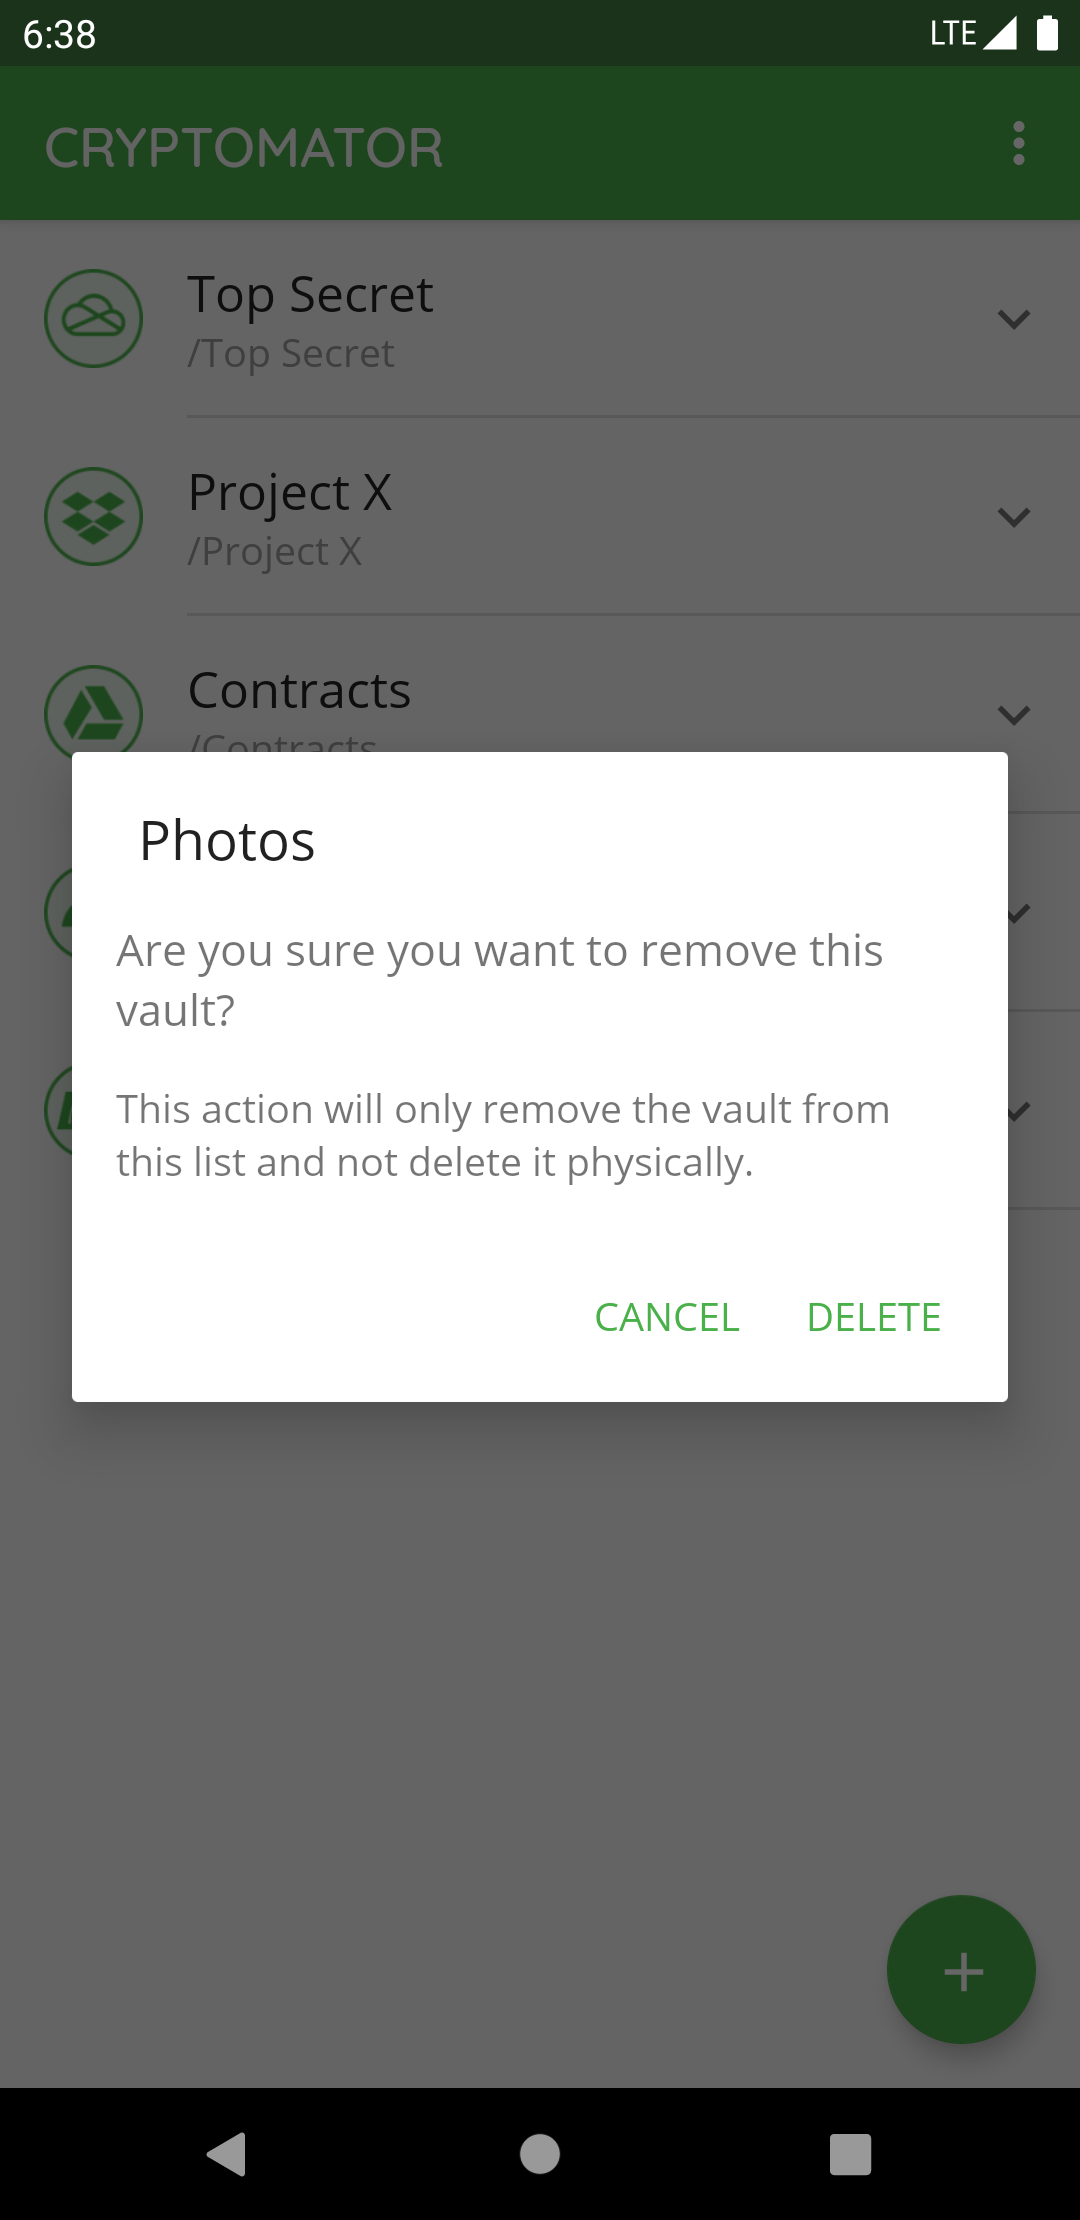
By removing a vault, it is only removed from the list but not deleted in the cloud. You can re-add the vault afterwards.
Change Vault Password
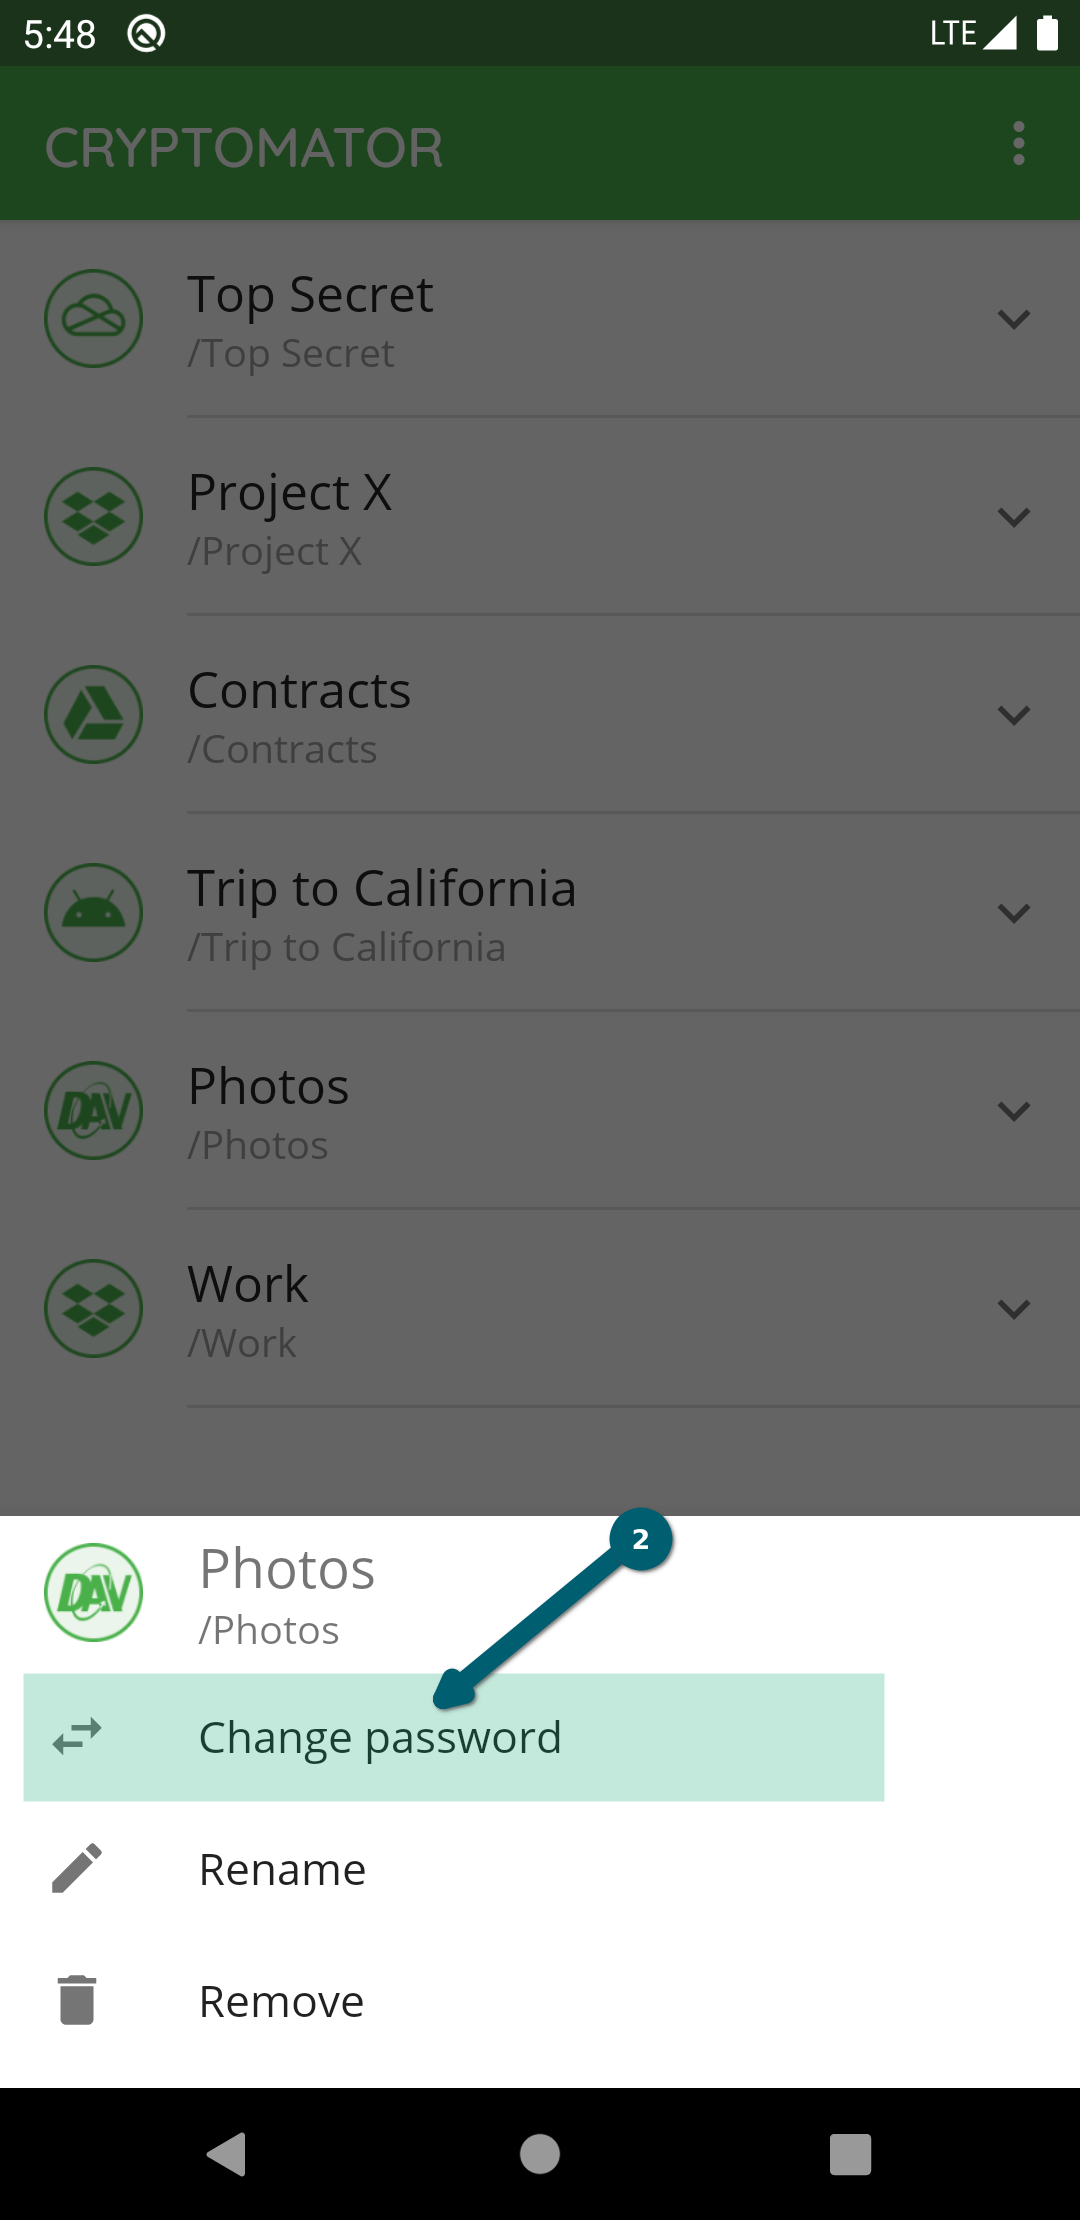
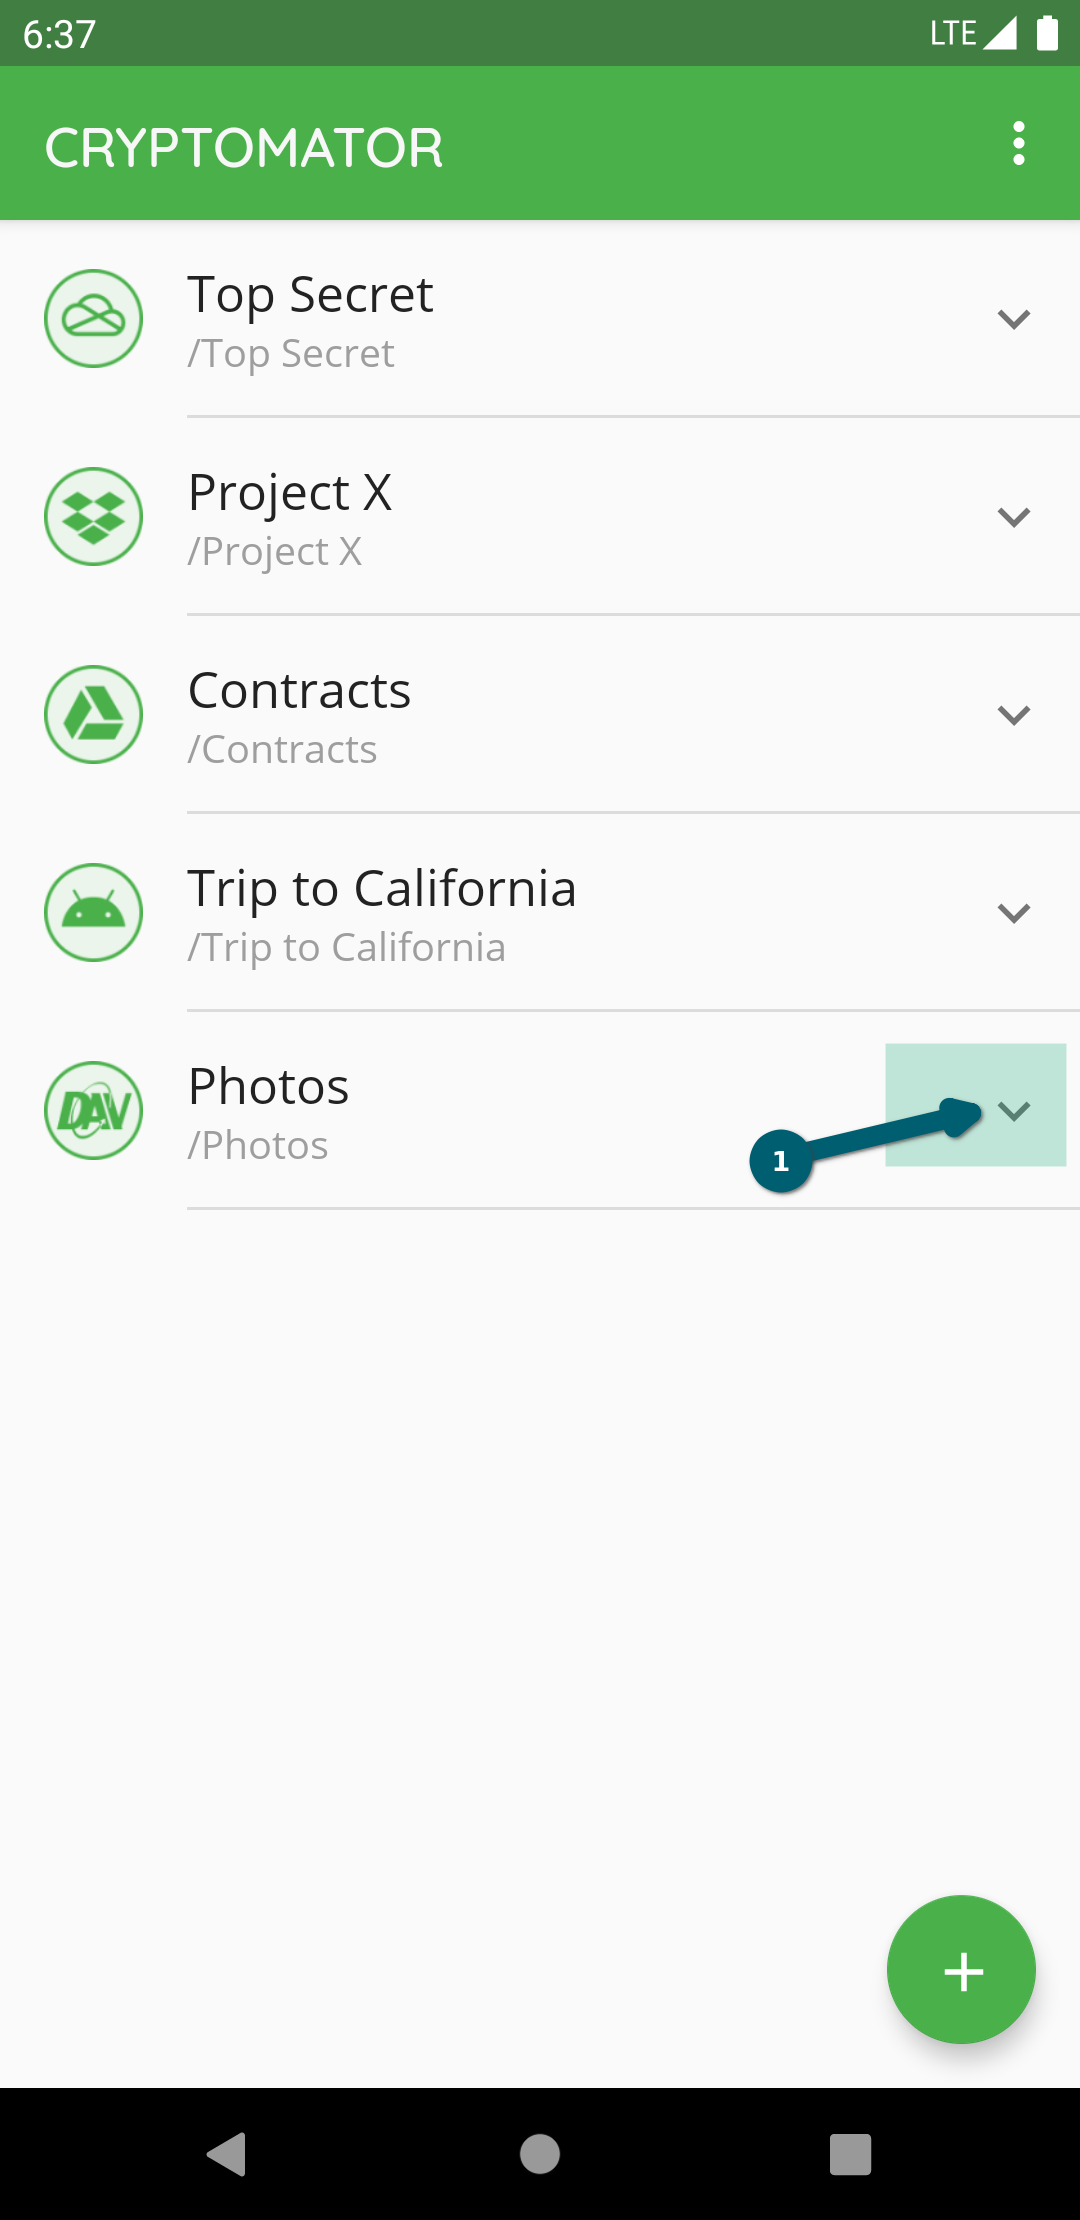
If you want change the password of a specific vault in Cryptomator, you select the V next to the vault ① and choose Change password ②.
Enter the old password and choose a secure new one. Basically, you have the whole Unicode for choosing a password including non-printable characters.
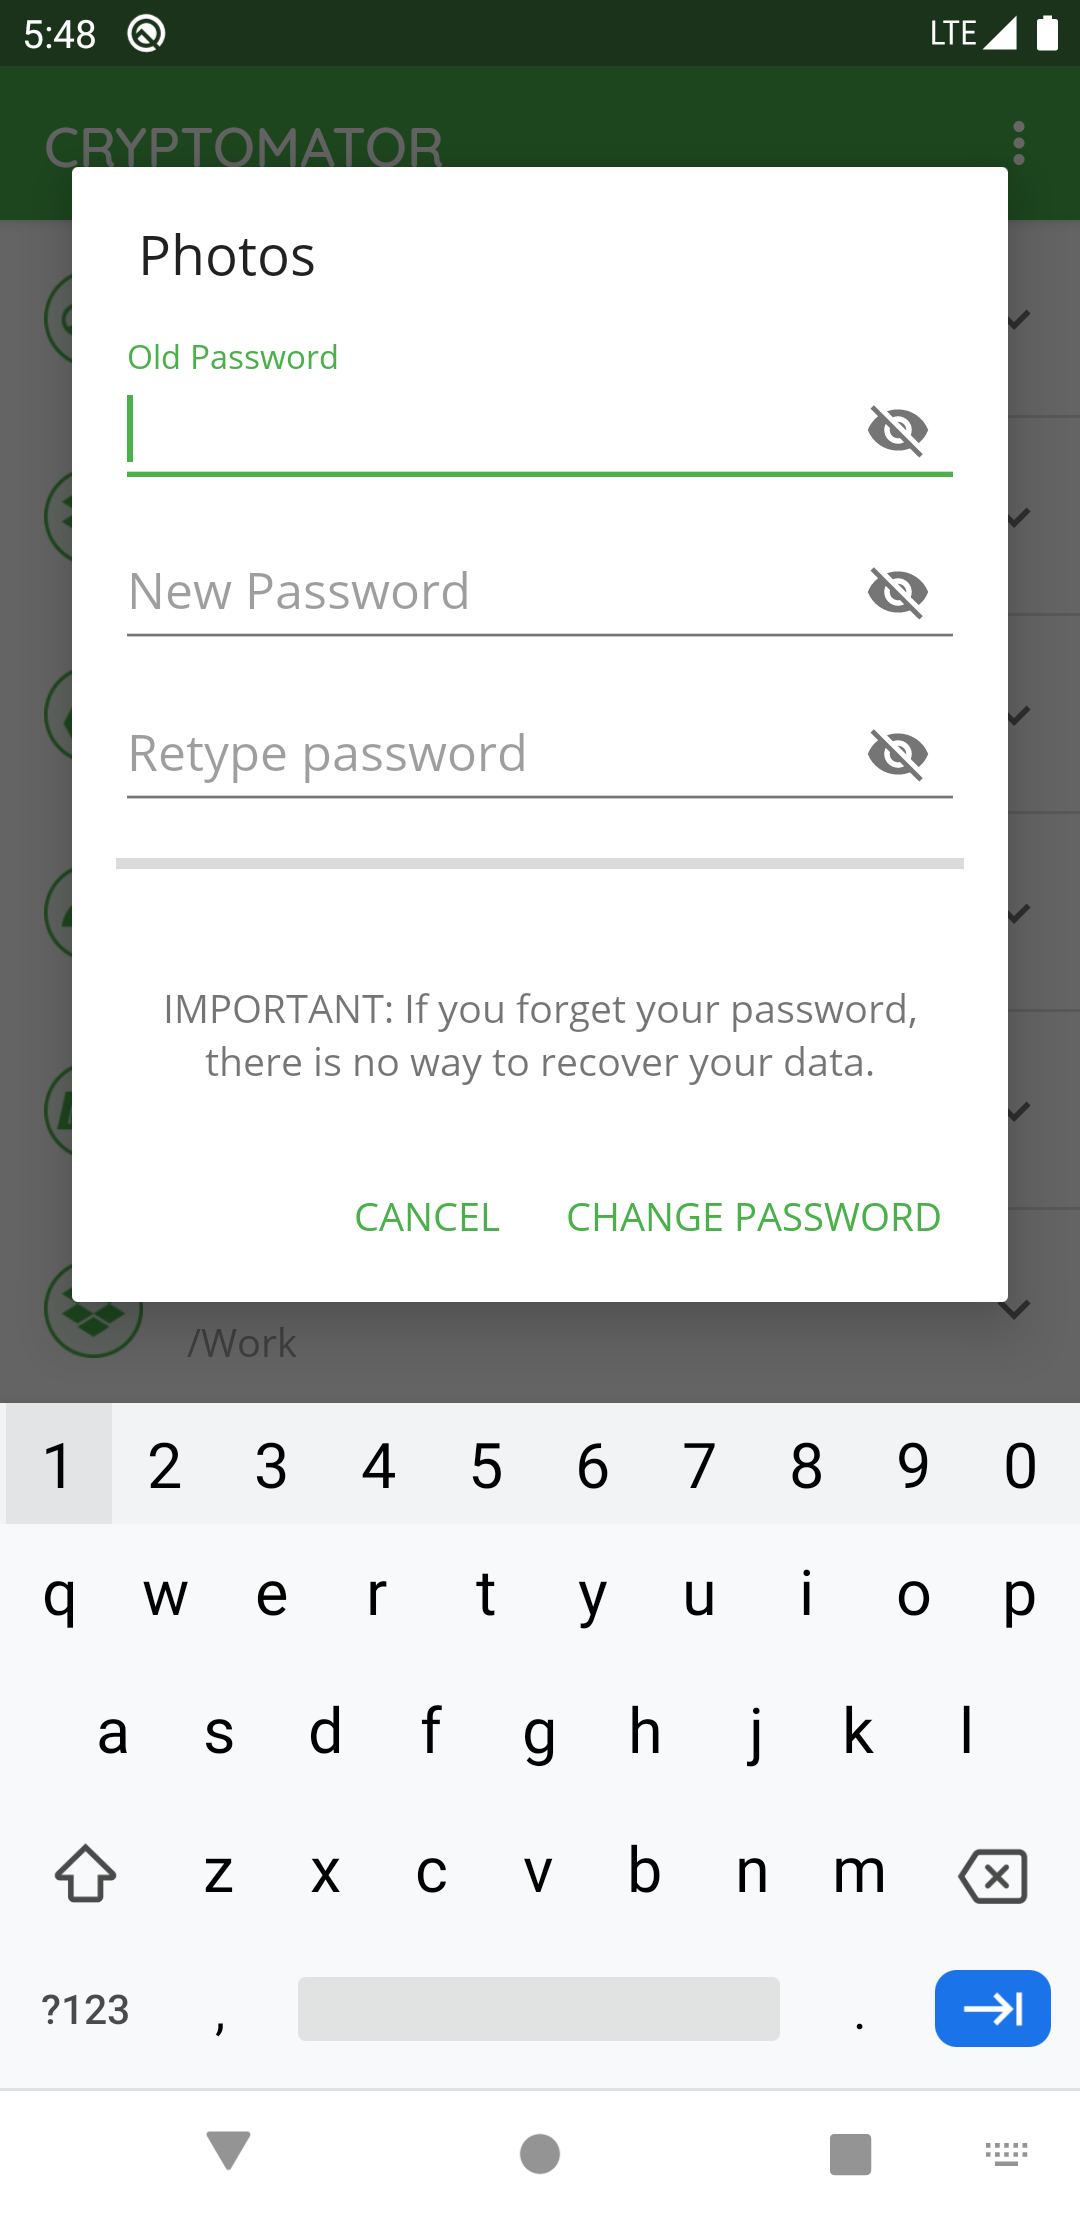
You have to remember this password at all times because there is no way to access your data if you forget your password. Choose a good password to make your data secure.
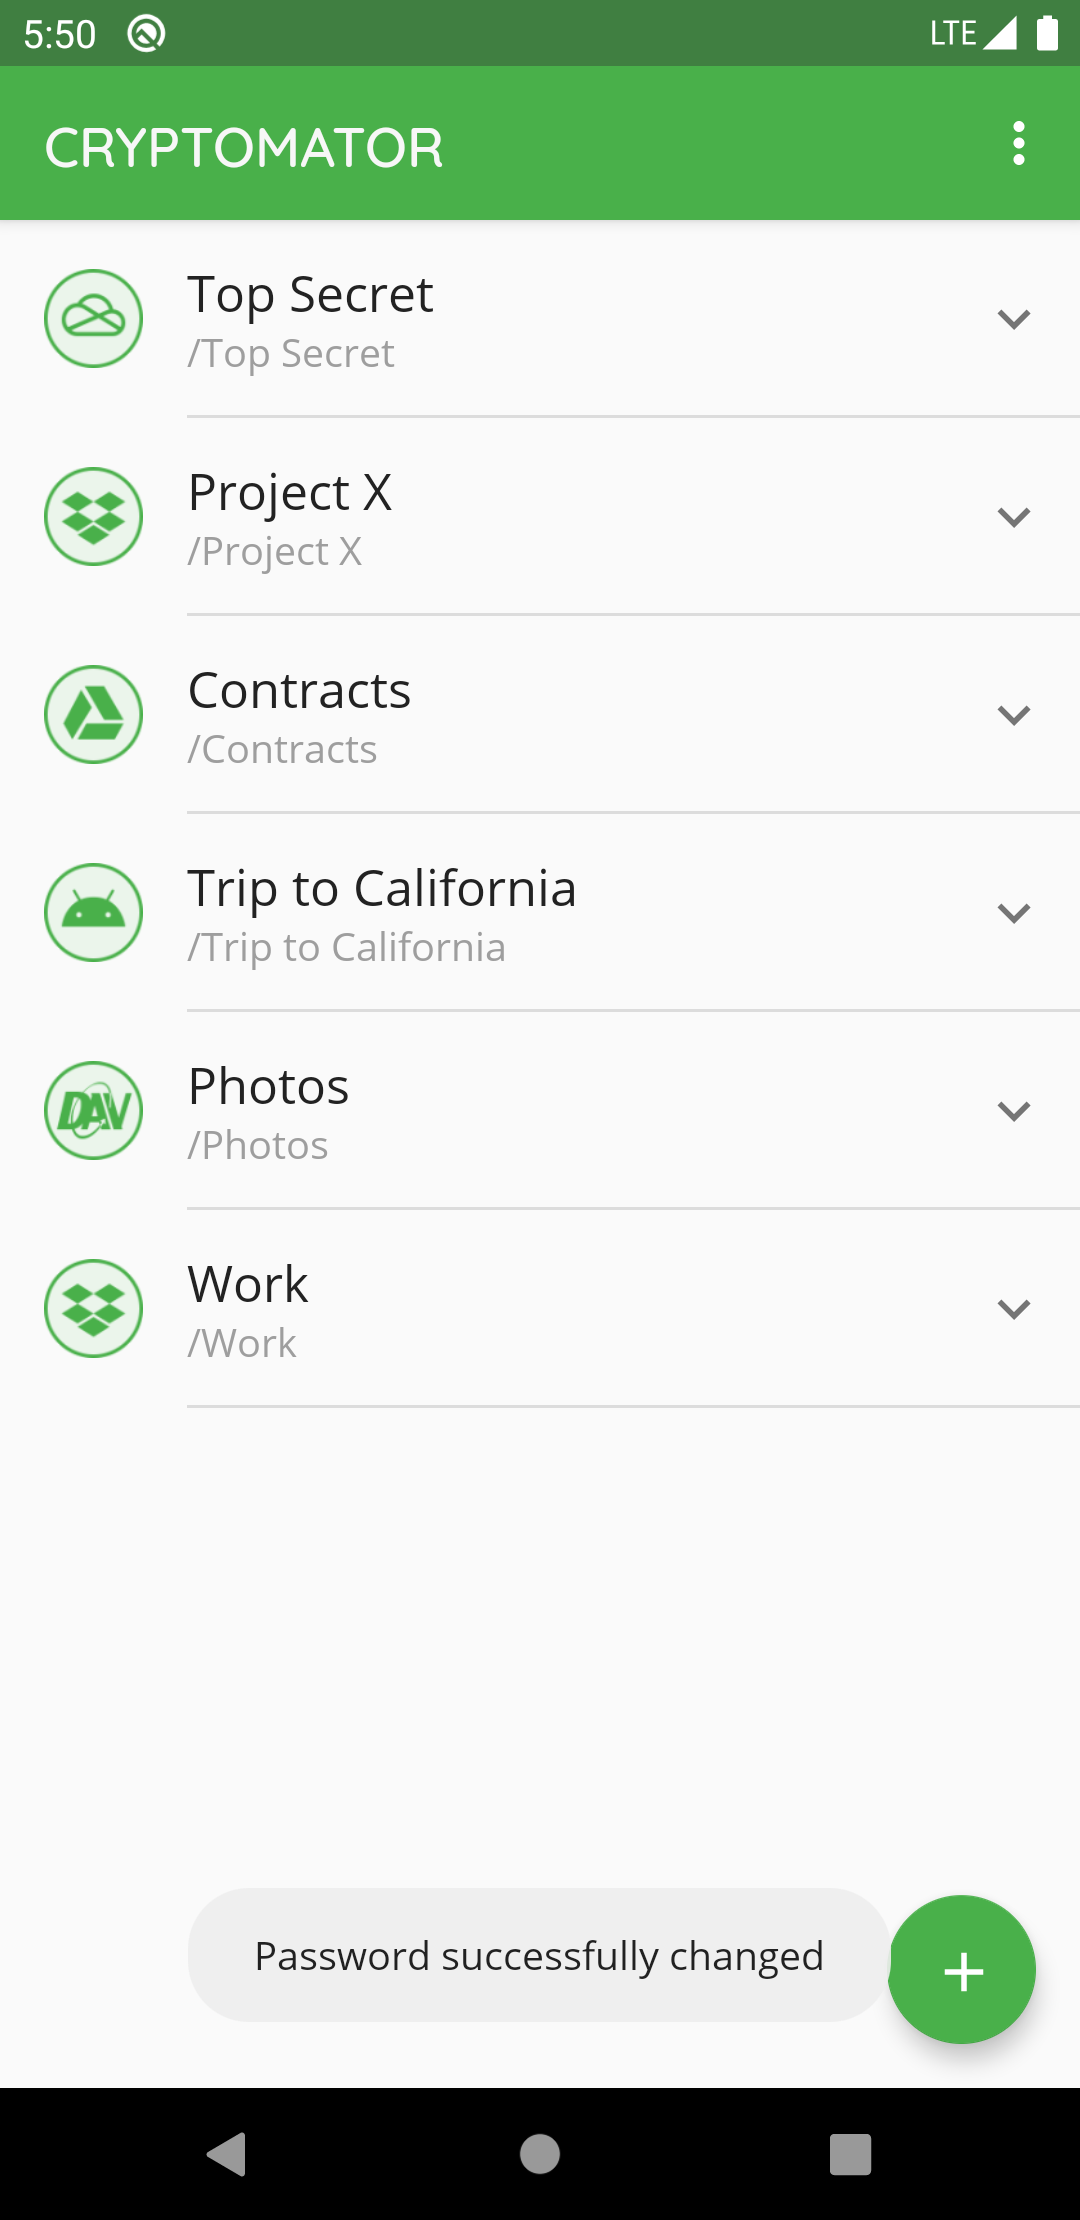
Start the process using the CHANGE PASSWORD button.
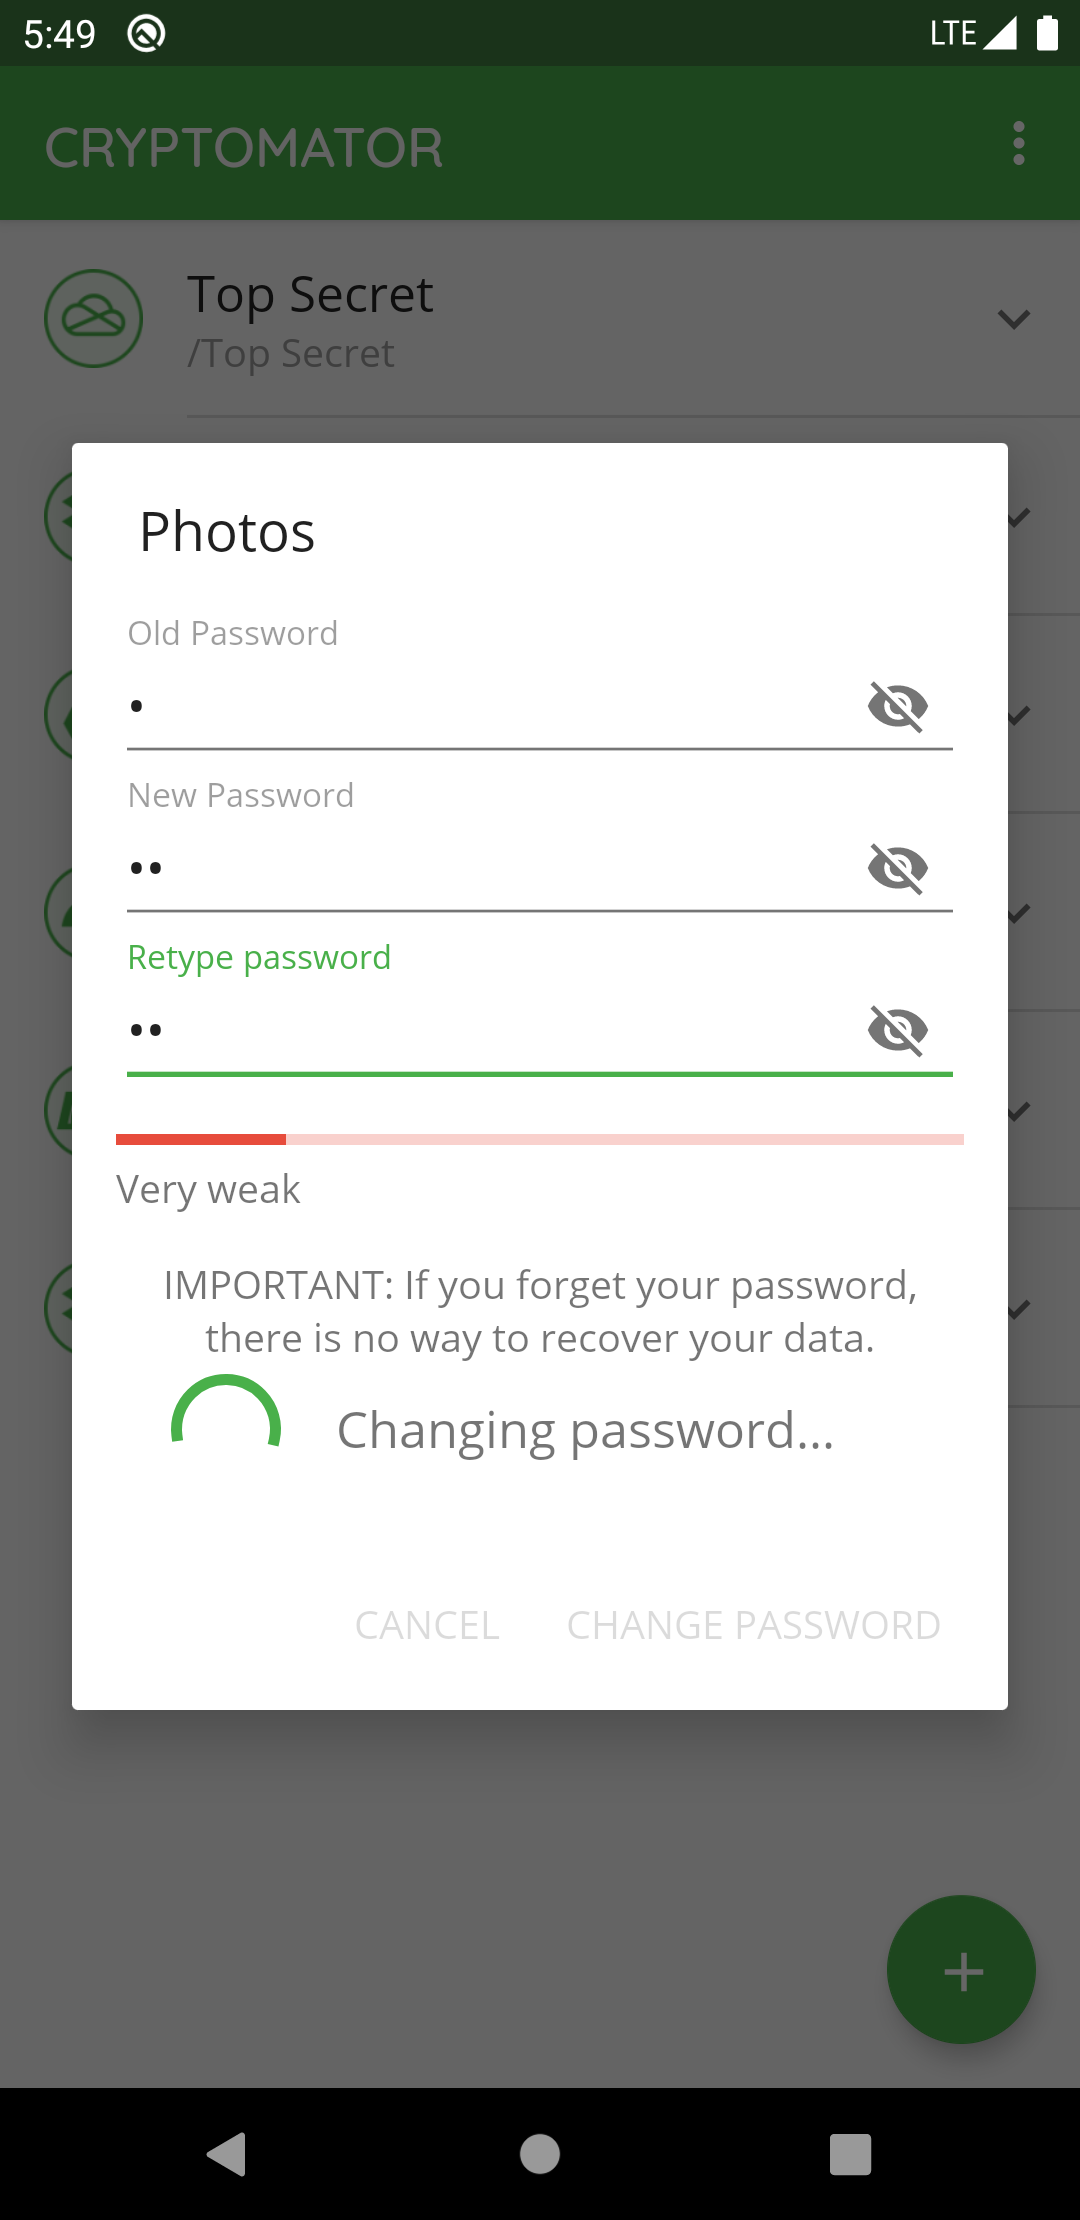
The password is used to derive a KEK, which is then used to encrypt futher keys. The KEK changes, but the keys encrypted with the KEK will stay the same. The actual files will not get re-encrypted, meaning you can not upgrade a weak passphrase to a stronger one once the data has been synced to a service that allows recovery of older versions of the masterkey file.
If you like to encrypt your vault files with a new, stronger password, you need to create a new vault and copy the data from the old to the new one. Make sure to wipe all backups of the old vault afterwards.
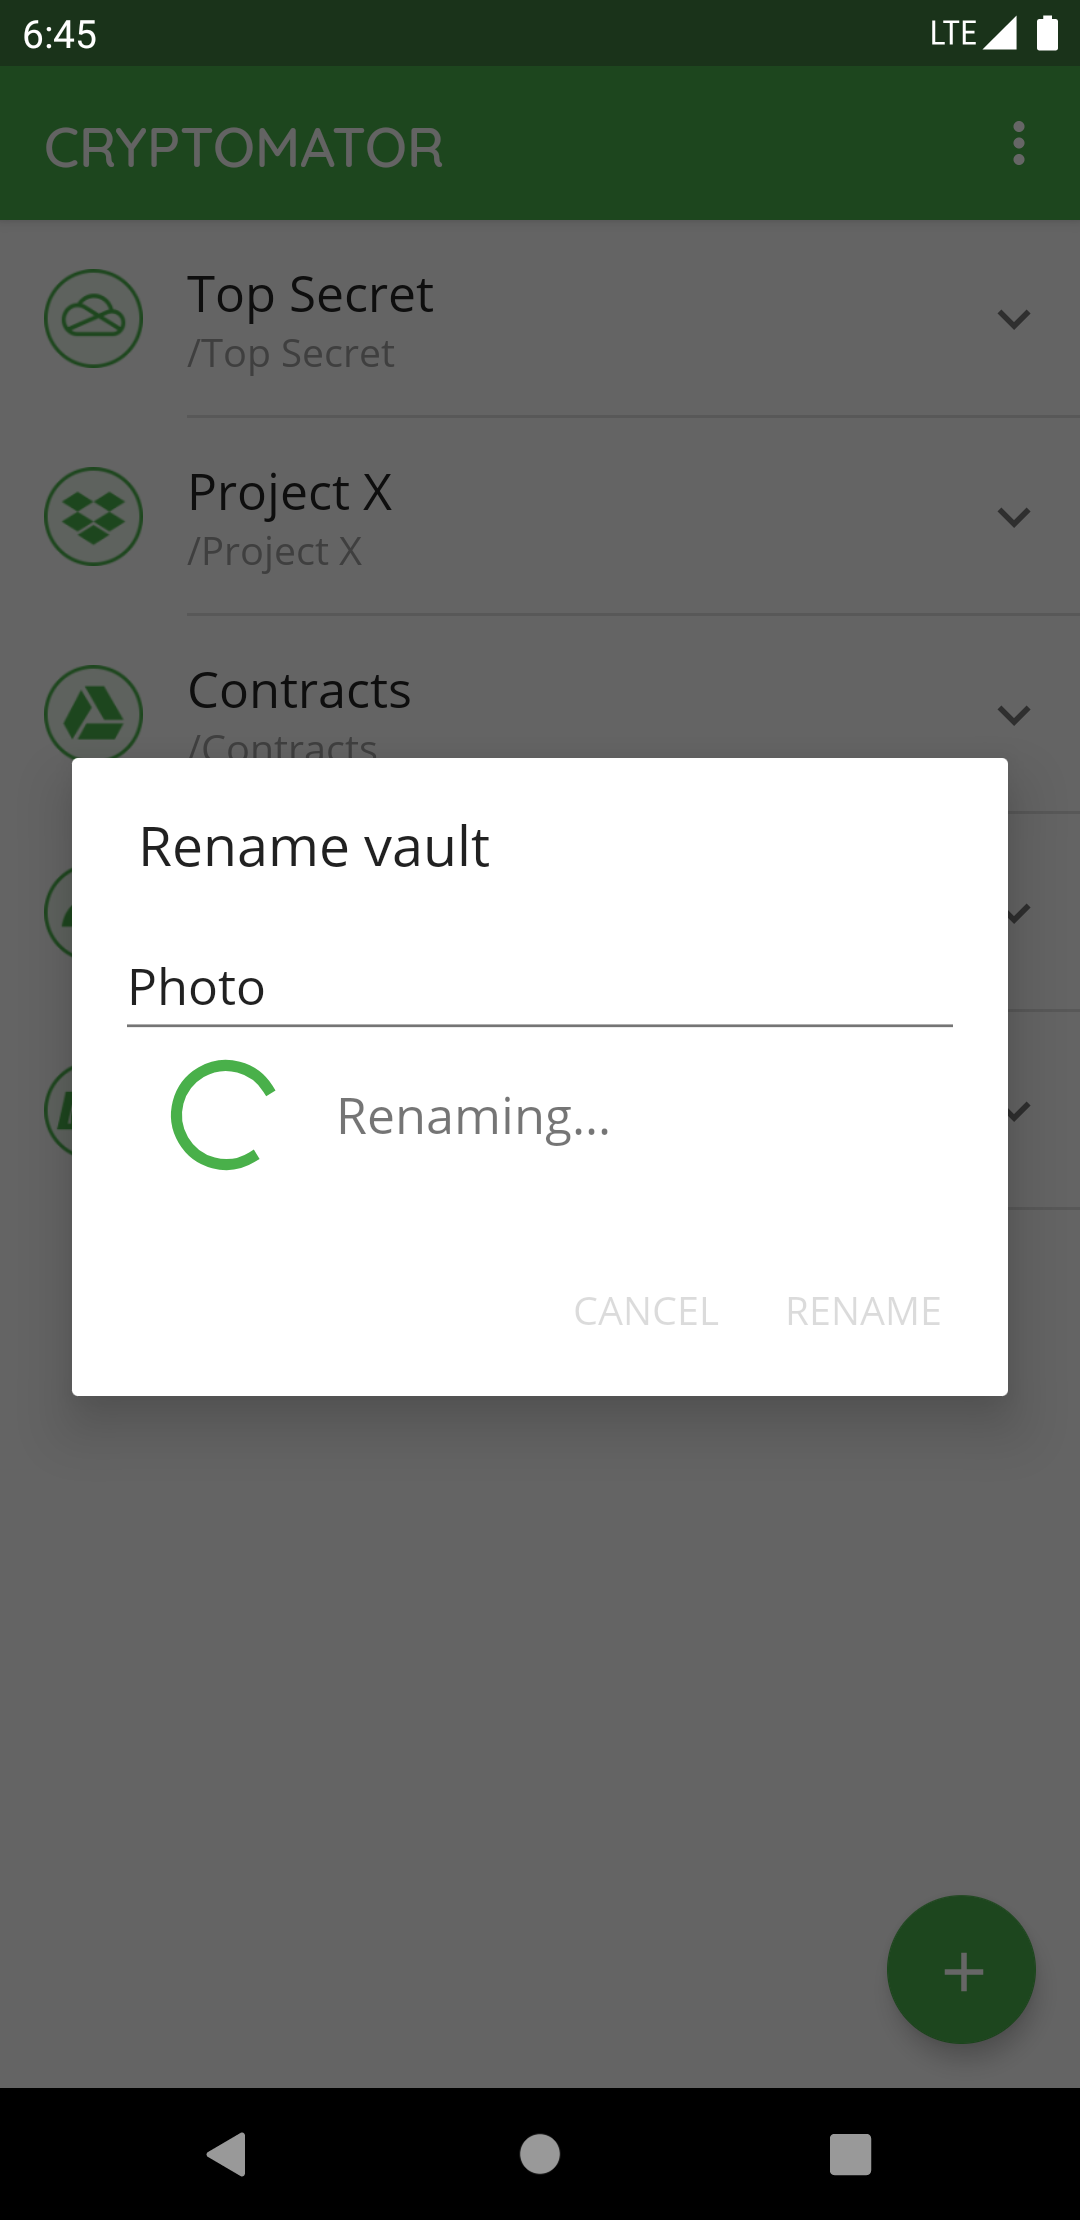
Rename Vault
If you want to change the name of a specific vault in Cryptomator, you select the V next to the vault ① and choose Rename ②.
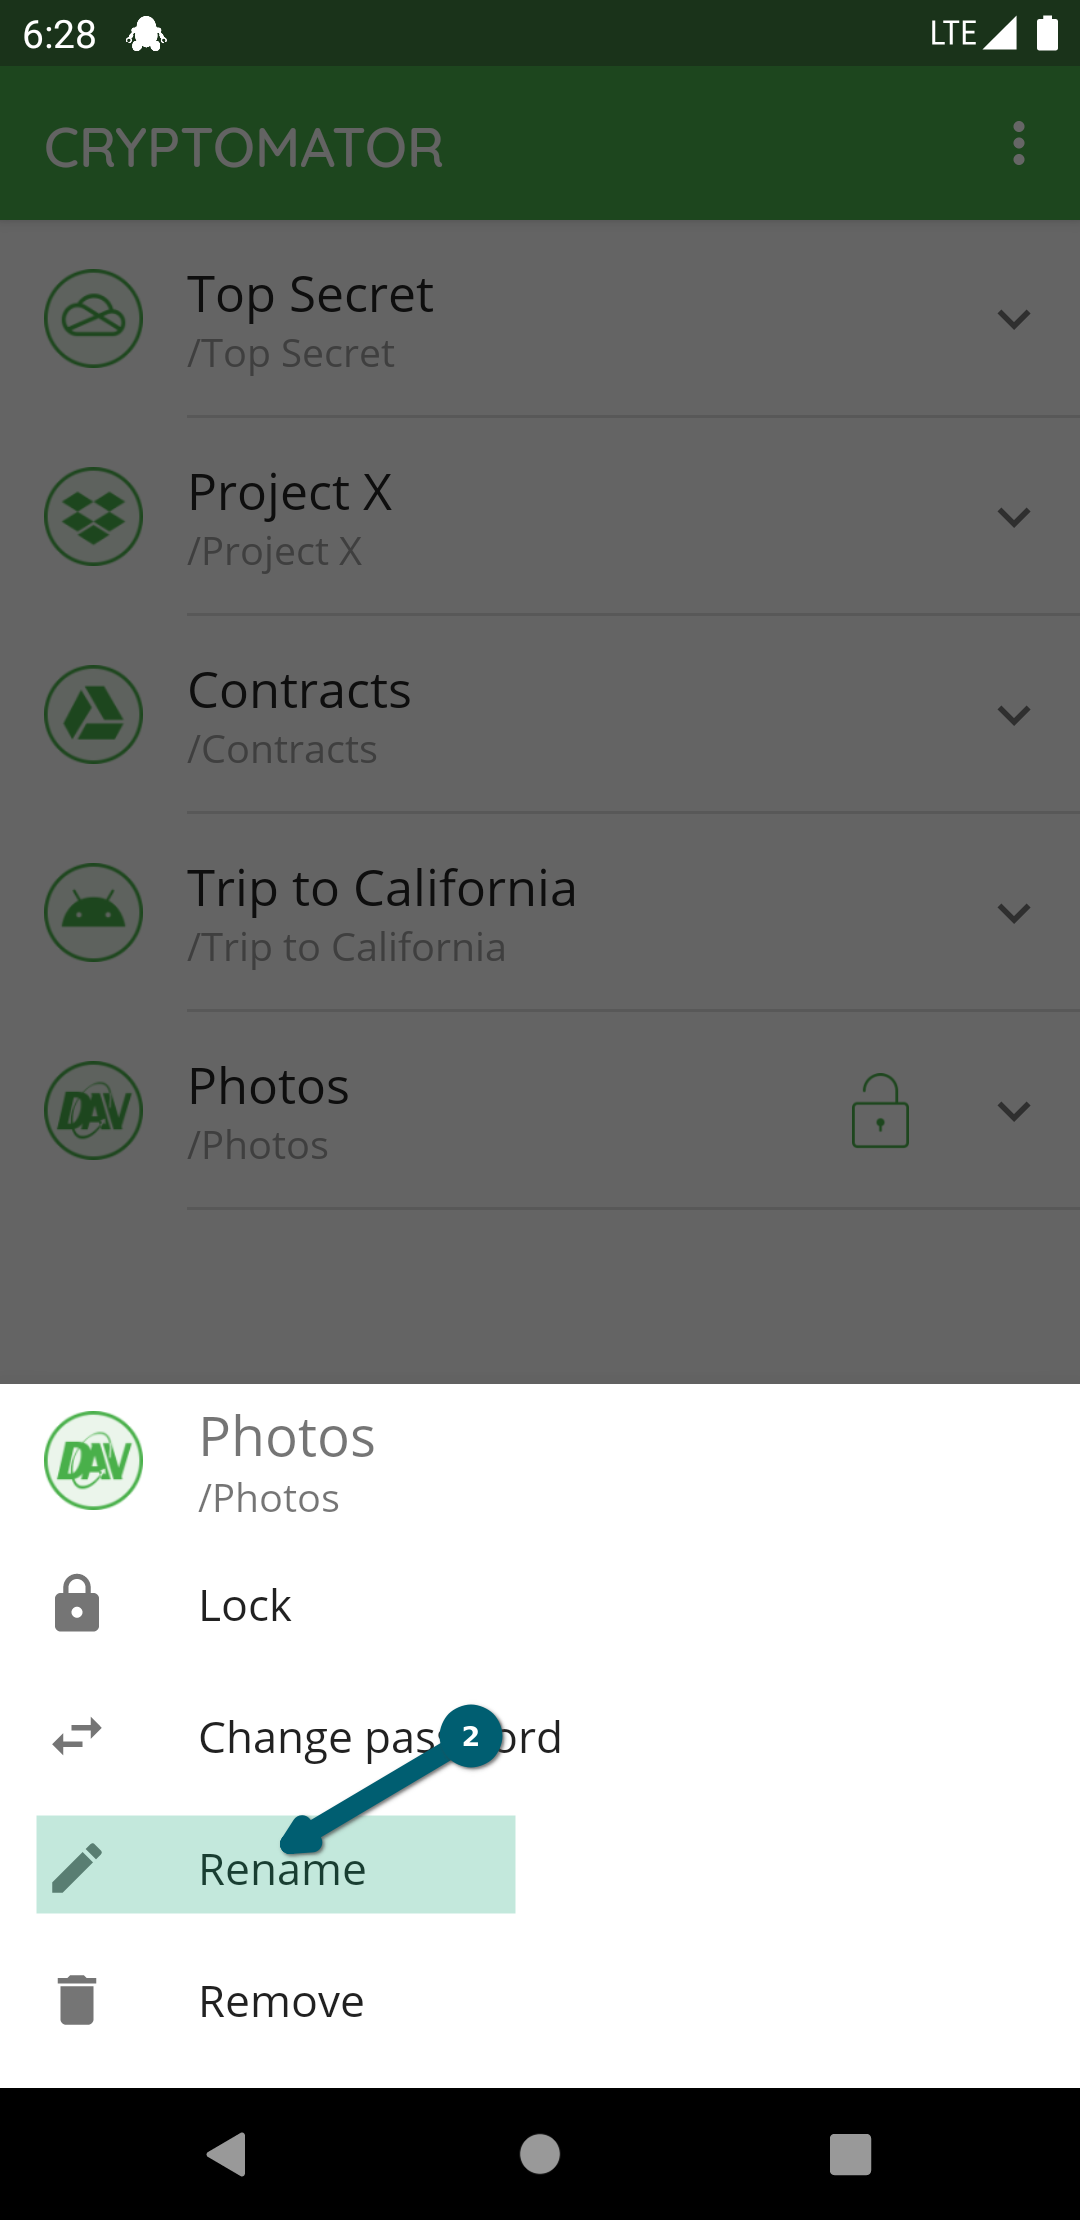
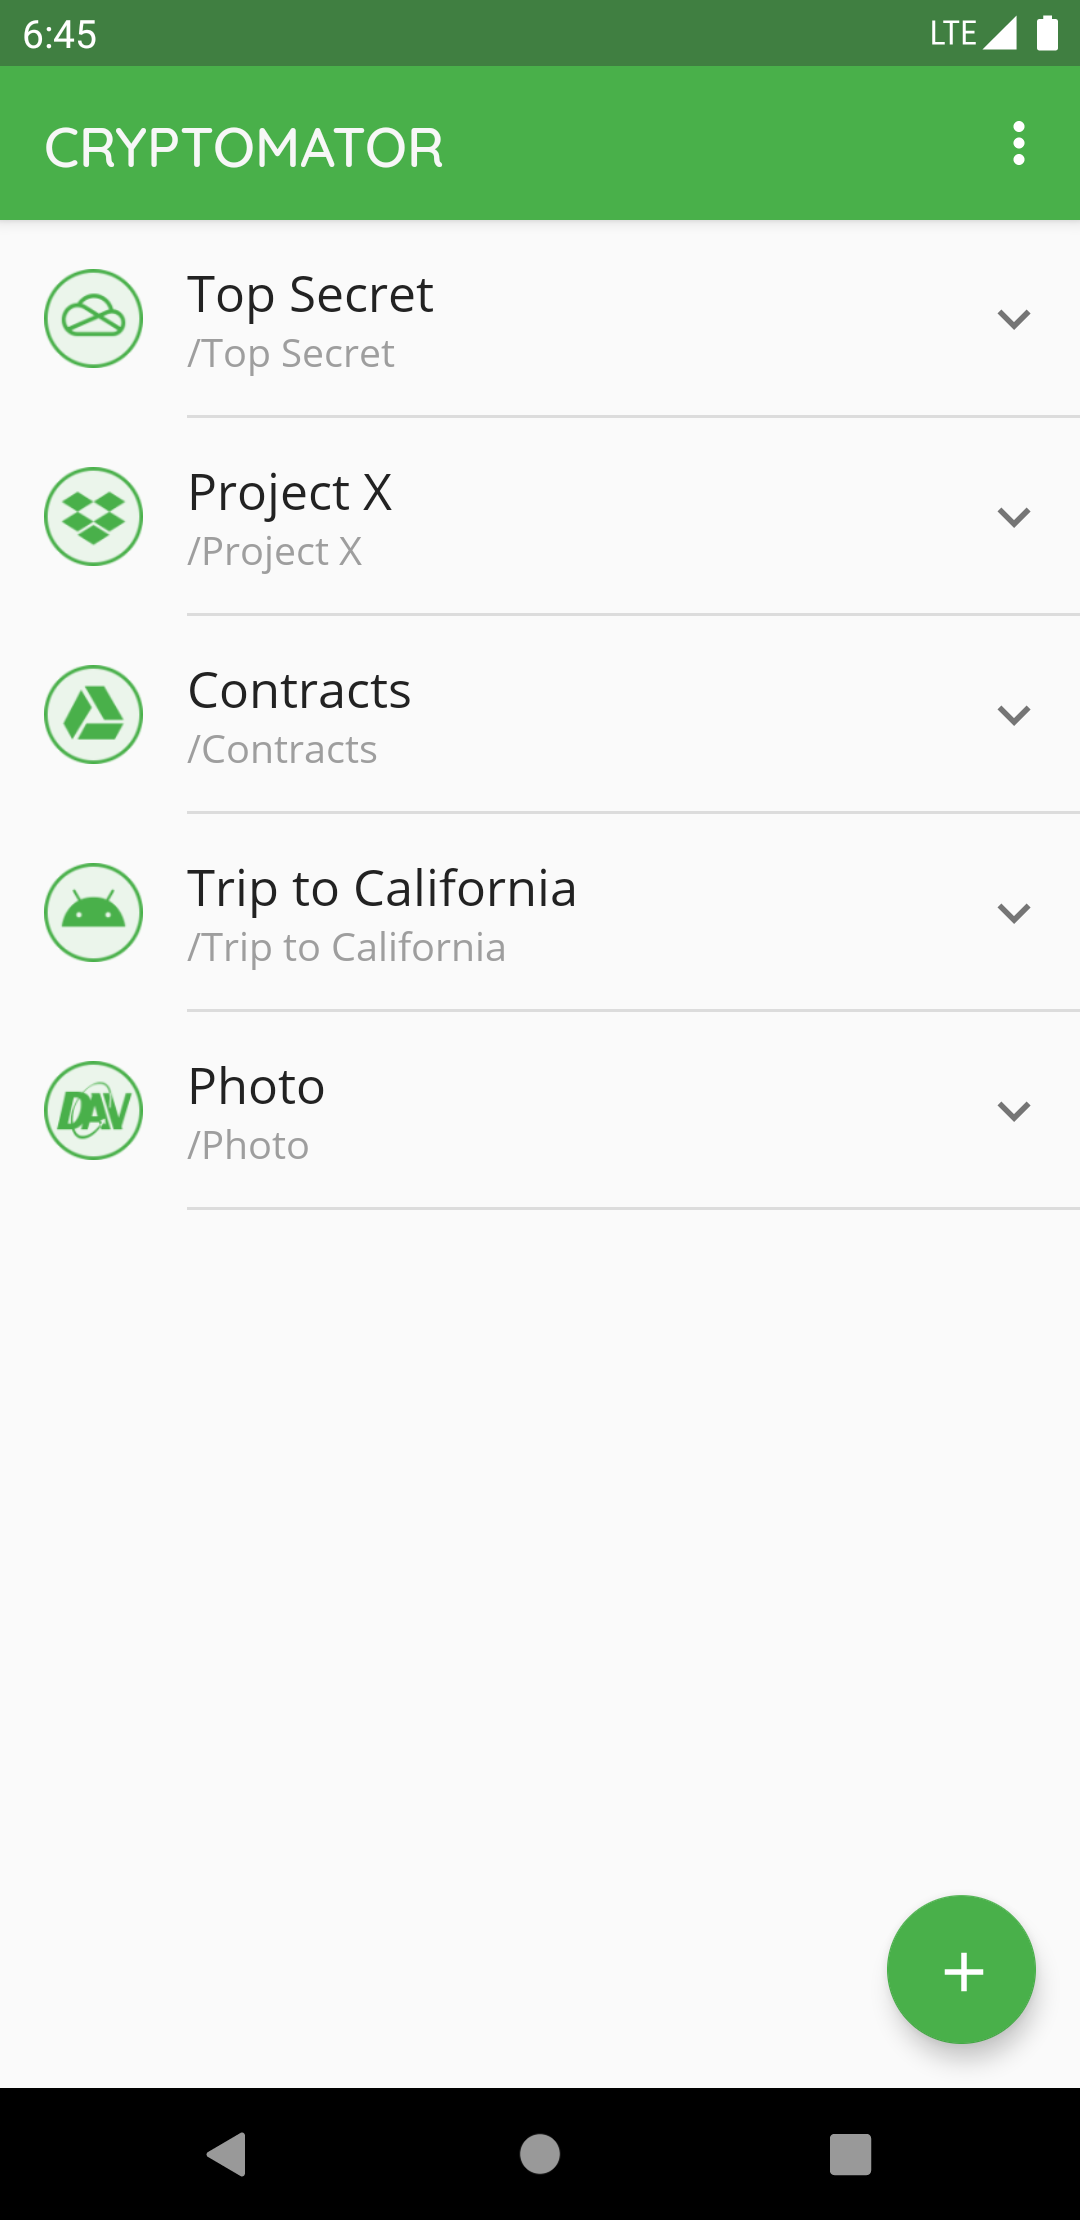
Choose a new name and confirm using the RENAME button.
Change Vault Position
If you want to change the position of a specific vault in the vault list in Cryptomator, long-press on the vault and drag it to the desired position in the pressed state: